Table of Contents
How to Add Key Change in Pro Tools
This blog is part of our new series of tutorials based on Avid’s flagship Digital Audio Workstation, Pro Tools.
Want to learn how to use Avid Pro Tools in real time, with a professional digital audio trainer? It’s faster than blogs, videos, or tutorials. Call OBEDIA for one on one training for Avid Pro Tools and all digital audio hardware and software. Mention this blog to get 15 bonus minutes with your signup! Call 615-933-6775 and dial 1, or visit our website to get started.
Need a Pro Audio laptop or Desktop PC to run Avid Pro Tools software and all of its features at its best?
Check out our pro audio PCs at PCAudioLabs.
Overview of how to Add Key Change in Pro Tools
Pro Tools lets you write music according to a certain key so that you can always export your score and perhaps share it with musicians for recording or live performance purposes.
By default, Pro Tools will assume the key of your song is C major, which is in fact the simplest key.
However, this can be changed at any time.
Actually, you can change it multiple times within the same songs, creating a Key Change. This is very common in today’s music, as you will find a certain key during the chorus and another during the verses, adding emotion and character to a production.
Pro Tools lets you change the key of the song at any given time by using the Add Key Change function.
Let’s dive deep into this!
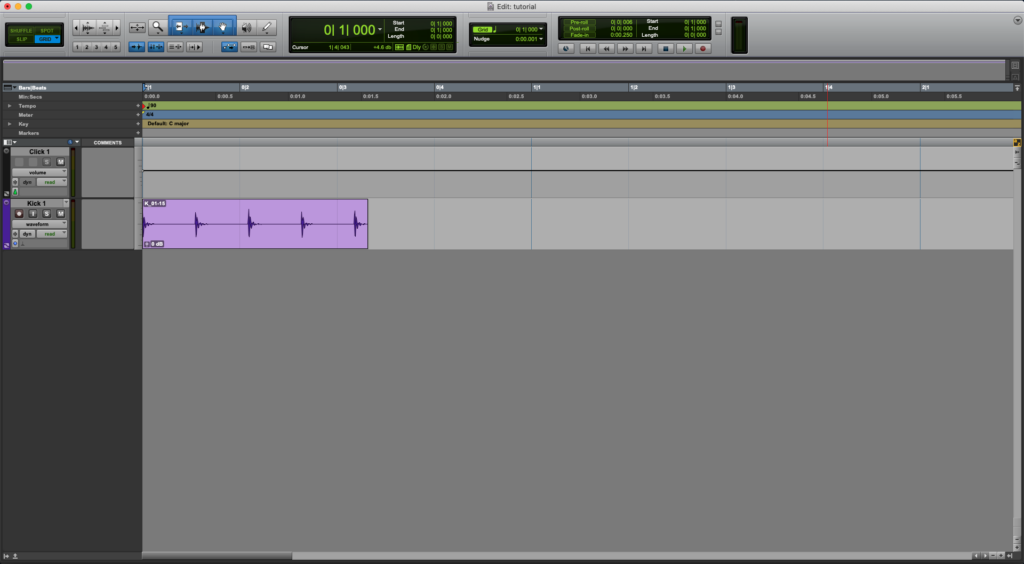
1. Open or create a new Pro Tools session:
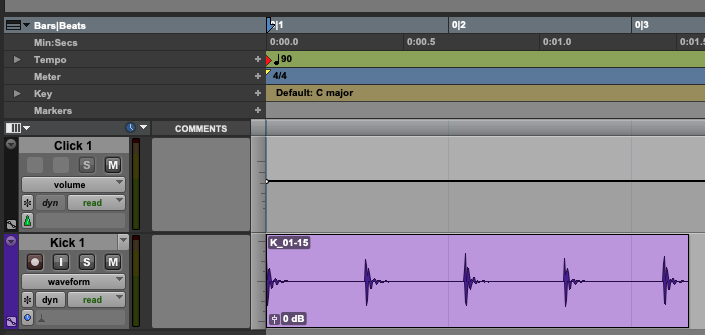
As you can see from the Key ruler, the default key is set to C major:
Let’s add a key change at bar 2!
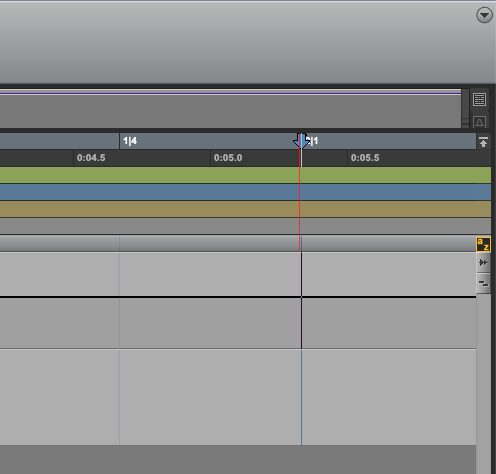
2. Locate the playback at the star of bar 2:
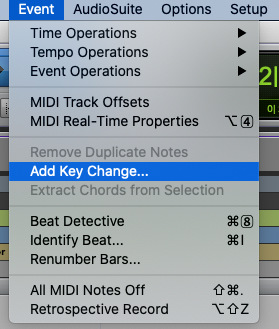
3. From the top menu bar click on: Event -> Add Key Change:
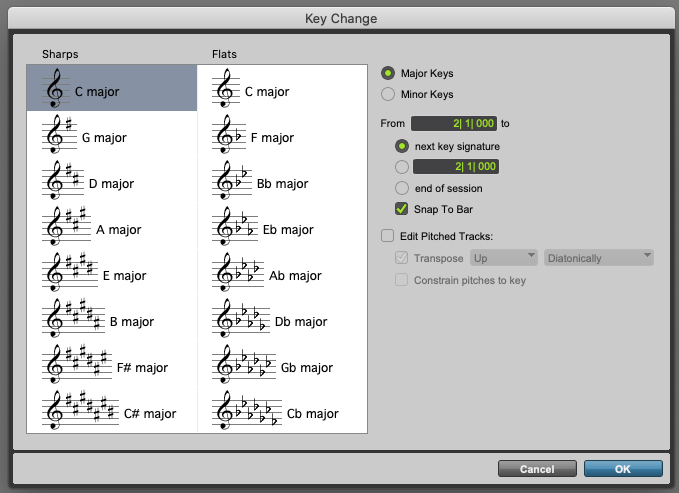
The Key Change window will open as:
This window has several parameters that we can explain as:
- Sharps/Flats: These buttons lets us select exactly the key we want to assign.
- Major/Minor Keys: These options let us select between major or minor keys.
- From/To: These functions let us assign the place where the key change will happen, and its end.
- Edit Pitched Tracks: This function lets us edit the tracks that have a certain pitch (MIDI) by automatically transposing it according to the new key.
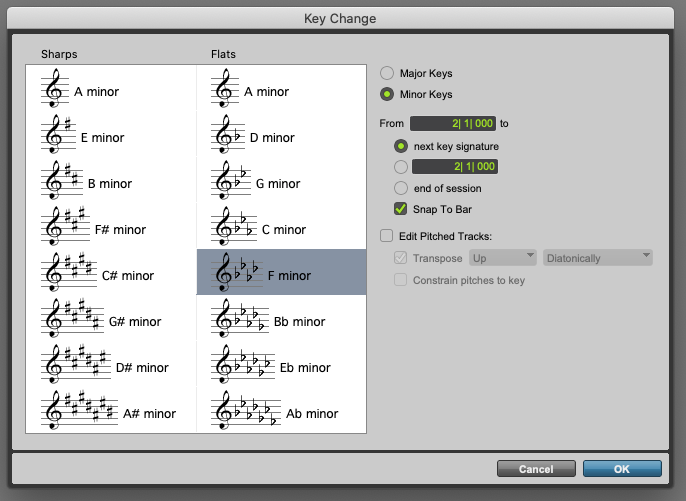
For the purpose of this tutorial, we will set our new key to F minor. The parameters will be set as:
- Sharps/Flats: F minor
- Major/Minor: Minor
- From/To: 2/1/000 to next key signature
- Edit Pitched Tracks: OFF
3. Set the Key Change Window to the previous parameters as:
4. Press “OK”:
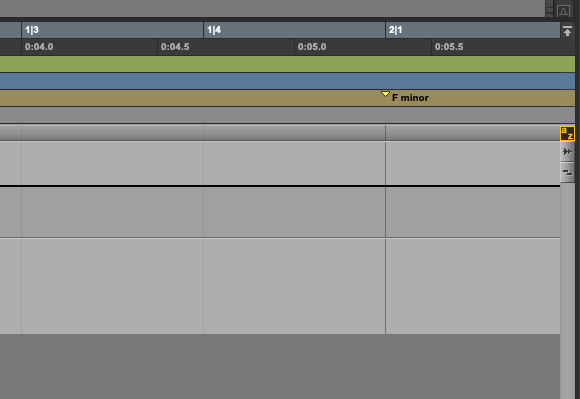
The Key Change will be applied as:
It is easy to see how the new key change (F minor) now starts at bar 2, as expected!
And that is it!
At this point, we have successfully explained how to Add Key Change in Pro Tools.
Using Avid Pro Tools software to produce music would be ideal with one of our professionally designed PCAudioLabs Systems due our high-performance specifications in order to work with any of the Digital Audio Workstations supported. If you would like to order one of our PCAudioLabs computers, please call us at 615-933-6775 or click this link for our website.

