Table of Contents
How to Print a Mix in Pro Tools
This blog is part of our new series of tutorials based on Avid’s flagship Digital Audio Workstation, Pro Tools.
Want to learn how to use Avid Pro Tools in real time, with a professional digital audio trainer? It’s faster than blogs, videos, or tutorials. Call OBEDIA for one on one training for Avid Pro Tools and all digital audio hardware and software. Mention this blog to get 15 bonus minutes with your signup! Call 615-933-6775 and dial 1, or visit our website to get started.
Need a Pro Audio laptop or Desktop PC to run Avid Pro Tools software and all of its features at its best?
Check out our pro audio PCs at PCAudioLabs.
Getting started with How to Print a Mix in Pro Tools
Pro Tools is a software that lets you produce, record, edit and mix audio & MIDI performances within a “session”.
On previous tutorials we have explained how to Bounce a Mix in Pro Tools.
There is another way to create a Mix file in Pro Tools and that is by applying a “printing” procedure. The main difference of printing a mix versus bouncing a mix, is that the “printed” mix is inside the Pro Tools session as a stereo audio track that you can later export if needed.
Today, we are going to explore the required procedures that any Pro Tools user will need to follow in order to properly Print a Mix in Pro Tools.
-
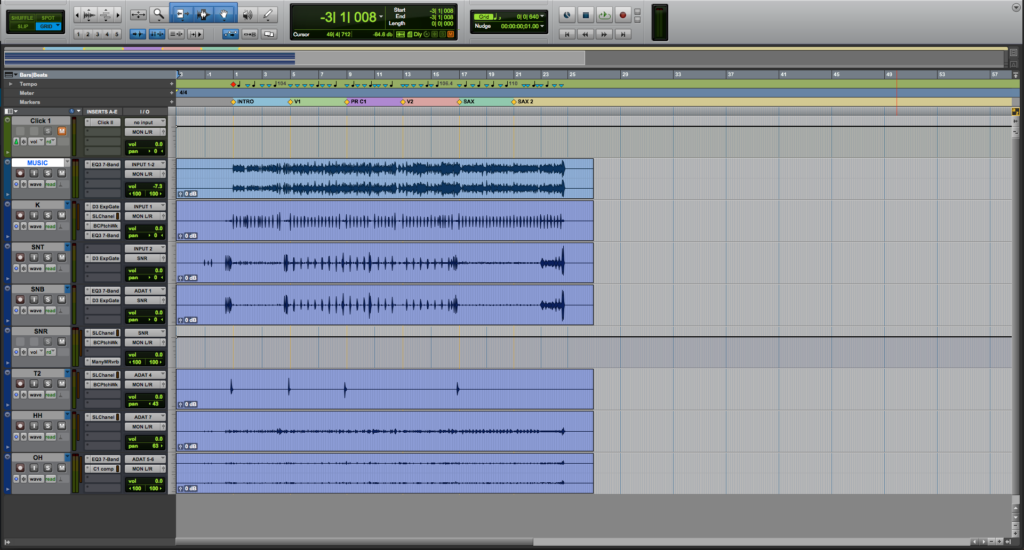
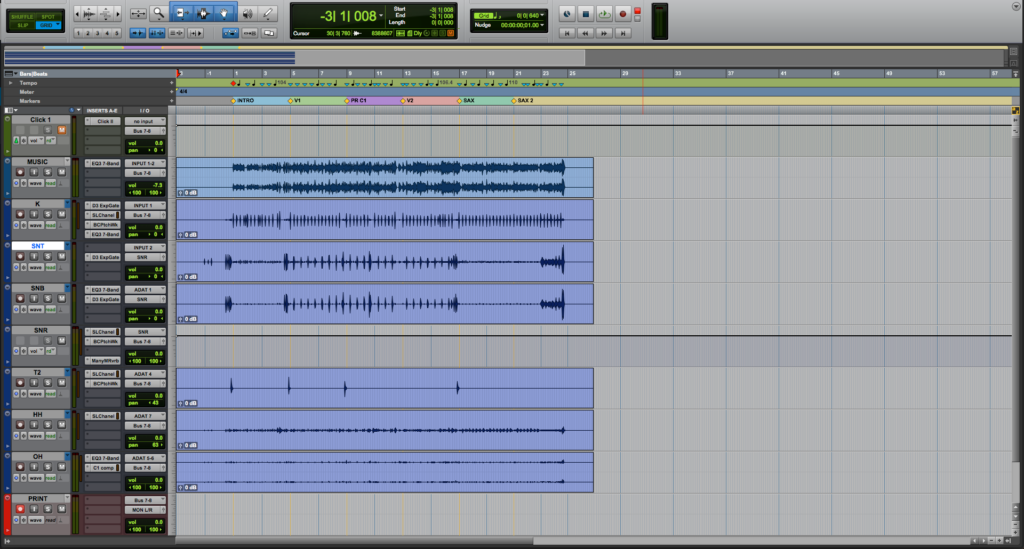
Open an existing Pro Tools session that contains a song already mixed:
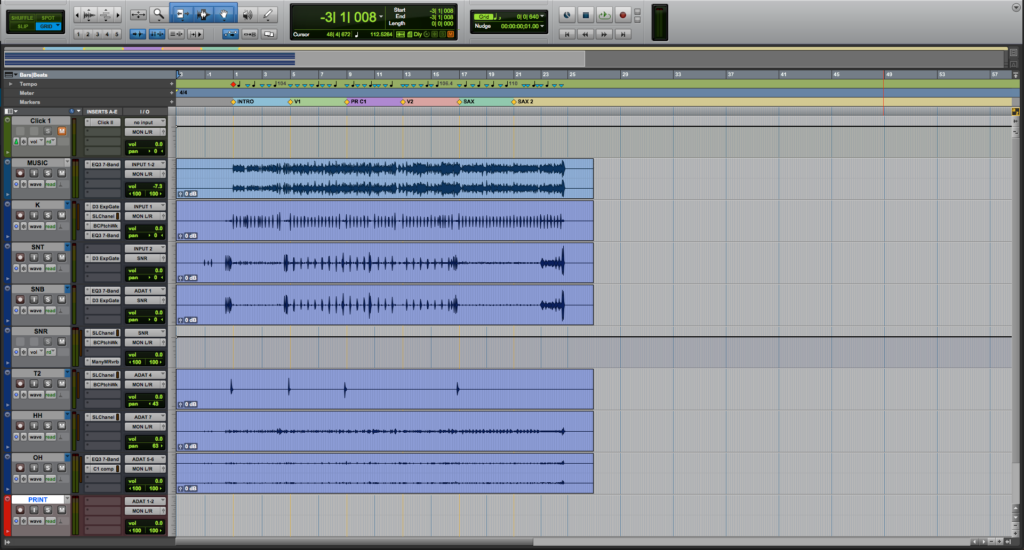
2. Create a new Stereo Audio Track, label it as “PRINT”:
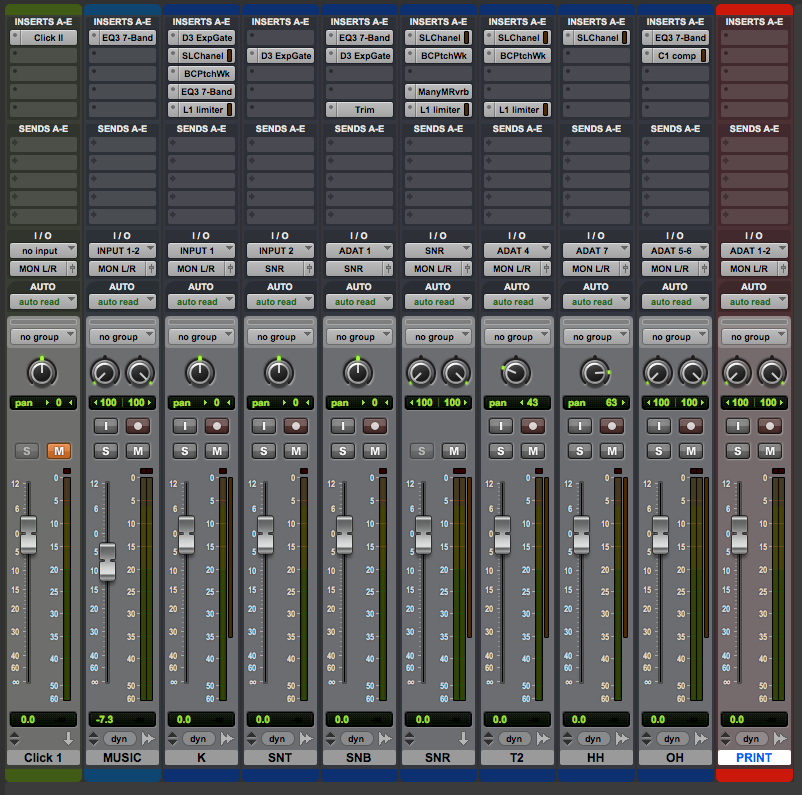
3. Switch to the Mix Window:
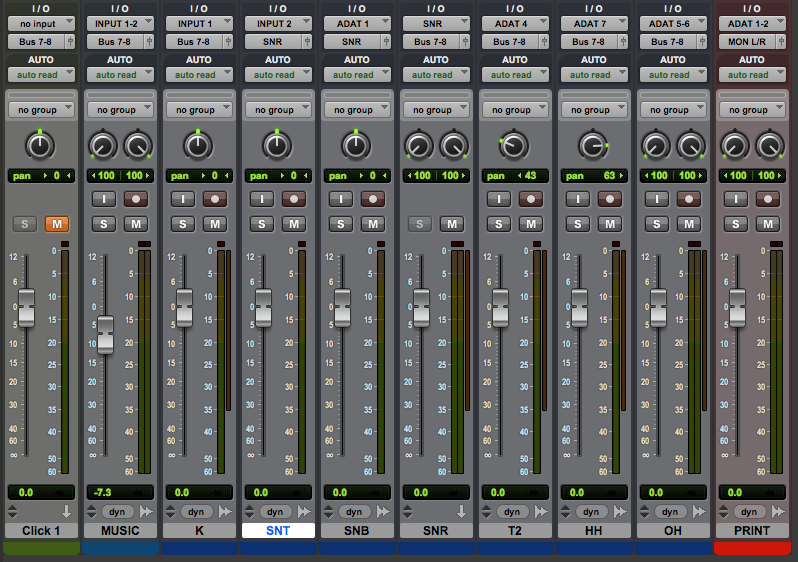
4. Set all your tracks’ outputs (except the PRINT track) to an open stereo bus:
For the purpose of this tutorial we will use Bus 7-8.
5. Set the input of the “PRINT” track to the same bus used on the previous tracks:
6. Record enable the “PRINT” track:
7. Go back to the Edit Window:
8. Turn ON the global record enable button from the transport bar:
9. Make sure you are at the start of the timeline and press the Space Bar.
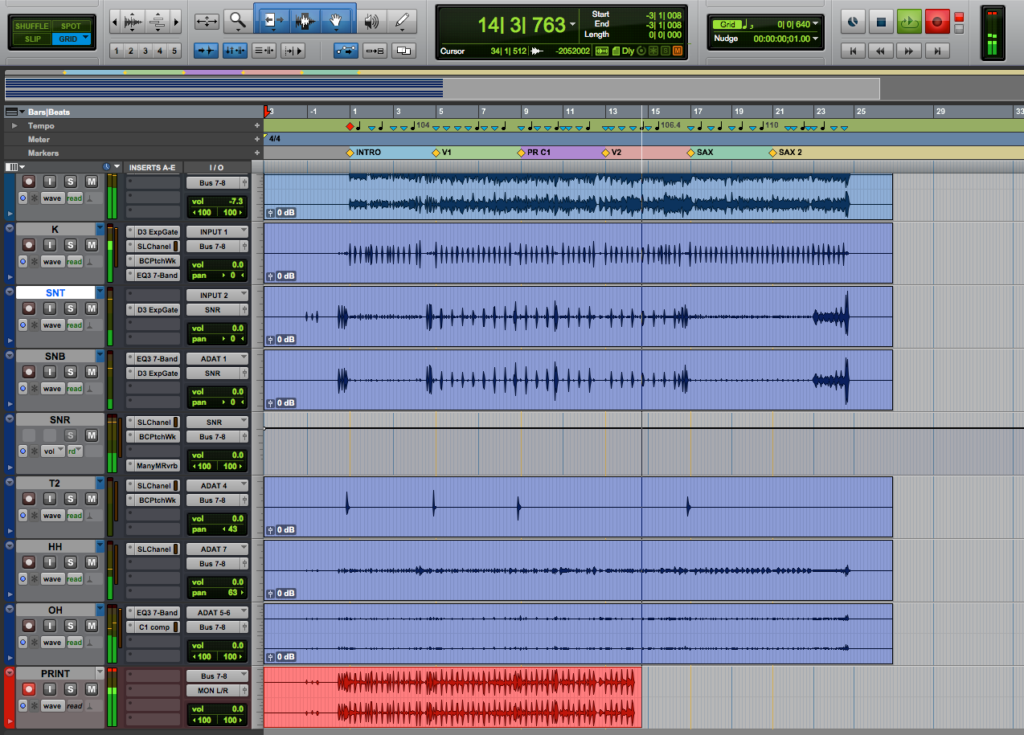
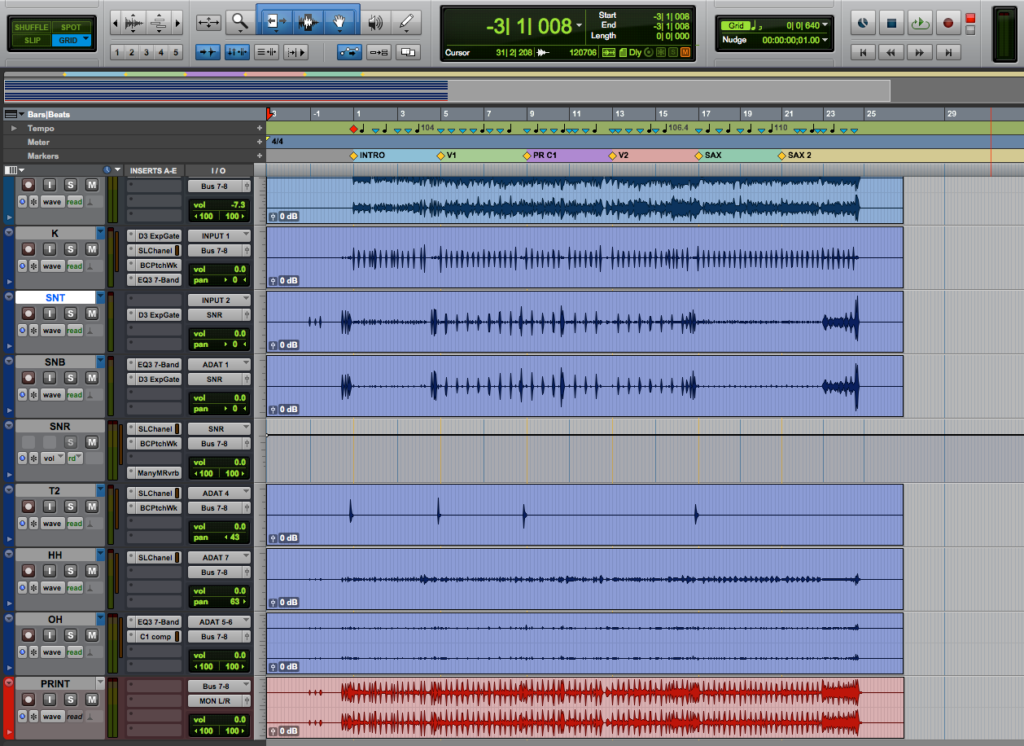
The mix will playback and it will be printed to the “PRINT” track as:
10. Press the Space Bar again to stop the recording once the whole mix has been printed:
You see how your “mix” has been “printed” to the stereo audio track labeled as “PRINT”.
Now you must export that file from the session so you can send it to your clients and musicians.
11. Click on the “PRINT” track’s clip to select it. It will show as highlighted:
12. Press Ctrl+Shift+K if you are on PC or CMD+Shift+K if you are on a MAC.
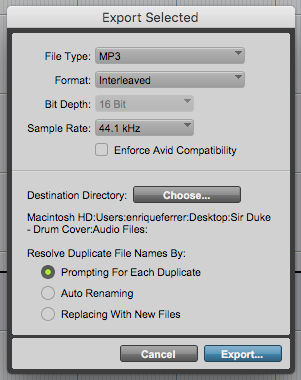
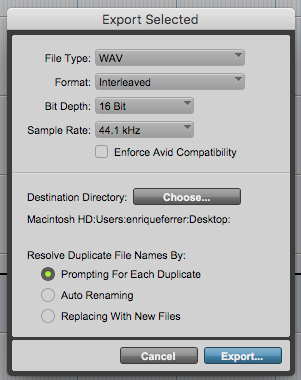
The Export Selected Window will open as:
13. Select the desired file type, format, bit depth, sample rate and destination, just as we explained on the “How to Bounce a Mix in Pro Tools” tutorial:
For the purpose of this tutorial we will set it to WAV, Interleaved, 16 bits, 44.1 KHz and the destination will be the desktop.
14. Press “Export” and the file will be exported to the desired location
You can now navigate to the desktop, and find your stereo bounce of your song and playback using your standard music reproduction software.
At this point we have successfully demonstrated How to Print a Mix in Pro Tools. You can now finish your song!
Using Avid Pro Tools software to produce music would be ideal with one of our professionally designed PCAudioLabs Systems due our high-performance specifications in order to work with any of the Digital Audio Workstations supported. If you would like to order one of our PCAudioLabs computers, please call us at 615-933-6775 or click this link for our website.

