How to Render MIDI Click in Cubase
This blog will discuss How to render MIDI Click in Cubase.
Want to learn how to use Steinberg Cubase in real time, with a professional digital audio trainer? It’s faster than blogs, videos, or tutorials. Call OBEDIA for one on one training for Steinberg Cubase and all digital audio hardware and software. visit our website to get started.
Need a Pro Audio laptop or Desktop PC to run Steinberg Cubase software and all of its features at its best?
Check out our pro audio PCs at PCAudioLabs.
Render MIDI Click in Cubase
The Metronome Click in Cubase is extremely powerful and versatile.
However, sometimes, we want to have the click as an individual track in our MixConsole, perhaps to control the volume a bit easier.
If you come from other DAWs from the market, you might feel more familiar with this work method of treating the metronome as another MIDI track.
In order to make this possible, we must “render” the click within the program as MIDI information.
Let’s give it a try!
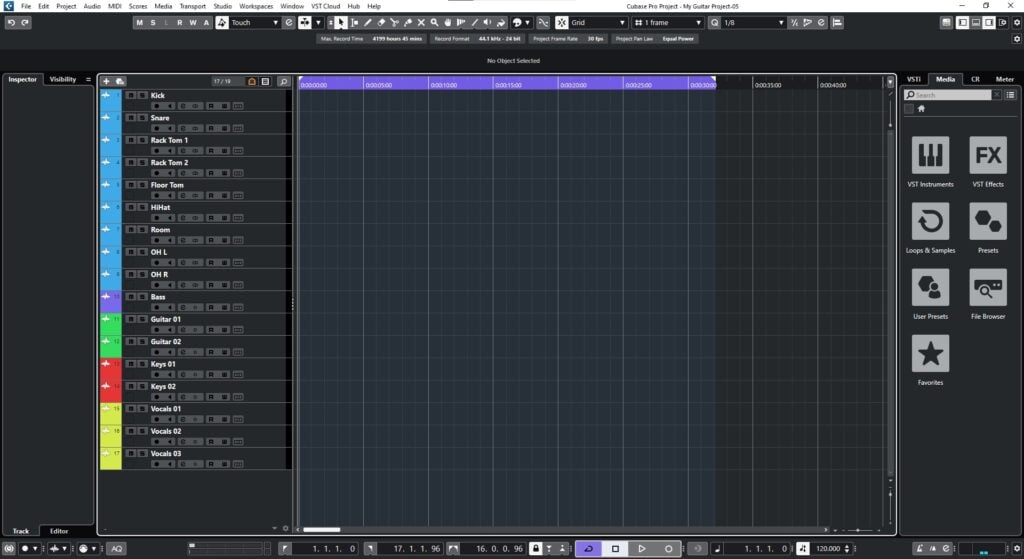
- Open a Cubase project:
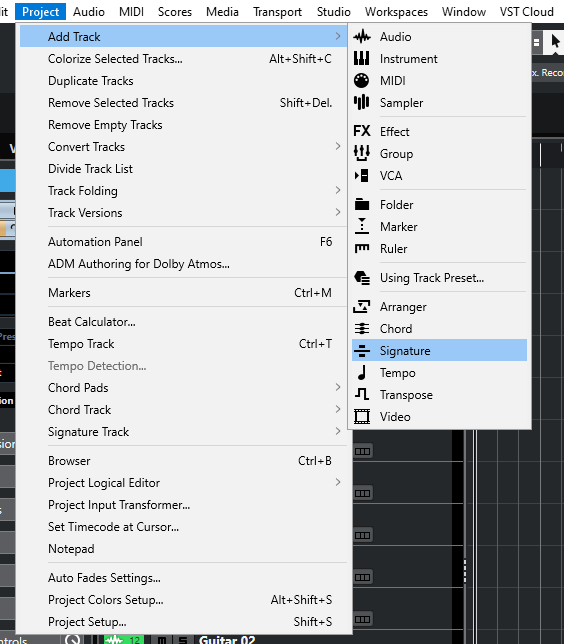
2. Click on the top menu bar: Project -> Add Track -> Signature:
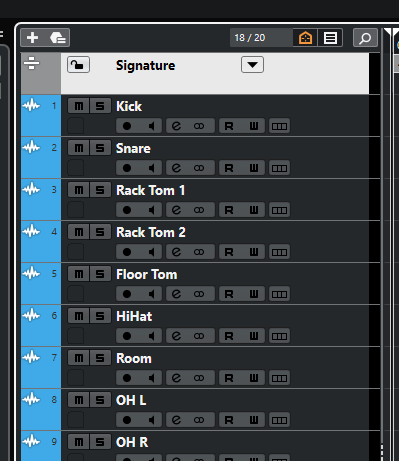
The Signature Track will be created as:
3. Create your Start and End locators:
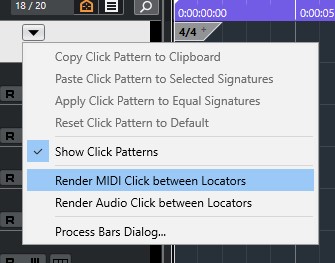
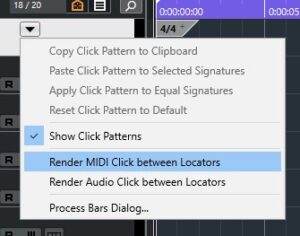
4. Click on the Signature Track Options button:
5. Select “Render MIDI Click Between Locators”:
The click will be rendered as:
As you can see, the click has been rendered as MIDI information in a new MIDI track.
You can treat this as any MIDI track.
It will show up on the MixConsole as:
You can use the associated fader to modify the level of the track.
It is important to understand, since the click was “rendered to MIDI”, it will sync to the current tempo of the project. If you modify the tempo, the click will also be affected accordingly.
This is useful if you are using it while producing a song and testing different tempos.
And that is how you Render MIDI Click in Cubase.
We hope you found this tutorial on how you Render MIDI Click in Cubase helpful!
If you need more help with tasks such as How to render MIDI Click in Cubase, how to record in Cubase, and how to use Cubase, OBEDIA is here to help you learn how to use Cubase!
Using Steinberg Cubase software to produce music would be ideal with one of our professionally designed PCAudioLabs Systems due our high-performance specifications in order to work with any of the Digital Audio Workstations supported. If you would like to order one of our PCAudioLabs computers, please call us at 615-933-6775 or click this link for our website.

