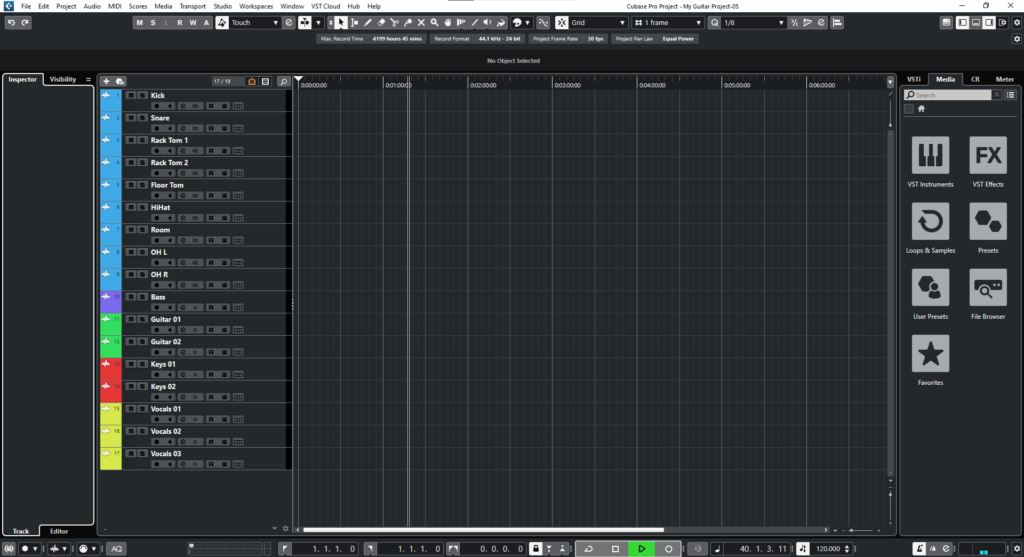
Metronome Click in Cubase
This blog will discuss how to use the Metronome Click in Cubase.
Want to learn how to use Steinberg Cubase in real time, with a professional digital audio trainer? It’s faster than blogs, videos, or tutorials. Call OBEDIA for one on one training for Steinberg Cubase and all digital audio hardware and software. visit our website to get started.
Need a Pro Audio laptop or Desktop PC to run Steinberg Cubase software and all of its features at its best?
Check out our pro audio PCs at PCAudioLabs.
Metronome Click in Cubase
If you are a musician, recording engineer, or music enthusiast, you have heard the term “metronome”.
If you ever took music lessons, you would remember that steady “clicky” sound that your professor would play for you to practice following a certain tempo.
Now, in the studio and in live situations, we also use the metronome in order to record or play a part locked to a certain tempo.
Cubase, as every single DAW in the market comes with its own Metronome that you can configure to your needs, set the desired tempo and click sound.
How do we do this?
Here we go!
- Open a Cubase project:
The first thing we must do, before getting into our Metronome Click, is setting up our tempo!
2. Locate the Tempo area of the Transport bar:
In this field, we can type any tempo expressed as BPM’s (beats per minute) by simply clicking and manually typing the number.
For the purpose of this tutorial we will set the tempo to 150 bpm.
3. Also, make sure the Tempo Track is activated.
If the logo next to the BPM field is white, it means it is activated. Otherwise, if it appears greyed out, it is inactive.
Yours should look like this:
4. Locate the metronome area of the transport bar:
5. Click on the “Activate Metronome” logo on the left to activate the metronome:
6. Click on the “Open Metronome Setup” button to the right of the metronome area:
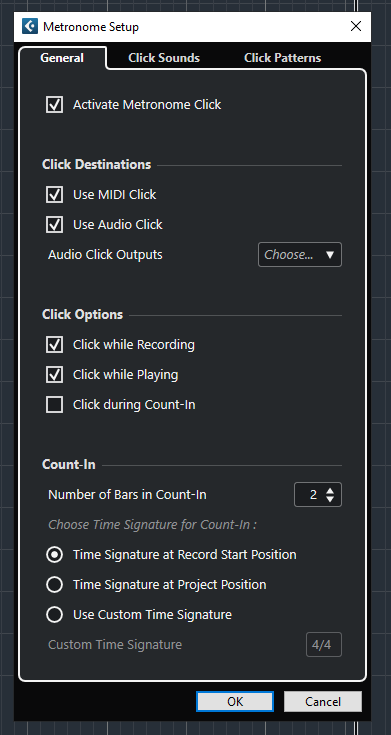
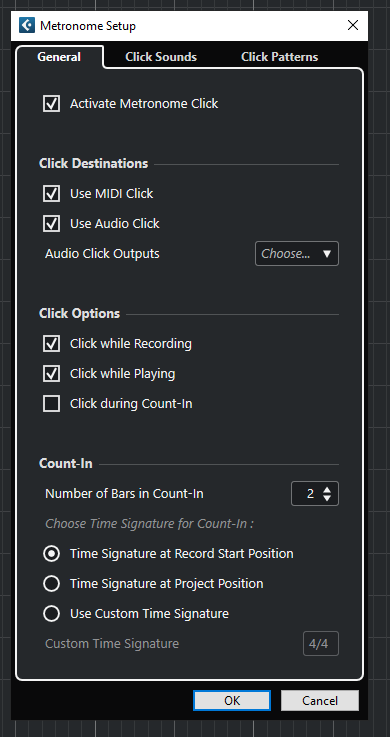
The Metronome Setup window will open as:
There are certain parameters that we must understand here, such as:
- Activate Metronome Click: When this is engaged, the Metronome Click is activated.
- Use MIDI Click: When this is engaged, the MIDI Click is activated.
- Use Audio Click: When this is engaged, the Audio Click is activated.
- Audio Click Outputs: This drop-down list lets you select the audio outputs from your hardware device where the click will playback.
- Click while recording: When this is engaged, the Click will playback while recording.
- Click while Playing: When this is engaged, the Click will playback while playing.
- Click during Count-In: When this is engaged, the Click will playback during the Count-In.
- Number of Bars in Count-In: This field lets you select the number of bars of count-in.
For the purpose of this tutorial, we will leave these options as default and the Click Outputs set to the main stereo output:
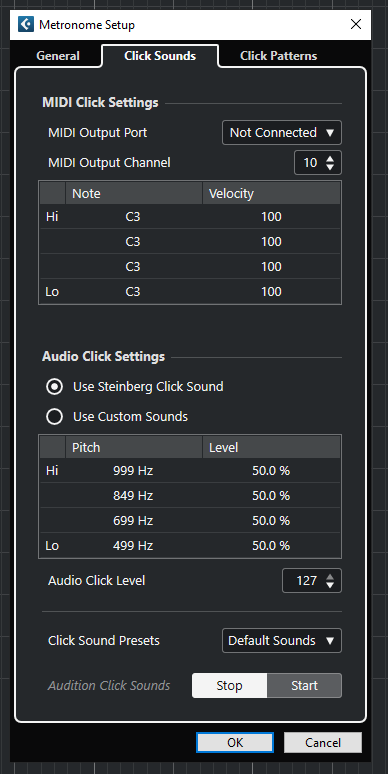
7. Switch to the next tab labeled as “Click Sounds”:
This tab lets you configure your MIDI Click settings as well as your Audio Click settings.
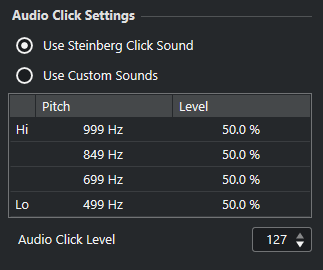
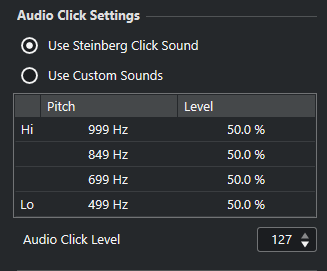
For the purpose of this tutorial, we will focus on the Audio Click settings:
This area has 3 main parameters:
- Use Steinberg Sound: When this is selected, the metronome will sound as the signature Steinberg metronome.
- Use Custom Sounds: When this is selected, the metronome will sound as any custom pitch metronome.
- Audio Click Level: This field lets you type the volume of the click. By default it is set to 127 which is the loudest.
For the purpose of this tutorial, we will leave this setup as its default configuration.
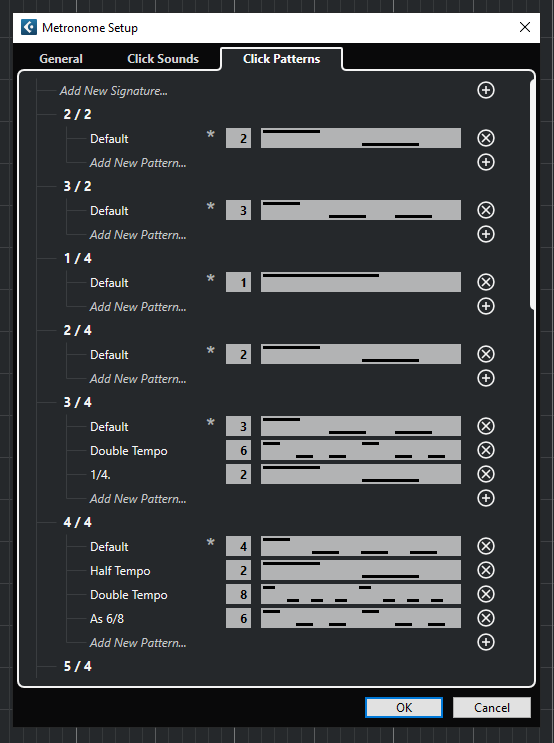
8. Switch to the last tab labeled as “Click Patterns”:
This tab lets you modify the click patterns of accented/unaccented beats depending on the time signature.
By default, Cubase configures this properly, so there is really no need to change this.
9. Press “OK” to save changes:
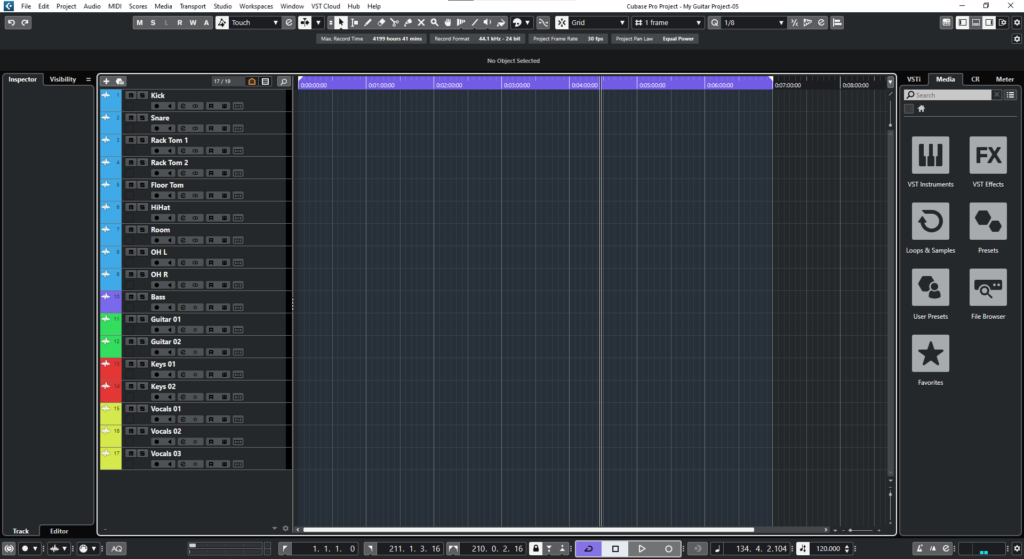
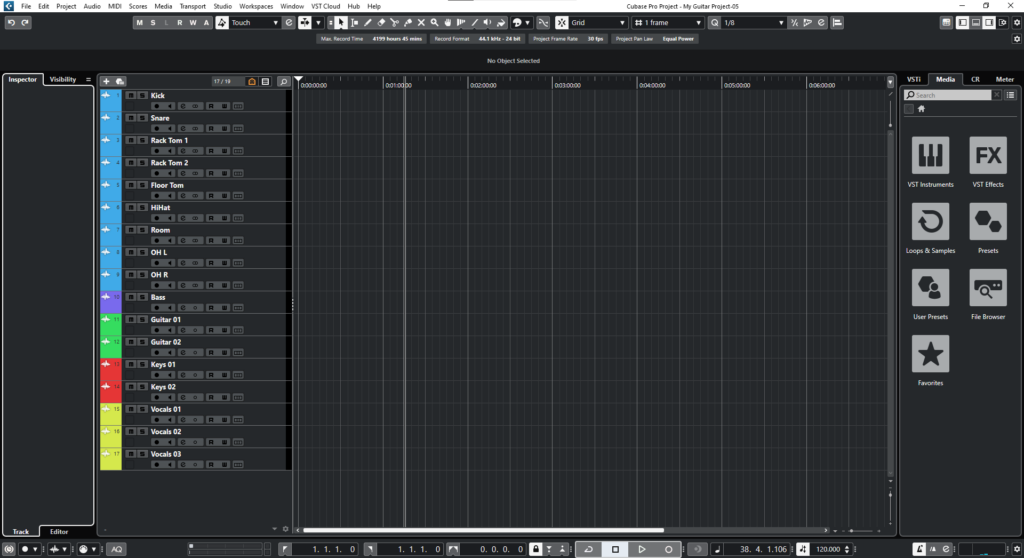
Cubase will take us back to the timeline window as:
10. Press Play and the metronome click will playback! You are now ready to record!
That is how you use the Metronome Click in Cubase.
We hope you found this tutorial on how to use Metronome Click in Cubase helpful!
Using Steinberg Cubase software to produce music would be ideal with one of our professionally designed PCAudioLabs Systems due our high-performance specifications in order to work with any of the Digital Audio Workstations supported. If you would like to order one of our PCAudioLabs computers, please call us at 615-933-6775 or click this link for our website.

