The following tutorial shows the user how to use Markers in Studio One 4.
Need a Pro Audio laptop to run Presonus Studio One 4 software and all of its features at its best? Check out the MC Mobile line of Pro Audio Laptops from PCAudioLabs.
When a band, artist or producer is working on a song, it is crucial to identify the individual parts of the song as building blocks. These parts can be what we refer as a Verse, Chorus, Bridge, B-Section, etc. The idea of identifying these parts is purely aesthetically and for organization purposes so that all the members of the band know which part to play and where.
Studio One 4 lets the user identify these sections of the song using “Markers”; which are simply flags that let the user know where each part of the song starts.
This tutorial will present a step-by-step guide on how to use Markers in Studio One 4:
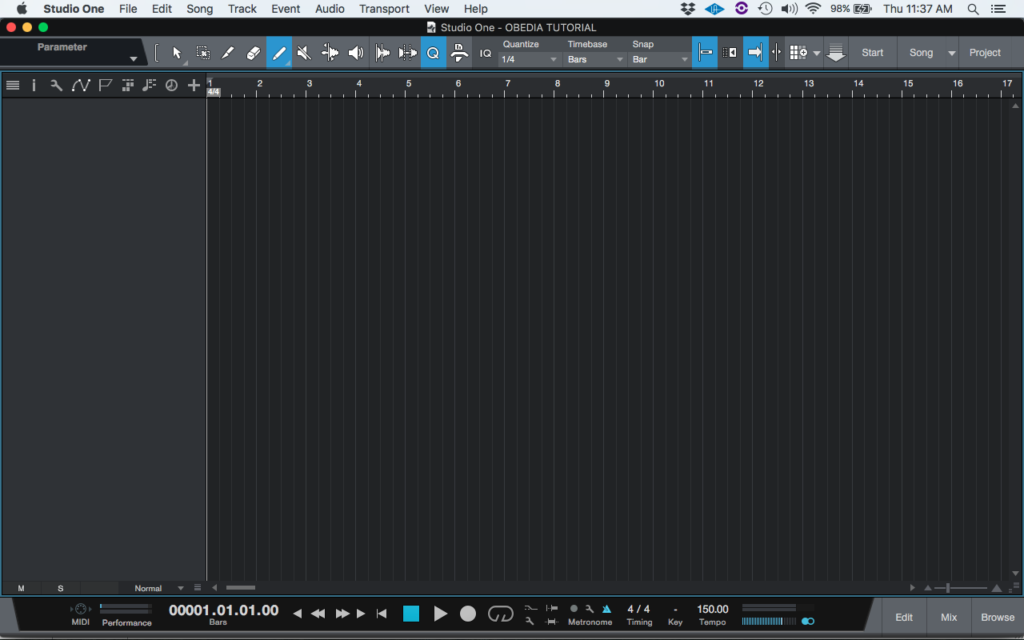
- Open a Studio One 4 song:

2. At the top left buttons, click on the “Open Marker Tab”:
The tab will open as:
It is easy to see how Studio One 4 has already created a “Start” marker at the start of measure 1. For the purpose of this tutorial we will create a marker labeled as “Verse” on measure #9.
3. Locate the transport at measure #9 by clicking at the number 9 from the timeline:
4. Click on the “Insert Marker” button from the markers tab:
The “Insert Marker” button is easily recognized because it is simply a + sign:
Once clicked, a new marker labeled as “#2” will be placed on measure #9:
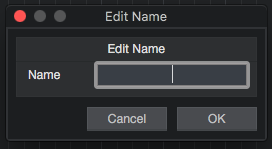
5. Double click on marker labeled “#2″and the “Edit Name” window will appear as:
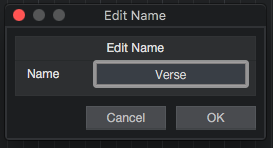
6. Type the name “Verse”:
7. Click “OK” and the marker will be renamed:
We have successfully created a marker and renamed it for our purpose. The user can now repeat this process for the following markers such as Chorus, Bridge, Solo, etc. The tutorial has now ended.
Using Presonus Studio One 4 software to produce music would be ideal with one of our professionally designed PCAudioLabs Systems due our high-performance specifications in order to work with any of the Digital Audio Workstations supported. If you would like to order one of our PCAudioLabs computers, please call us at 615-933-6775 or click this link for our website.


