The following tutorial shows the user how to use the Mono Button in Studio One 4.
Need a Pro Audio laptop to run Presonus Studio One 4 software and all of its features at its best? Check out the MC Mobile line of Pro Audio Laptops from PCAudioLabs.
One of the most important tasks a mix engineer must achieve before delivering a mix to a client is checking the final mix in Mono. Even though the vast majority of sound systems of the present era are multi-channel (stereo or surround), it is always smart to make sure the most important elements of the mix are preserved when played back in mono, specially if the mix will be used for playback on PA systems, which can be mono. Mix engineers tend to buy analog monitor controllers and switchers that apply the mono summation of the channels within the piece of hardware, representing another investment for the studio. However, Studio One 4 lets their users do this on the software with the included Mono Button, with no need to use other external piece of gear. When activating this function, the program will sum both channels and reproduce the summed signal on both speakers, resulting in a mono feed to the listener.
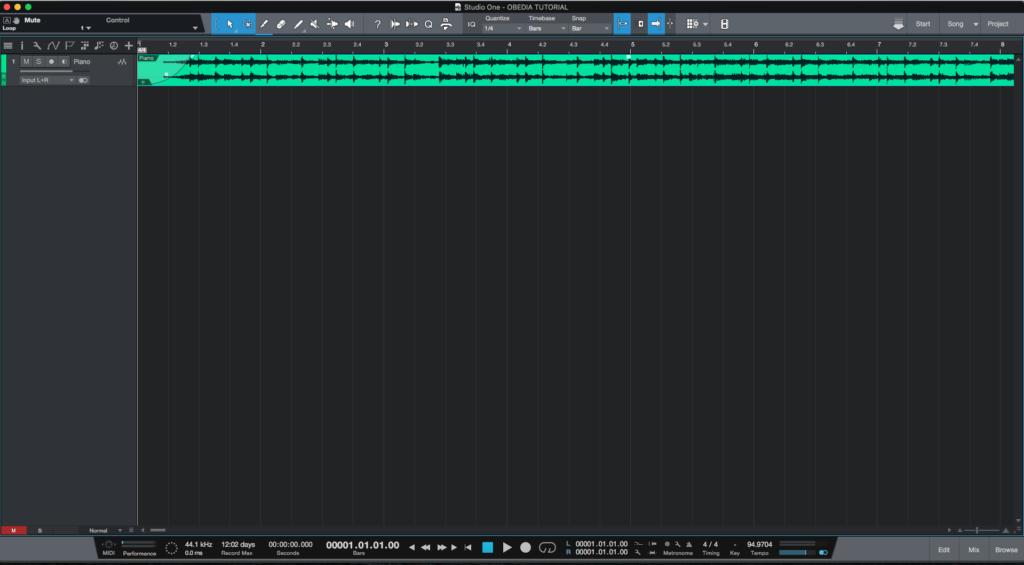
This tutorial will present a basic overview of how to use the mono button in Studio One 4:
- Open a Studio One 4 song with at least one audio track:

If the user presses the play button from the transport bar, the track will playback in Stereo.
2. Locate the right area of the bottom transport bar:
3. Note the symbol of the two small circles next to each other:
This is the Mono Button in Studio One 4. When this is labeled in light blue, Studio One will playback its main output in Stereo, which is the default mode. If the user presses this button, it will switch to a single red circle, meaning it is now in Mono.
4. Click on the Mono Button, it will switch to a single red circle as:
5. Press play in order to playback the material.
The audio material will playback in Mono. During this playback, the user can listen to make sure all the important elements of the mix are reproduced in the mono environment. Once this has been checked, the stereo mode can be re-enabled.
6. Click on the Mono button again in order to switch it back to Stereo:
If the user presses the play button, the material should reproduce in stereo. The audible differences should be obvious.
At this point we have successfully explained how to use the Mono Button in studio One 4. The tutorial has now finished.
Using Presonus Studio One 4 software to produce music would be ideal with one of our professionally designed PCAudioLabs Systems due our high-performance specifications in order to work with any of the Digital Audio Workstations supported. If you would like to order one of our PCAudioLabs computers, please call us at 615-933-6775 or click this link for our website.
