Manually Change MIDI Velocity in Pro Tools
This blog is part of our new series of tutorials based on Avid’s flagship Digital Audio Workstation, Pro Tools.
Want to learn how to use Avid Pro Tools in real time, with a professional digital audio trainer? It’s faster than blogs, videos, or tutorials. Call OBEDIA for one on one training for Avid Pro Tools and all digital audio hardware and software. Mention this blog to get 15 bonus minutes with your signup! Call 615-933-6775 and dial 1, or visit our website to get started.
Need a Pro Audio laptop or Desktop PC to run Avid Pro Tools software and all of its features at its best?
Check out our pro audio PCs at PCAudioLabs.
Getting started with how to Manually Change MIDI Velocity in Pro Tools
Pro Tools is a software that lets you produce, record, edit and mix audio as well as MIDI performances.
If you are a musician or producer, you will benefit from recording MIDI performances that you can use to trigger your favorite Virtual Instruments in your songs.
But, what if you record a whole part using your MIDI keyboard and then you realize there are some notes that need to have their velocities modified?
Pro Tools lets you do this! You can manually change the velocity of any MIDI note with a couple clicks in seconds.
On this tutorial, we will learn How to Manually Change MIDI Velocity in Pro Tools:
-
Create or open an existing Pro Tools session:
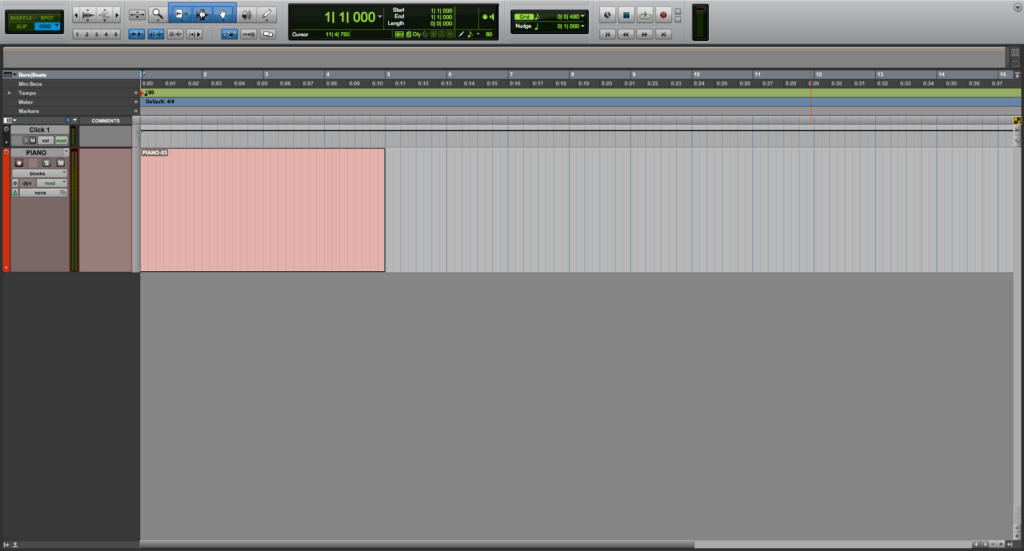
Make sure the Pro Tools session contains at least one track with MIDI information recorded:
2. Open the MIDI Editor by clicking on Window -> MIDI Editor:
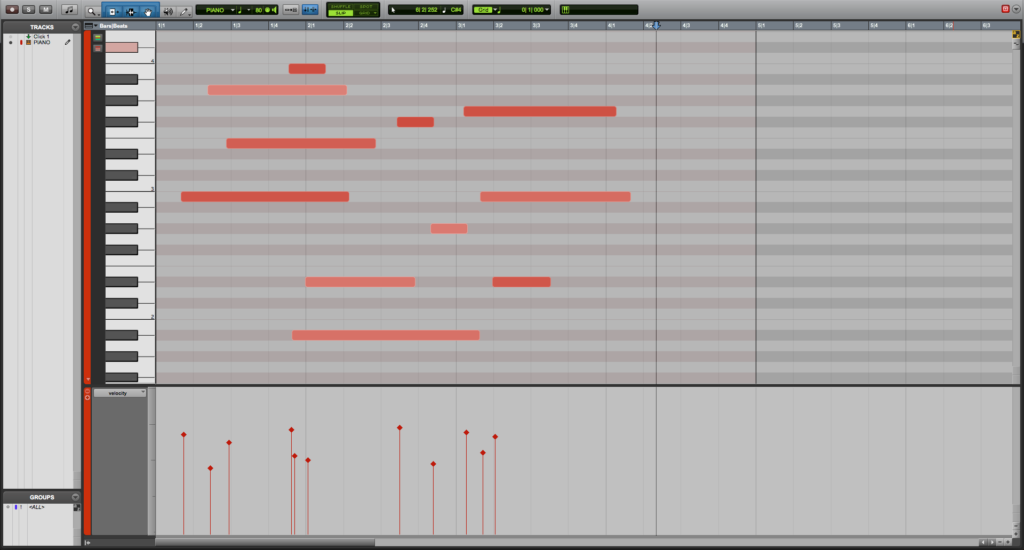
The MIDI Editor will be opened as:
The velocities associated to each of the notes that are part of the MIDI passage are represented by the vertical bars that appear at the bottom of the window:
3. In order to change the velocities, simply click and drag the vertical bars:
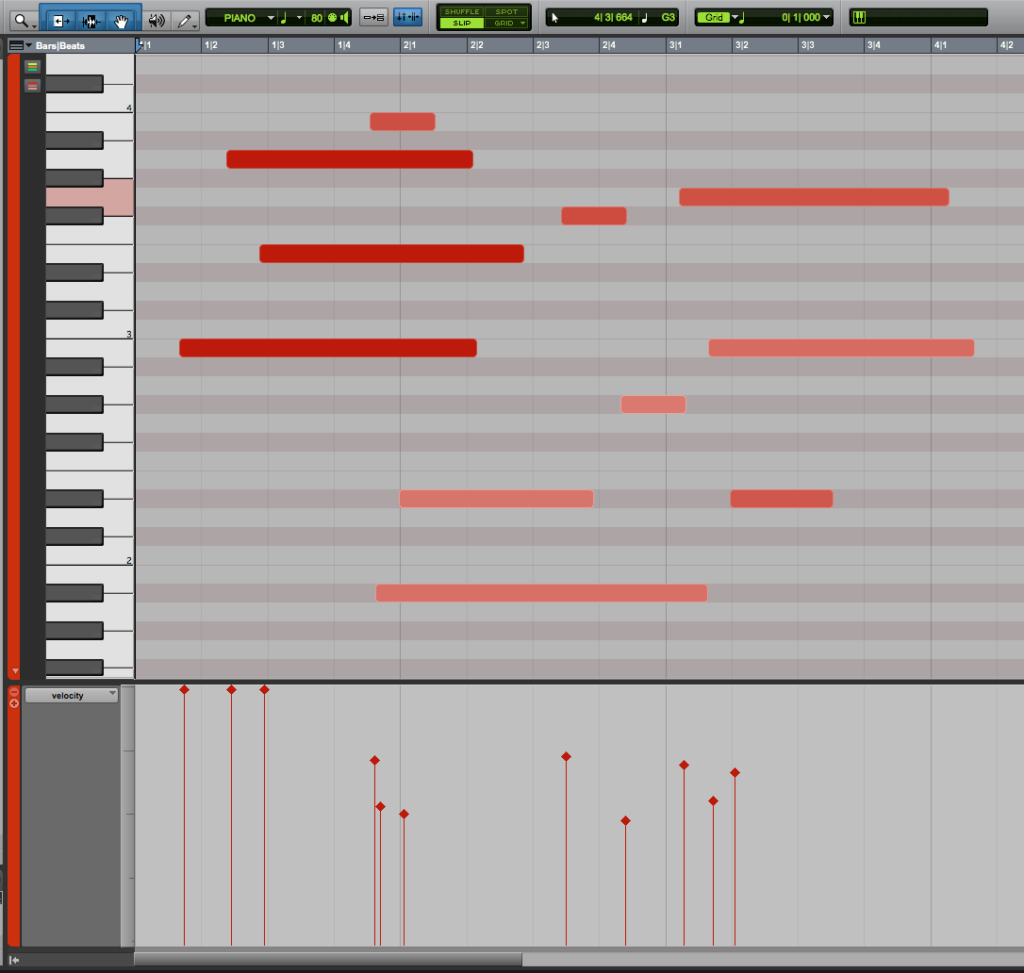
For the purpose of this tutorial we will raise the first three velocities by clicking and dragging them up all the way:
It is easy to see how the first three notes now have higher velocities.
We can also confirm this by looking at the piano roll, the first three notes appear as a darker red, meaning they are “louder” doe their higher velocities:
You can now press play, and those notes will in fact sound “louder”.
At this point, we have successfully explained How to Manually Change MIDI Velocity in Pro Tools.
Using Avid Pro Tools software to produce music would be ideal with one of our professionally designed PCAudioLabs Systems due our high-performance specifications in order to work with any of the Digital Audio Workstations supported. If you would like to order one of our PCAudioLabs computers, please call us at 615-933-6775 or click this link for our website.


