MixConsole in Cubase
This blog is part of our new series of tutorials based on the new version of Steinberg Cubase 12.
Want to learn how to use Steinberg Cubase in real time, with a professional digital audio trainer? It’s faster than blogs, videos, or tutorials. Call OBEDIA for one on one training for Steinberg Cubase and all digital audio hardware and software. Mention this blog to get 15 bonus minutes with your signup! Call 615-933-6775 and dial 1, or visit our website to get started.
Need a Pro Audio laptop or Desktop PC to run Steinberg Cubase software and all of its features at its best?
Check out our pro audio PCs at PCAudioLabs.
MixConsole in Cubase
Cubase has several windows that you can use to work in your production.
The MixConsole window will be your second-most-used window since it displays your faders, inserts, processing and all the routing parameters resembling an analog console.
This window is designed to be operated during mixing because it shows meters, faders and pan pots.
You will find it useful to switch between the MixConsole and Project Window by pressing the F3 key.
This tutorial will give you an overview of the MixConsole in Cubase!
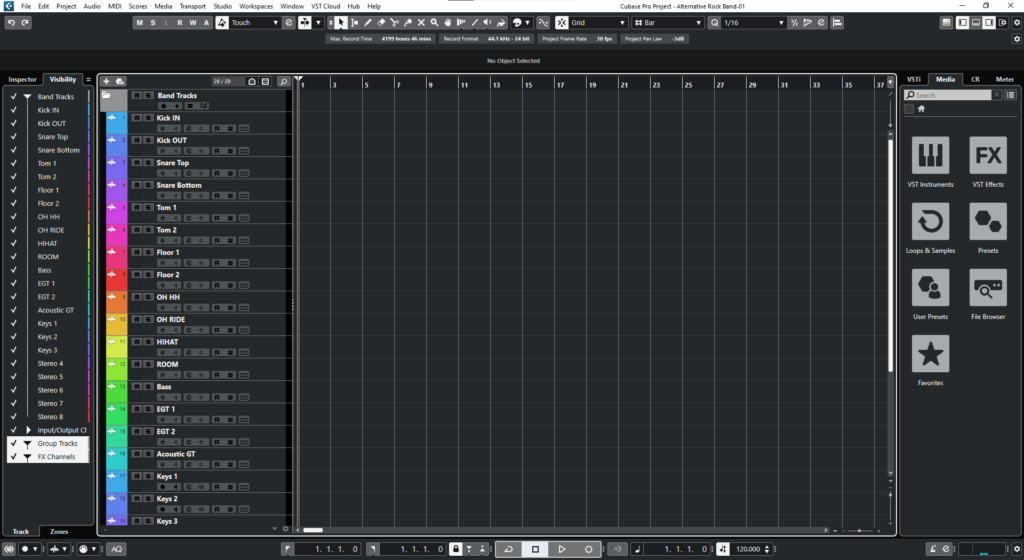
- Open your Cubase project:
2. Press F3 to open your MixConsole:
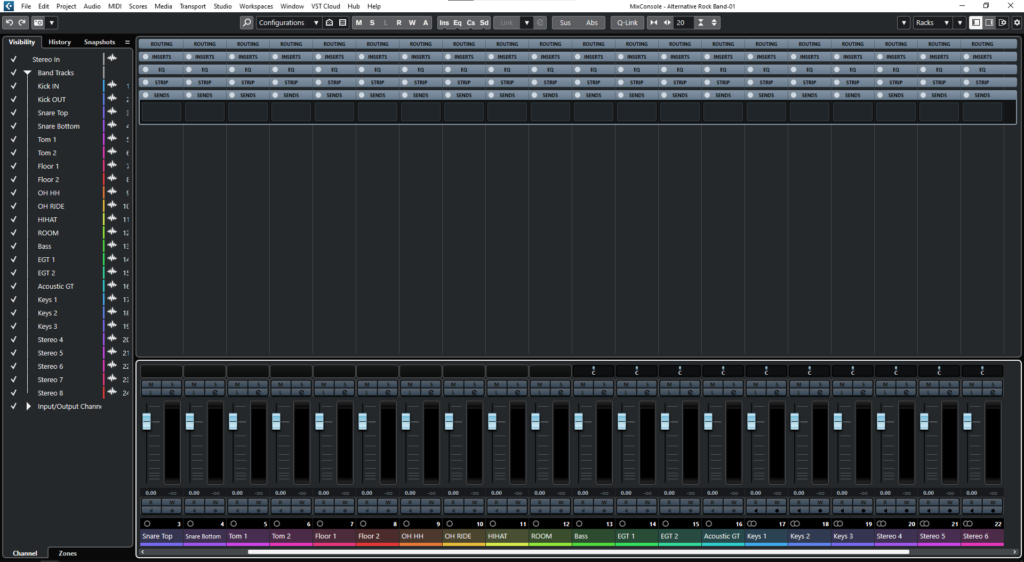
Your MixConsole will open as:
The MixConsole has three main areas that you want to explore:
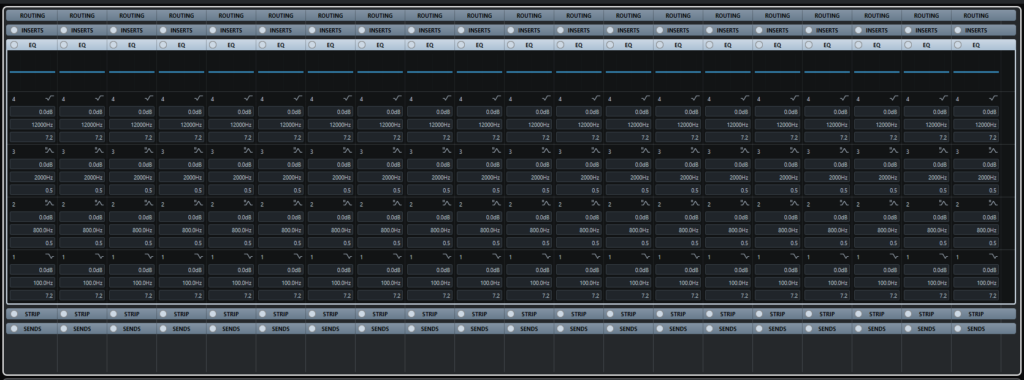
- Main Zone: This area contains your routing, inserts, EQ, and sends from your channel strip. The signal flows in a series, just like an analog board. You can click on any of the options to expand their parameters:
- Below Zone: This area contains the faders and pan pots associated to each of the channels. It also has solo, mute, listen and record buttons. Automation record can also be enabled on a per-channel basis.
- Left Zone: This area contains the Visibility, History and Snapshot tabs.
The Visibility tab shows your tracks list. You can show/hide your tracks by clicking on the check mark to the left of their associated names.
The History tab lets you “go back in time” with the actions and operations you perform at the MixConsole in order to recall previous settings.
The Snapshots tab lets you load pre-defined snapshots or presets of your console for easier recalling.
And that is your MixConsole in Cubase! Start playing back your projects and explore this window, you will enjoy it!
We hope you found this tutorial on the MixConsole in Cubase helpful!
Using Steinberg Cubase software to produce music would be ideal with one of our professionally designed PCAudioLabs Systems due our high-performance specifications in order to work with any of the Digital Audio Workstations supported. If you would like to order one of our PCAudioLabs computers, please call us at 615-933-6775 or click this link for our website.


