Project Window in Cubase
This blog is part of our new series of tutorials based on the new version of Steinberg Cubase 12. In this blog, we will be learning how to use the Project Window in Cubase.
Want to learn how to use Steinberg Cubase in real time, with a professional digital audio trainer? It’s faster than blogs, videos, or tutorials. Call OBEDIA for one on one training for Avid Pro Tools and all digital audio hardware and software. Mention this blog to get 15 bonus minutes with your signup! Call 615-933-6775 and dial 1, or visit our website to get started.
Need a Pro Audio laptop or Desktop PC to run Steinberg Cubase software and all of its features at its best?
Check out our pro audio PCs at PCAudioLabs.
Project Window in Cubase
Cubase has several windows that you can use to work in your production.
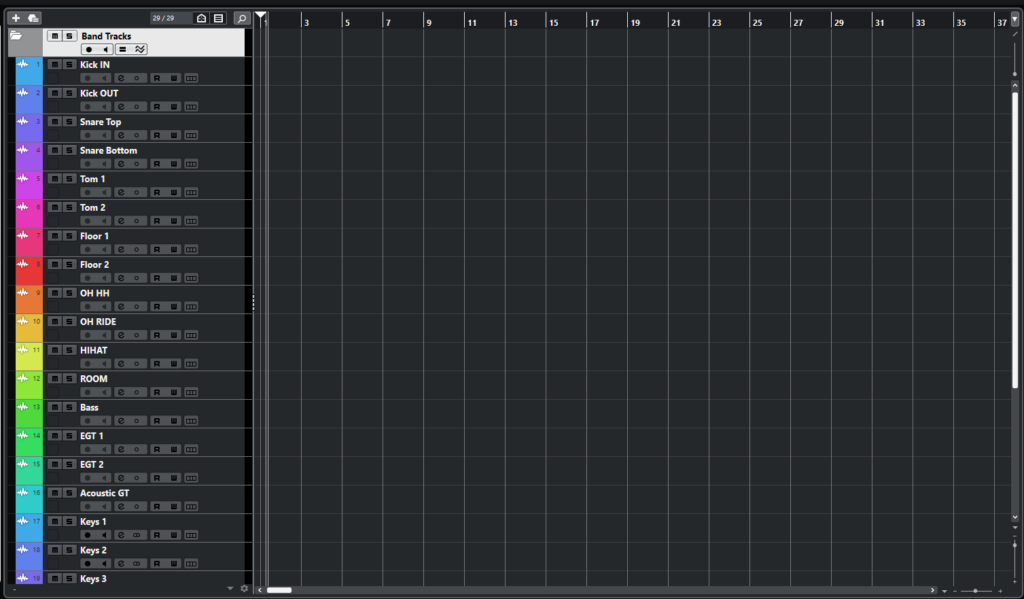
The Project Window is the main window that you are going to be using because that is where your timeline and list of tracks are displayed.
The Project Window also contains tabs and tools located to the sides, above and below the main timeline that add more functions to the project.
This tutorial will give you an overview of the Project Window in Cubase!
- Open a Cubase Project:
There are different “zones” in this window, that can be listed as:
- Project Zone
- Left Zone
- Right Zone
- Lower Zone
The Project Zone is the center of your Project Window. It shows the toolbar, the tracks and their associated timeline:
The Left Zone shows the “Inspector” and the “Visibility” lists as:
- The Inspector lets you control solos, mutes, inputs, outputs, inserts and processing of each of the tracks.
- The Visibility list, lets you pick the tracks that will be displayed (or hidden) on the timeline:
The Right Zone show the VSTi rack, the Media rack, the Control Room rack, and the Meter rack:
- The VSTi Rack shows your active virtual instruments in the Project as well as some of their associated parameters as:
- The Media Rack shows VSTs instruments, effects, loops and samples that you can drag into the Project window:’
- The Control Room Rack shows all the possible features and functions you would have in an analog board’s center section such as master level knob, master mute, dim, among others:
- The Meter Rack shows the meters associated to the main stereo output. Meters can be set to different loudness and peak scales:
And last, but not least, the Lower Zone shows a smaller version of the MixConsole, Editor, Sampler Control, Chord Pads and MIDI Remote:
- The MixConsole tab of the lower zone presents the faders for each channel as well as the standard solo, mute, record enable and pan configurations:
- The Editor lets you edit MIDI events:
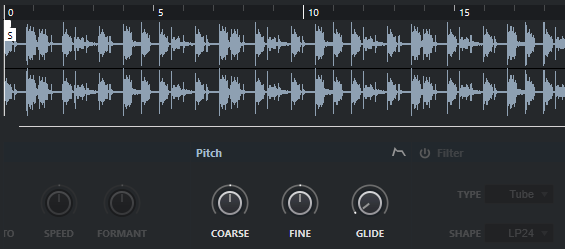
- The Sampler Control lets you edit your audio samples within the project:
- The Chord Pads lets you play with chords, and change voicings if needed:
- The MIDI Remote lets you load scripts for MIDI remote controllers for more advanced MIDI operations:
And that is the Project Window overview in Cubase! Go ahead and keep exploring these tabs!
We hope you found this tutorial on the Project Window in Cubase helpful!
Using Steinberg Cubase software to produce music would be ideal with one of our professionally designed PCAudioLabs Systems due our high-performance specifications in order to work with any of the Digital Audio Workstations supported. If you would like to order one of our PCAudioLabs computers, please call us at 615-933-6775 or click this link for our website.


