Table of Contents
Normalizing Track Volume for Live Performance in Ableton
This blog is part of our new series of tutorials based on the functions and features included in Ableton for Live Performance using background tracks.
Want to learn how to use Ableton Live in real time, with a professional digital audio trainer? It’s faster than blogs, videos, or tutorials. Call OBEDIA for one on one training for Ableton Live and all digital audio hardware and software. Mention this blog to get 15 bonus minutes with your signup! Call 615-933-6775 and dial 1, or visit our website to get started.
Need a Pro Audio laptop or Desktop PC to run Ableton Live software and all of its features at its best?
Check out our pro audio PCs at PCAudioLabs.
Normalizing Track Volume for Live Performance in Ableton
When you are using background tracks, you might find yourself in situations in which the engineer is asking for more volume on specific tracks on your end.
This typically happens when tracks have not been normalized.
Tracks that are normalized, are as loud as possible, without clipping.
Ableton can normalize a track by raising its gain, to the maximum point below clipping.
Once tracks have been normalized, engineers barely ever need to add more gain to them.
This helps in getting better signal-to-noise ratio in the system as well as better gain staging , ultimately yielding better sound.
How can we do this?
Let’s give it a shot!
-
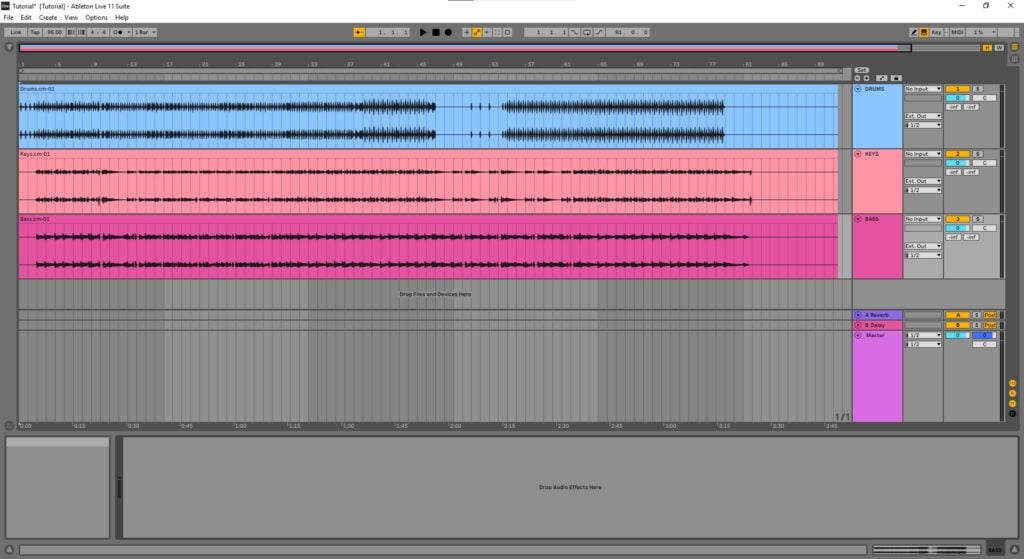
Open your Live set:
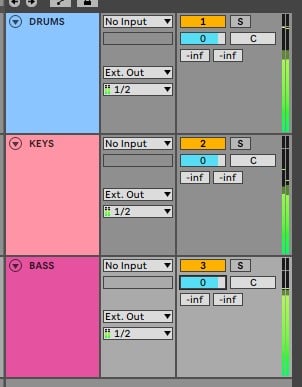
2. Press Play and check your track levels:
As you can see, our peak meters are not as high as they can go. They barely hit the middle of the meter. We need to normalize these tracks.
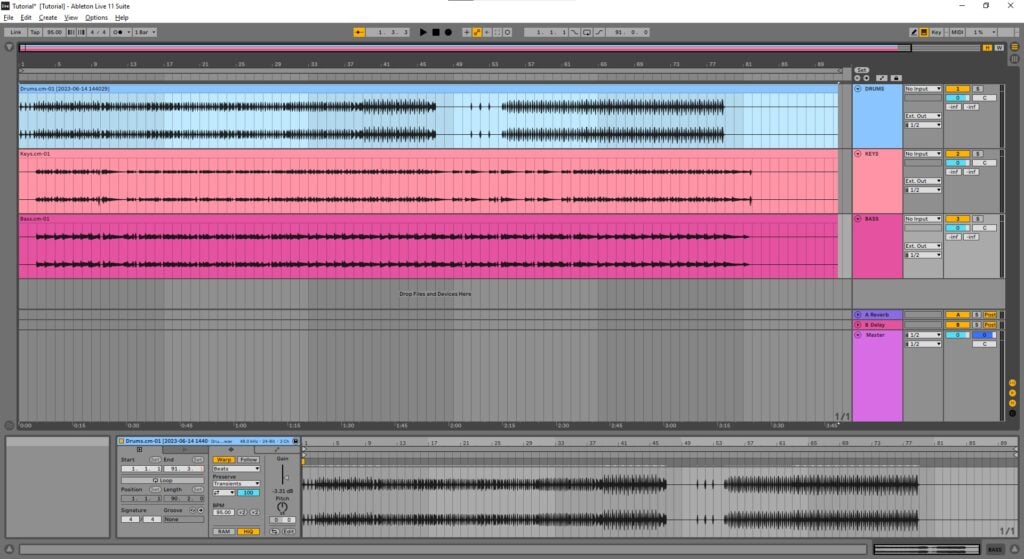
Let’s start by normalizing the first track, labeled as “DRUMS”.
3. Click on the DRUMS audio clip to select it:
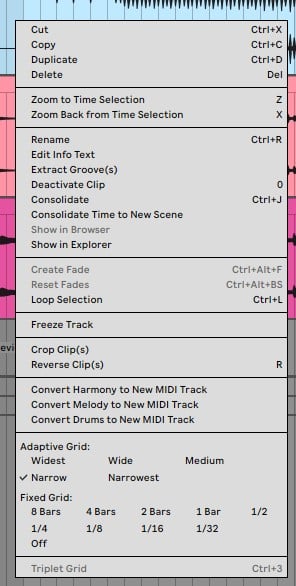
4. Right click on the audio clip, and the following options will appear:
5. Click on “Consolidate”:
The track will consolidate as:
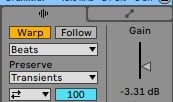
6. Locate the “Clip Gain” area below:
As you can see, the clip gain slider shows “-3.31” meaning that this track could go up 3.31 dB of gain before clipping.
7. Double click on the Gain slider to make it go to 0 dB:
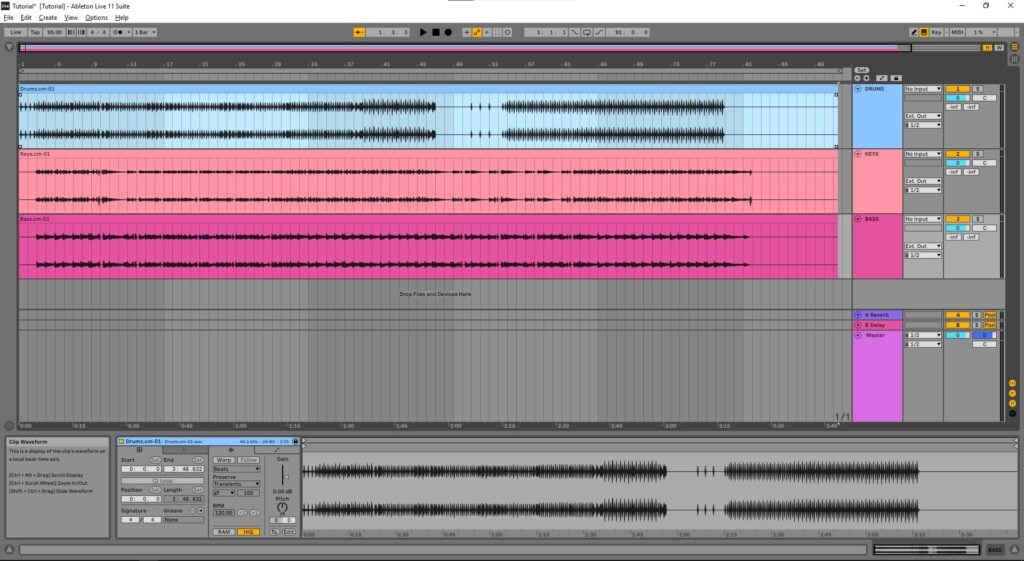
If you look at the track’s waveform now, it is easy to see how it is bigger, meaning it is now higher in level:
8. Repeat steps 3 to 7 on the remaining tracks:
They will now look as:
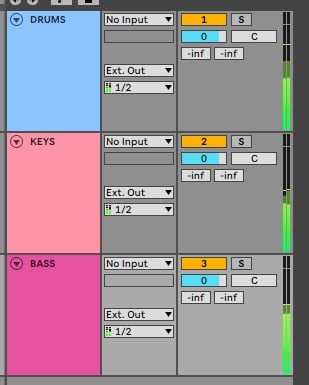
9. Press Play and check the meters:
They are way louder now, but they are not clipping.
We have normalized the tracks successfully.
And that is it! Now you know how to Normalize Track Volume for Live Performance in Ableton
Using Ableton Live software to produce music would be ideal with one of our professionally designed PCAudioLabs Systems due our high-performance specifications in order to work with any of the Digital Audio Workstations supported. If you would like to order one of our PCAudioLabs computers, please call us at 615-933-6775 or click this link for our website.

