Overview of Avid Pro Tools Windows
This blog is part of our new series of tutorials based on Avid’s flagship Digital Audio Workstation, Pro Tools.
Want to learn how to use Avid Pro Tools in real time, with a professional digital audio trainer? It’s faster than blogs, videos, or tutorials. Call OBEDIA for one on one training for Avid Pro Tools and all digital audio hardware and software. Mention this blog to get 15 bonus minutes with your signup! Call 615-933-6775 and dial 1, or visit our website to get started.
Need a Pro Audio laptop or Desktop PC to run Avid Pro Tools software and all of its features at its best?
Check out our pro audio PCs at PCAudioLabs.
Table of Contents
Getting started with an Overview of Avid Pro Tools Windows
Pro Tools is a software that lets you produce, record, edit and mix audio performances within a “session”.
These stages related to the creation of a song can be developed in special windows that Pro Tools has offered to the user.
When you record for example, you can “see” the waveform on a timeline in your Edit Window, but when you are mixing, you can “see” the console in your Mix Window.
Having these different windows lets you organize your tasks more efficiently and makes the whole production process easier to understand because of its optimized graphic interface that resembles a console, a piano, and a timeline, just to name a few.
On this tutorial, we will study the different Pro Tools windows and mention the recommended uses for each of these.
1. Create or open an existing Pro Tools session:
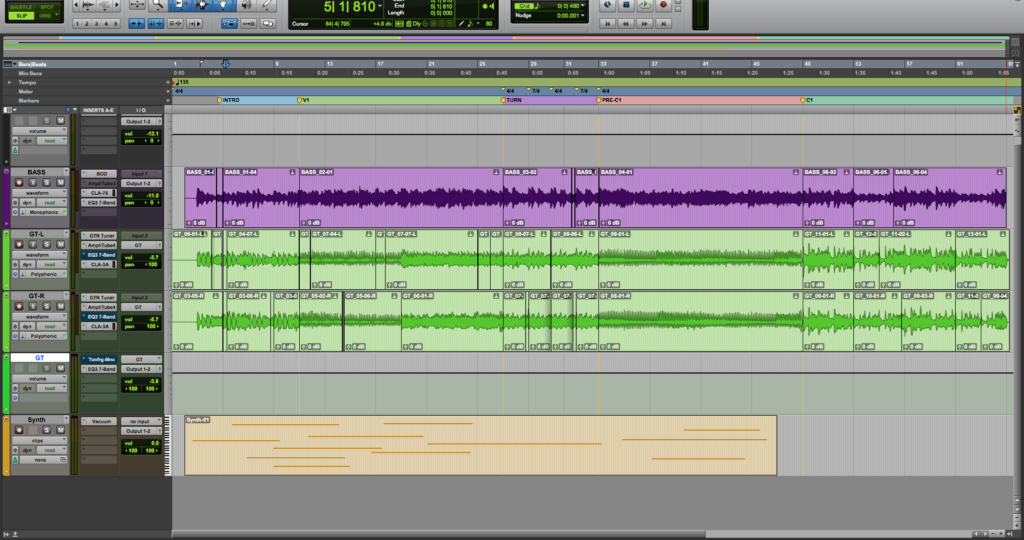
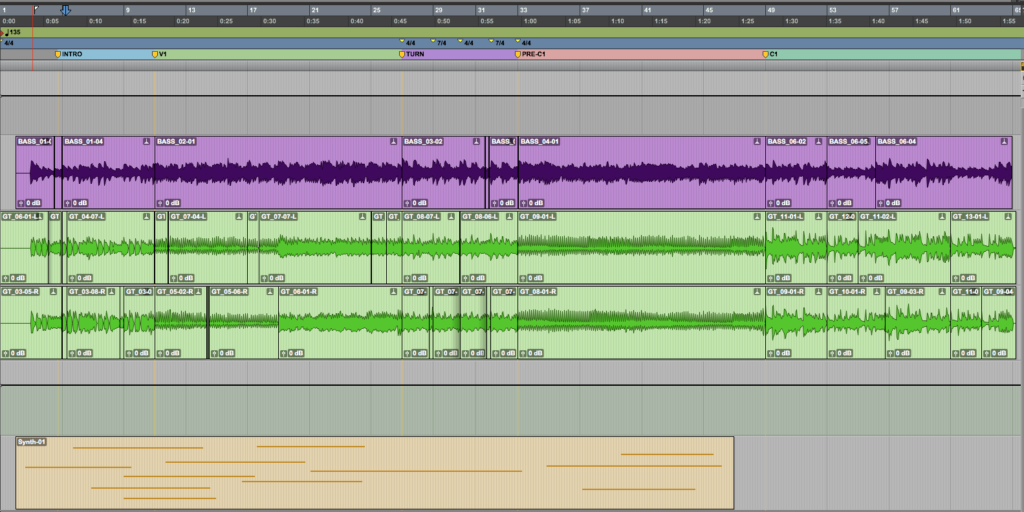
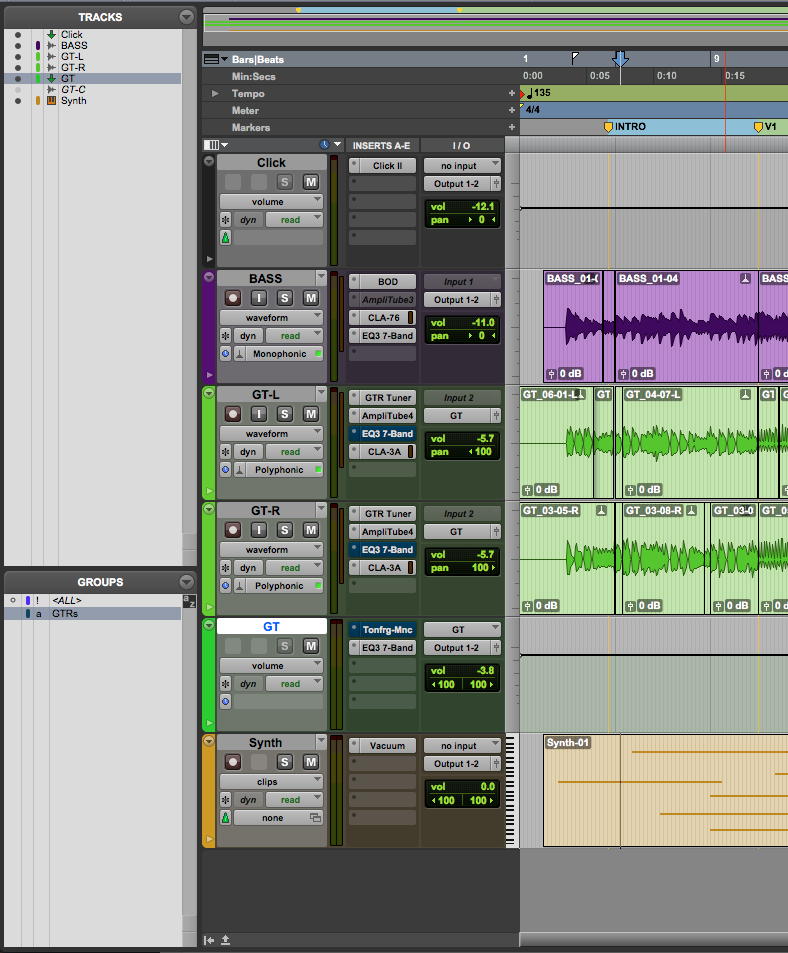
What we see here the main window in Pro Tools. The name is “Edit” window. It shows a timeline where audio wave forms as well as MIDI clips are located. Everything in the “Edit” window is shown in chronological order, from left to right.
Clips that happen on the left are prior in time to the clips that happen on the right. The scale is linear and the playback happens from left to right.
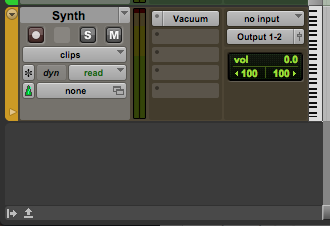
The edit window can also show the track names, their associated I/O and plugin assignments to the left of each track’s timeline as:
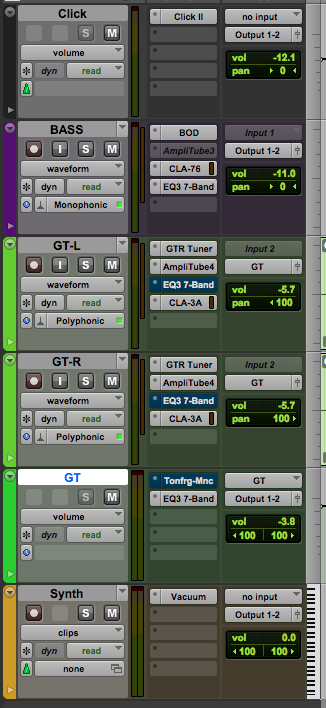
The Edit Window also has 2 tabs that can be shown or hidden by the user. These tabs are called “Tracks/Groups” and “Clips”.
2. Locate the bottom left side of the Edit window:
3. Click on the “arrow” that points to the right in order to show/hide the “Tracks/Groups” tab:
The “Tracks/Groups” tab is now shown as:
This tab lets the user hide or show different tracks as well as enable/disable the created groups.
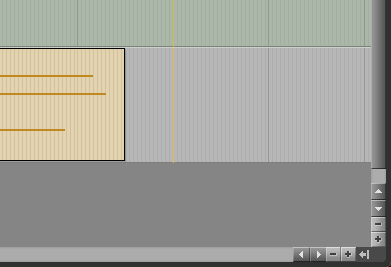
The other tab is the “Clips” tab. It can be shown/hidden by clicking on the arrow that points to the left, located at the bottom right part of the Edit window.
4. Locate the bottom right side of the Edit window:
5. Click on the “arrow” that points to the left in order to show/hide the “Clips” tab:
The “Clips” tab is now shown as:
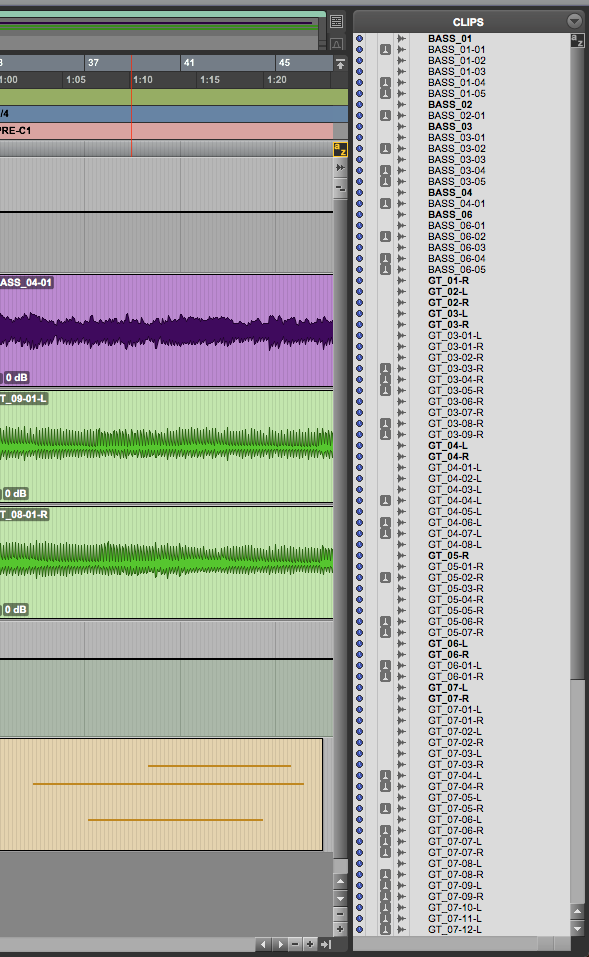
This tab lets the user select, delete and drag clips into the Pro Tools Session.
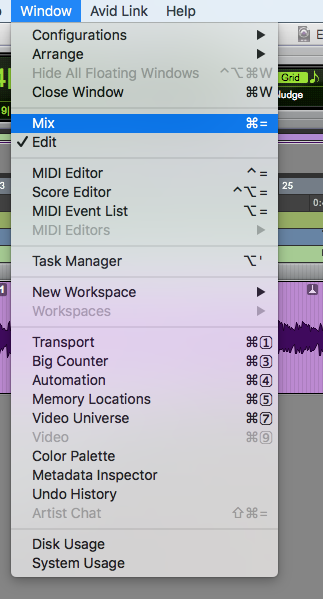
There is another Window that you will use frequently when mixing. This is called the “Mix Window”, and it basically resembles an analog console with individual channel strips that have their own associated faders. In order to show this window, you must do the following:
6. On the top menu, click on: Window -> Mix:
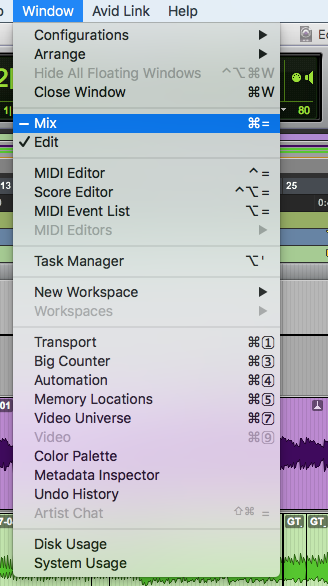
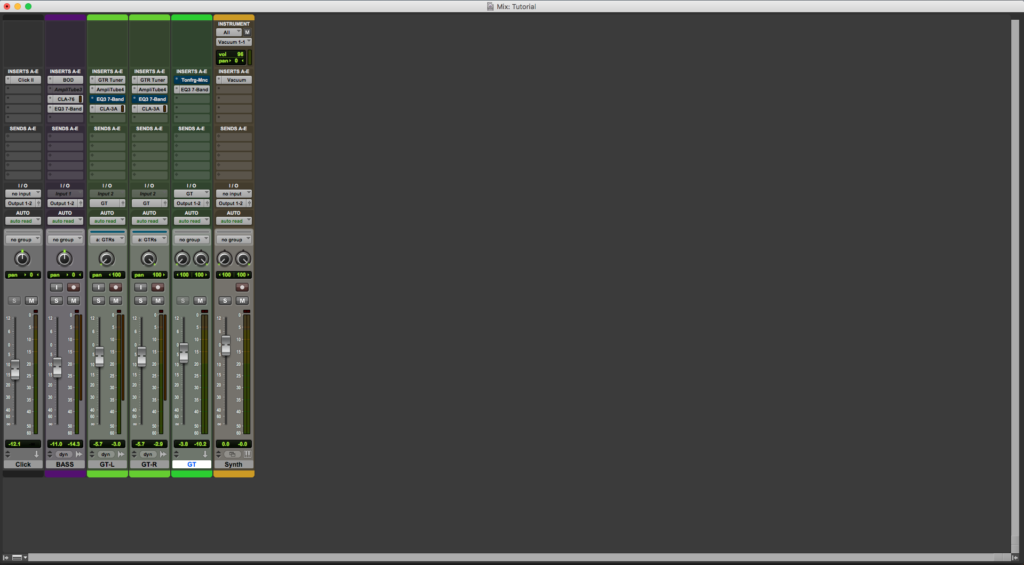
Once clicked, the Mix Window will appear as:
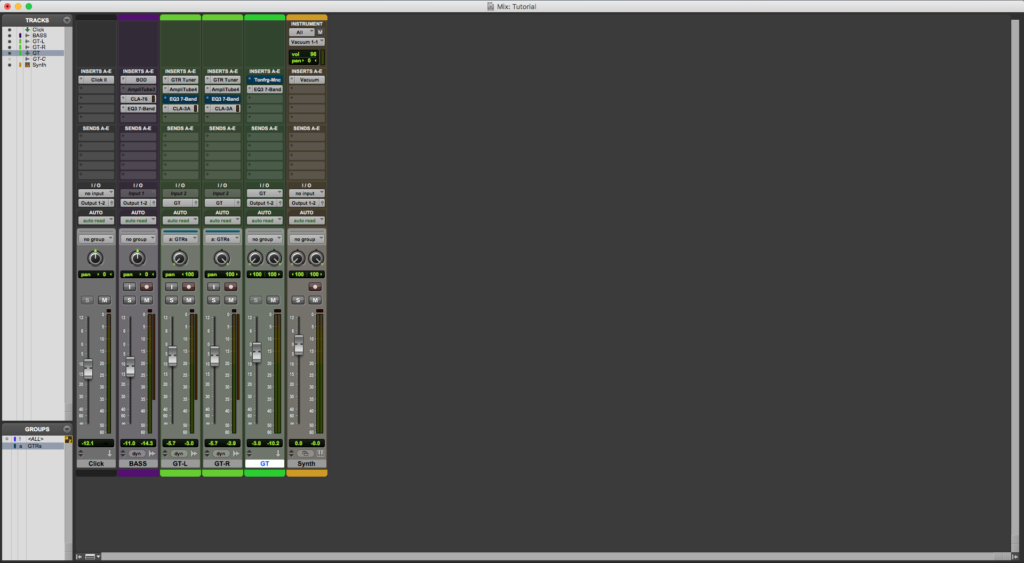
It easy to see how this window presents every single track as a “channel strip” where users can control the volume using the fader, add inserts, set the pan position, and all the console-related procedures used during mixing.
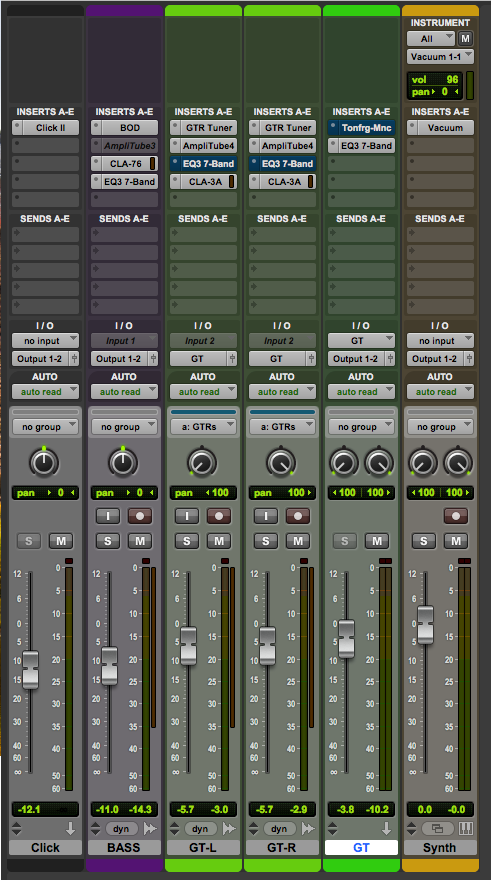
This window also presents the “Tracks/Groups” tab from the Edit Window.
There is a third window that you will use considerably, specially when working with virtual instruments during the production stage of a song. This window is called the “MIDI Editor”.
The MIDI Editor presents all the tools necessary to manipulate MIDI information of a MIDI clip such as the note value, length, velocity, etc. You can use it to edit a MIDI performance or to create it from zero.
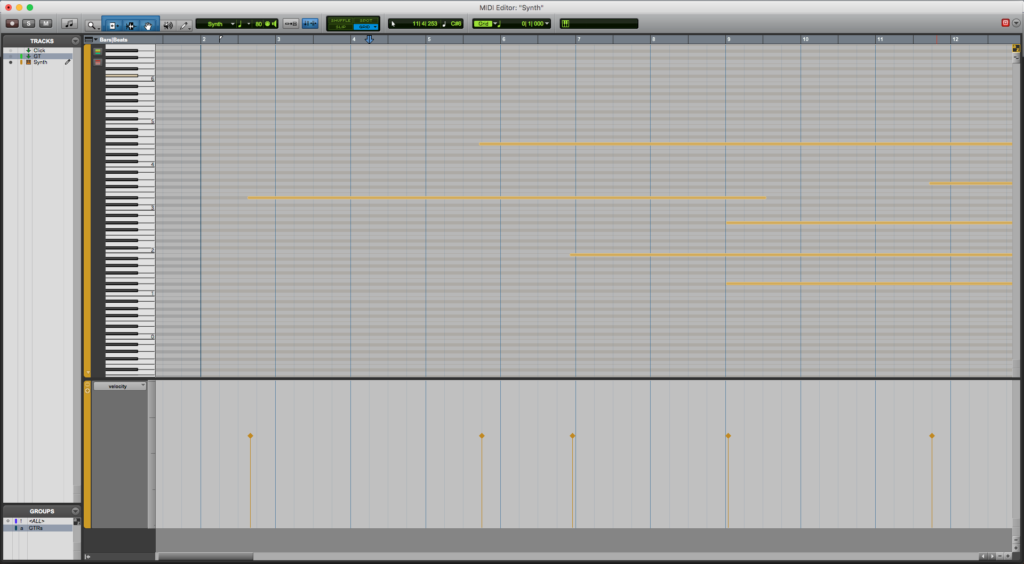
7. To show the MIDI Editor window, locate on the top menu and click on: Window -> MIDI Editor:
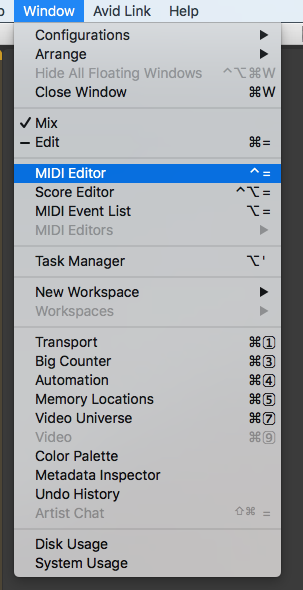
The MIDI Editor will appear as:
On this window, you can edit the MIDI notes, modify the velocity and other MIDI messages and other MIDI functions following a “Piano Roll” graph that shows note by note on the keyboard. All of these procedures can be done per each track individually.
These three Pro Tools Windows are the ones where most producers and engineers will be working with this program.
At this point we have successfully explained an Overview of Avid Pro Tools Windows.
Using Avid Pro Tools software to produce music would be ideal with one of our professionally designed PCAudioLabs Systems due our high-performance specifications in order to work with any of the Digital Audio Workstations supported. If you would like to order one of our PCAudioLabs computers, please call us at 615-933-6775 or click this link for our website.

