Pan Automation in Pro Tools
This blog is part of our new series of tutorials based on Avid’s flagship Digital Audio Workstation, Pro Tools.
Want to learn how to use Avid Pro Tools in real time, with a professional digital audio trainer? It’s faster than blogs, videos, or tutorials. Call OBEDIA for one on one training for Avid Pro Tools and all digital audio hardware and software. Mention this blog to get 15 bonus minutes with your signup! Call 615-933-6775 and dial 1, or visit our website to get started.
Need a Pro Audio laptop or Desktop PC to run Avid Pro Tools software and all of its features at its best?
Check out our pro audio PCs at PCAudioLabs.
Getting started with how to apply Volume Automation in Pro Tools
Pro Tools is a software that lets you produce, record, edit and mix audio as well as MIDI performances.
During the mixing stage of a song, it is crucial to apply automation procedures when needed. Automation lets us “program” a certain parameter of the software such as the volume (fader position), pan position, mutes or insert parameters so that they change automatically on certain parts of the song in order to create aesthetic effects.
Automation can be written or recorded so that the software can later play it back exactly as it was originally stored.
Today, we will explore how to apply Pan Automation in ProTools.
In other words, we will program changes in the pan pot position that will affect the position of the sound source within the stereo field.
-
Create or open an existing Pro Tools session:
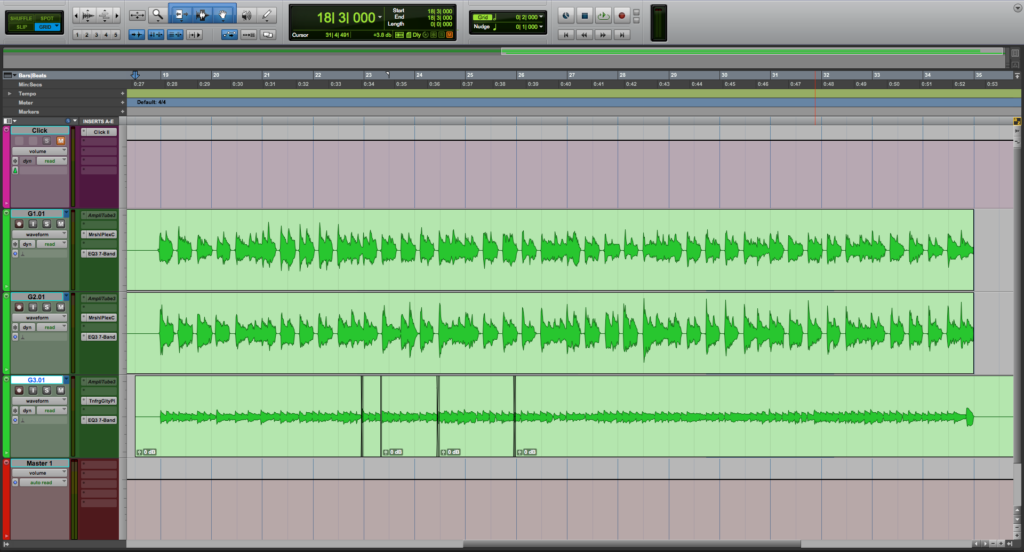
Make sure the session contains at least one track:
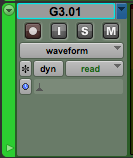
2. Make sure “Read” Mode is enabled on the track you will apply automation:
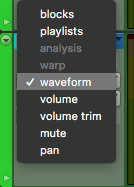
3. Locate the Track View Selector:
4. Click on “Pan”:
The track will now display the pan automation line as:
The black line show, represents the pan curve. It is easy to note, the line is exactly in the middle of the waveform, meaning the panning is set to center.
Using pan automation, we can program changes of the pan position. Values of the pan automation line located above the middle represent panning positions towards the left, while the values of the pan automation line located below the middle represent panning positions towards the right.
Now we must create two automation points so that we can modify the pan automation curve.
5. Create two automation points by holding control+click (Windows) or Command+click (macOS) on the desired locations:
6. Click and drag the pan automation curve between the automation points in order to pan the source to the left (up) or to the right (down):
It is easy to see how we have raised the pan automation line on that area, meaning that we have panned the source towards the left.
You can now press play and the pan pot will jump to the left on that area of the song, and then jump back to the center, giving you the impression that the sound source is moving within sound field.
This is the simplest procedure you must follow in order to apply Pan Automation in Pro Tools.
At this point, we have successfully explained how to apply Pan Automation in Pro Tools.
Using Avid Pro Tools software to produce music would be ideal with one of our professionally designed PCAudioLabs Systems due our high-performance specifications in order to work with any of the Digital Audio Workstations supported. If you would like to order one of our PCAudioLabs computers, please call us at 615-933-6775 or click this link for our website.


