Pre and Post Roll in Pro Tools
This blog is part of our new series of tutorials based on Avid’s flagship Digital Audio Workstation, Pro Tools.
Want to learn how to use Avid Pro Tools in real time, with a professional digital audio trainer? It’s faster than blogs, videos, or tutorials. Call OBEDIA for one on one training for Avid Pro Tools and all digital audio hardware and software. Mention this blog to get 15 bonus minutes with your signup! Call 615-933-6775 and dial 1, or visit our website to get started.
Need a Pro Audio laptop or Desktop PC to run Avid Pro Tools software and all of its features at its best?
Check out our pro audio PCs at PCAudioLabs.
Overview of the Pre and Post Roll in Pro Tools
The Pre and Post Roll functions are located in the Transport Bar in Pro Tools and are specially useful when recording audio material.
Pre Roll is simply a set of bars that you set so that when you press record, it will playback that amount of bars prior to the record location. So if you want to record starting at bar 20, and you set a pre-roll of 2 bars, the playback will then start at bar 18, go thru those two bars and start recording at bar 20.
Post Roll is the opposite of that, and it works after the recording has ended by playing back a certain amount of bars after the recording stops. This means, if your recording ends on bar 30, and you have a Post Roll of 2 bars set, then the recording will stop but the playback will continue until bar 32 and stop there.
These two functions are useful when recording special parts such as solos, in order to hear more or less how it would sound within the song.
Let’s see how it works!
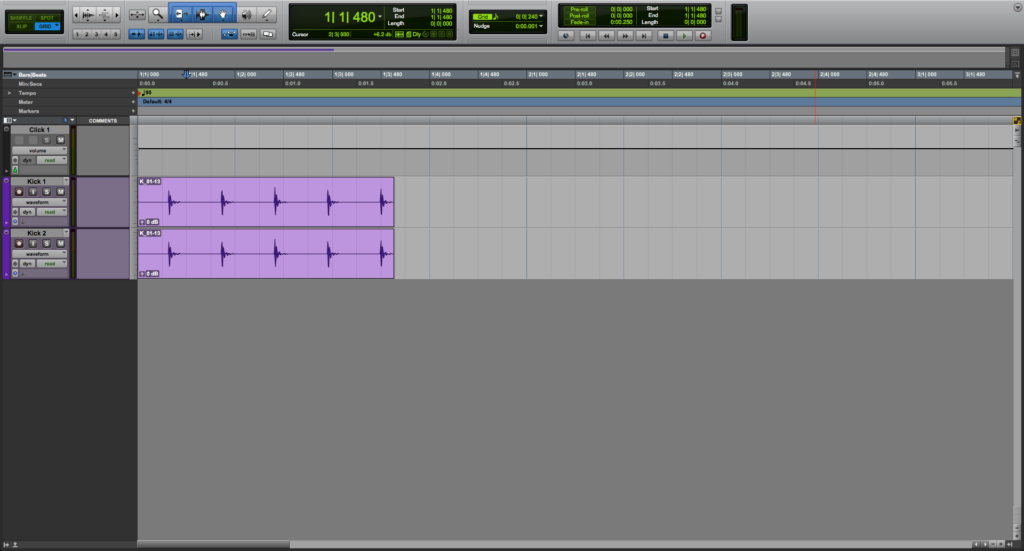
1. Open or create a new Pro Tools session:
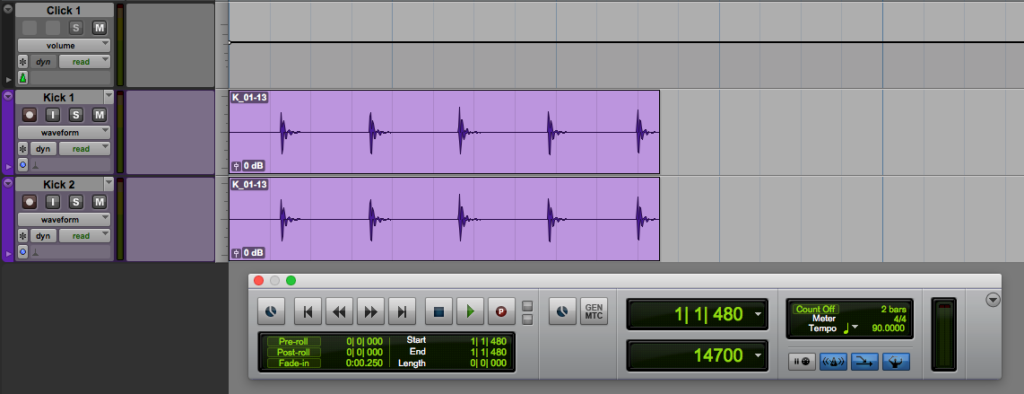
2. Open the Transport Bar with the keyboard shortcut Control + num 1 (Windows) or Command + num 1 (macOS):
3. Locate the Pre-Roll and Post-Roll area:
You can turn ON the Pre and Post roll functions by simply clicking on them. They will turn on Light Green indicating they are engaged as:
The Pre and Post roll length can be easily typed following the bar/beat/tick field from the right:
4. Set the Pre and Post Roll options to 2 bars:
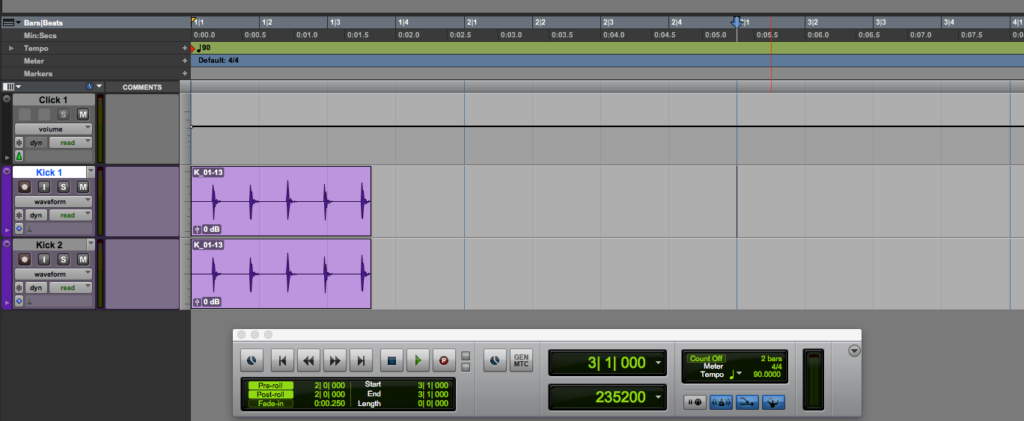
5. Go back to the timeline and set the playback at bar 3:
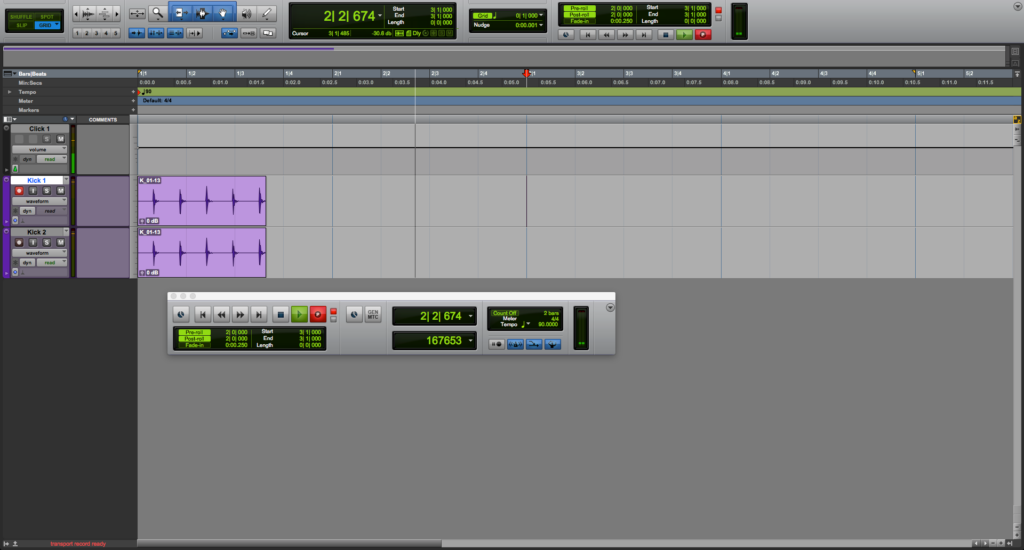
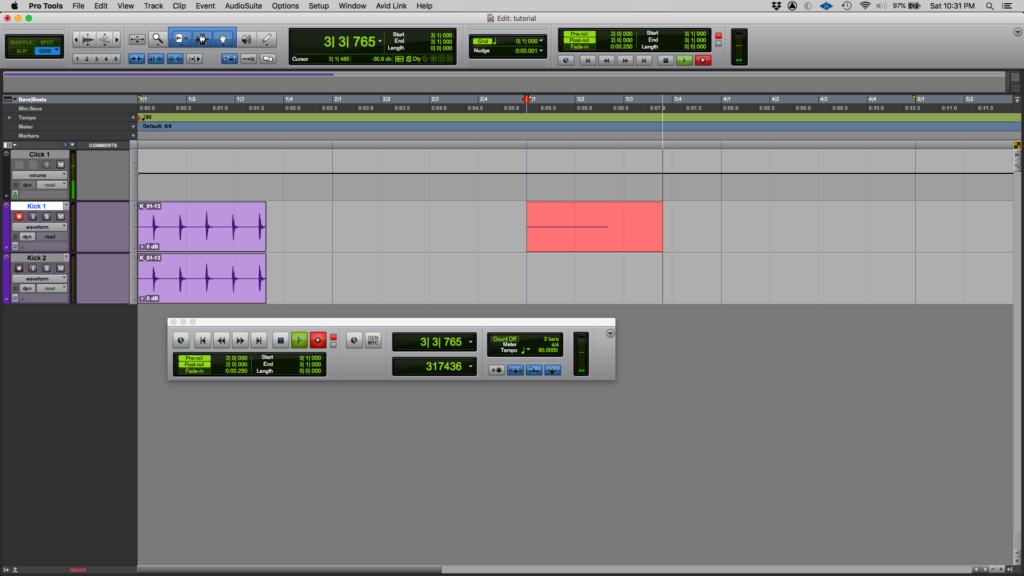
6. Start recording on Bar 3:
It can be seen that the playback started two bars before (because of our 2 bar pre roll).
When the playback hit Bar 3, the recording started as expected:
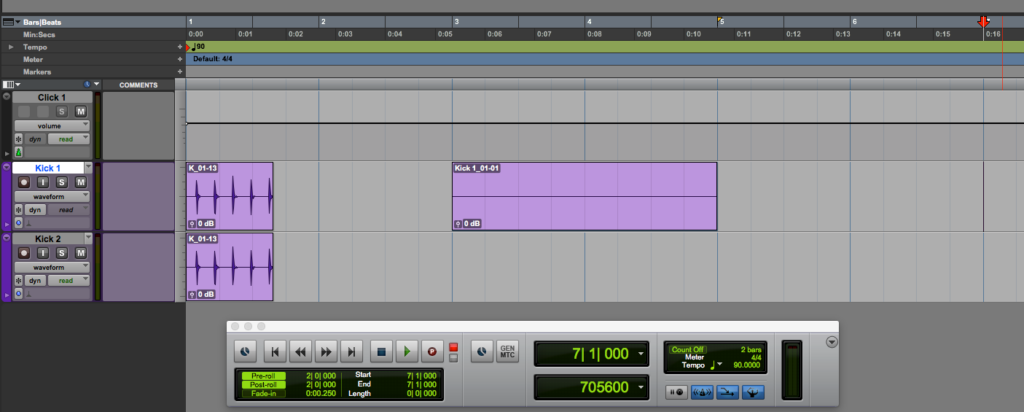
7. Finish the recording by stopping playback:
It can be seen that after stopping the recording, the session kept playing for two more bars until it stopped on bar 7.
And that is it!
At this point, we have successfully explained an overview of the Pre and Post Roll in Pro Tools.
Using Avid Pro Tools software to produce music would be ideal with one of our professionally designed PCAudioLabs Systems due our high-performance specifications in order to work with any of the Digital Audio Workstations supported. If you would like to order one of our PCAudioLabs computers, please call us at 615-933-6775 or click this link for our website.

