Pro Tools Preferences Window: Processing Tab
This blog is part of our new series of tutorials based on Avid’s flagship Digital Audio Workstation, Pro Tools. On the following tutorials, we’ll cover the basic tabs included in Pro Tools Preference window.
Want to learn how to use Avid Pro Tools in real time, with a professional digital audio trainer? It’s faster than blogs, videos, or tutorials. Call OBEDIA for one on one training for Avid Pro Tools and all digital audio hardware and software. Mention this blog to get 15 bonus minutes with your signup! Call 615-933-6775 and dial 1, or visit our website to get started.
Need a Pro Audio laptop or Desktop PC to run Avid Pro Tools software and all of its features at its best?
Check out our pro audio PCs at PCAudioLabs.
Getting started with the Pro Tools Preferences Window: Processing Tab
Working on a new DAW requires the user to “set the mirrors before driving”. This means, you must set the preferences of the software in order to adapt it to your personal needs.
The Preferences Window in Pro Tools lets the user set the behavior of all aspects such as the display, operation, editing, mixing, metering, etc.
On today’s tutorial we will study the Processing Tab of the Preferences Window.
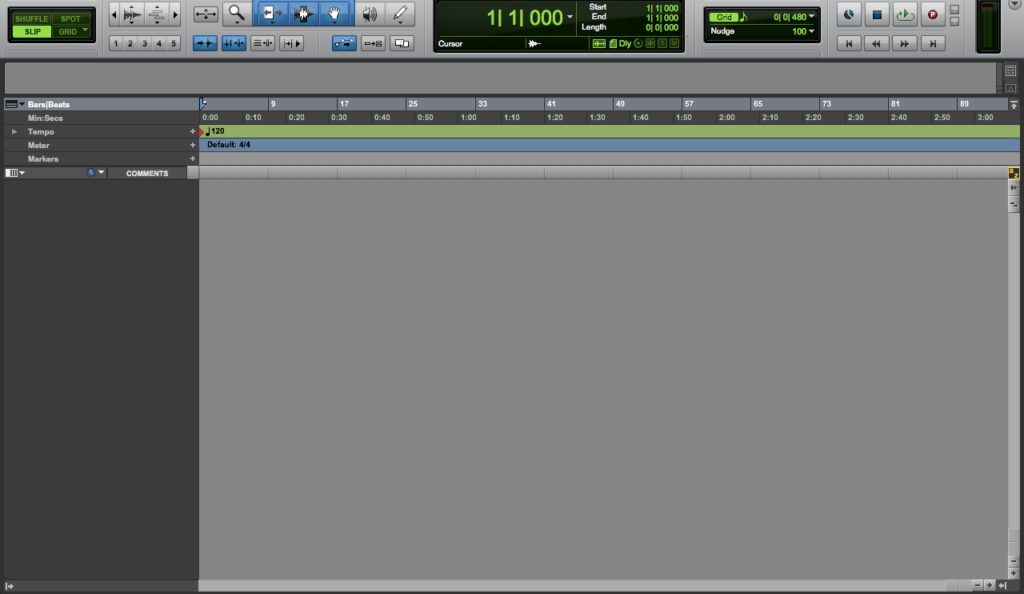
1. Create or open an existing Pro Tools session:
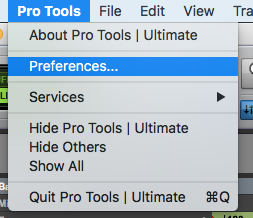
2. Open the preferences window by clicking on Pro Tools -> Preferences:
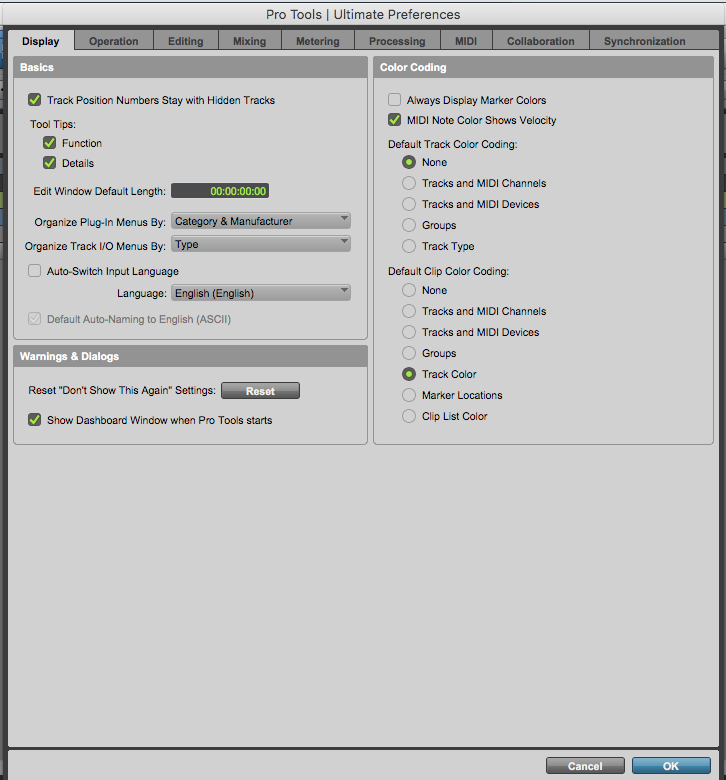
3. The Preferences Window will open as:
4. Click on the “Metering” tab:
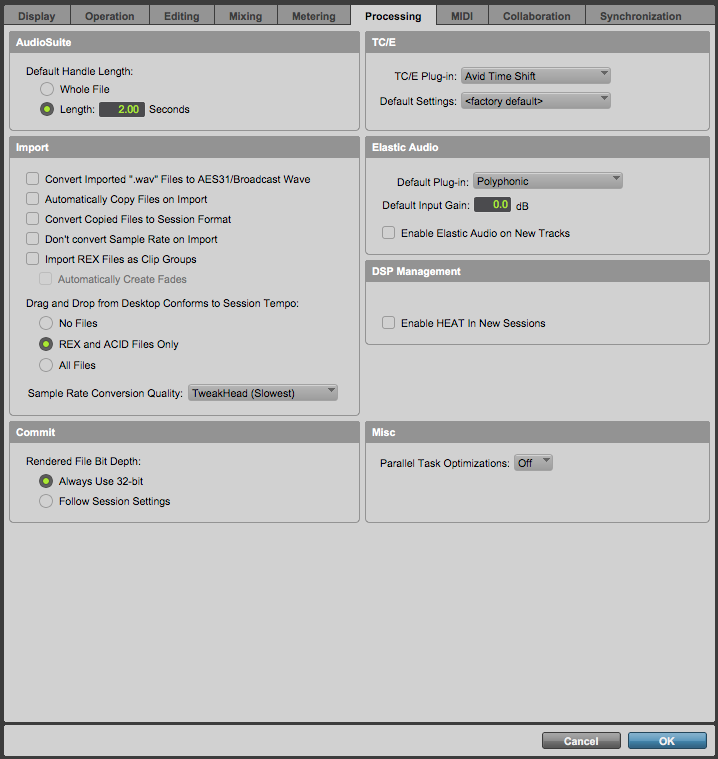
The Metering Tab contains 7 configuration areas. These are:
- AudioSuite:
This area lets the user configure the default handle length of the AudioSuite processing, either as whole file or a specific length.
- TC/E:
This area lets the user select the time compression and expansion algorithm as well as its default settings.
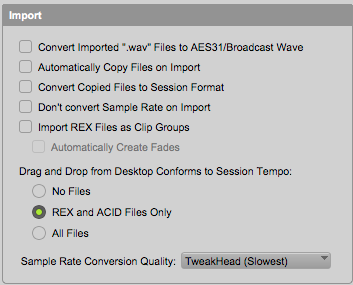
- Import:
This area lets the user control the behavior of imported files. Some of these options include converting .wav files to broadcast wave, automatically copying files on import and converting copie files to session format.
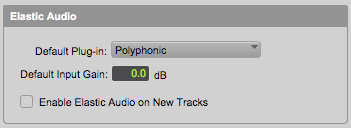
- Elastic Audio:
This area lets the user assign the default elastic audio plugin used and its input gain.
- DSP Management:
This area lets the user enable the HEAT feature in new sessions.
- Commit:
This area lets the user select the bit depth of all committed audio files.
- Misc:
This area lets the user select the different parallel task optimization options.
Once the settings have been applied, the user can simply press OK to apply the settings.
At this point we have successfully explained the Processing Tab of the Pro Tools Preferences Window.
Using Avid Pro Tools software to produce music would be ideal with one of our professionally designed PCAudioLabs Systems due our high-performance specifications in order to work with any of the Digital Audio Workstations supported. If you would like to order one of our PCAudioLabs computers, please call us at 615-933-6775 or click this link for our website.

