Spot Mode in Pro Tools
This blog is part of our new series of tutorials based on Avid’s flagship Digital Audio Workstation, Pro Tools.
Want to learn how to use Avid Pro Tools in real time, with a professional digital audio trainer? It’s faster than blogs, videos, or tutorials. Call OBEDIA for one on one training for Avid Pro Tools and all digital audio hardware and software. Mention this blog to get 15 bonus minutes with your signup! Call 615-933-6775 and dial 1, or visit our website to get started.
Need a Pro Audio laptop or Desktop PC to run Avid Pro Tools software and all of its features at its best?
Check out our pro audio PCs at PCAudioLabs.
Getting started with how to use Spot Mode in Pro Tools
Pro Tools is a software that lets you produce, record, edit and mix audio as well as MIDI performances.
After we are done with the recording stage of a production, we will get into the editing stage.
When editing, we typically correct timing differences, human error, compile takes and create crossfades. In other words, we manipulate and move audio clips on the timeline.
Pro Tools presents four different “Edit Modes” that help us achieve these operations.
Grid Modes affect the movement and placement of audio and MIDI clips, the way commands such as Copy and Paste work, and also how the edit tools operate (trim, selector, grabber, etc).
Today we will learn how to use Spot Mode in Pro Tools:
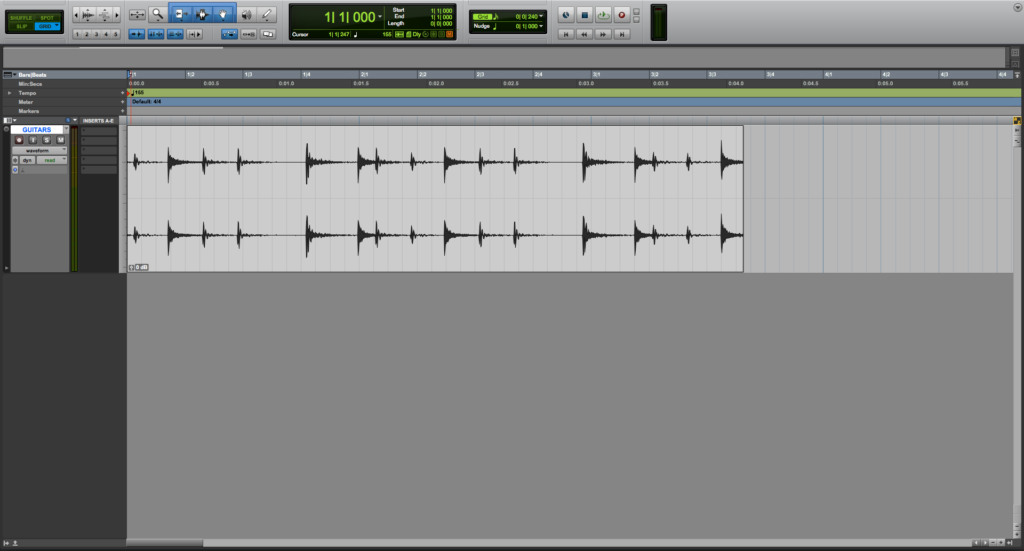
- Create or Open a Pro Tools session:
2. Edit Modes can be selected at the top left menu:
3. Click on “Spot” to select the Spot Mode:
It will turn yellow indicating it is active.
Spot Mode is used to place clips on precise locations.
In this mode you can specify a frame location (or a location based on any time format) for spotting.
When this is active, Pro Tools asks you to specify a destination location when dragging clips into the session.
4. Click on the audio clip from the audio track:
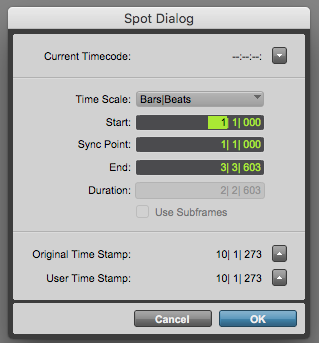
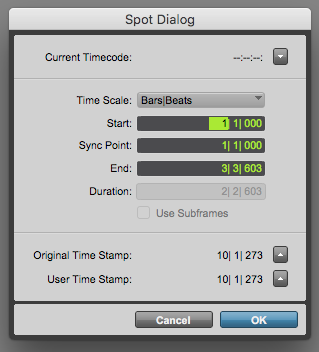
The Spot Dialog will open as:
This window lets you control the start location of the clip, sync point, end, and time scale.
You can also assign the original time stamp to the start of the clip so that it moves to that original location where it belongs.
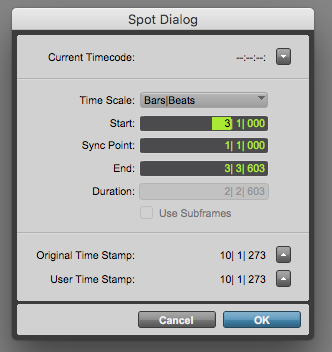
5. Change the Start location to bar 3.:
6. Press OK to apply changes:
The clip will be dragged to start on bar 3.
7. Undo this to take it back to bar 1:
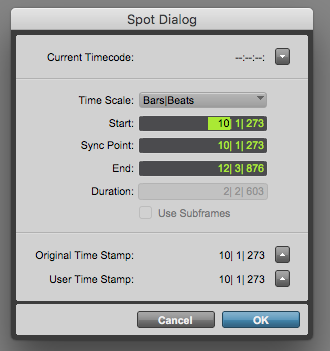
8. Click on the clip again. The Spot Dialog window will reopen as:
We can also Spot the clip to the original time stamp of the audio file, the location where the clip was originally recorded.
9. Click on the “Original Time Stamp” arrow:
The Original Time Stamp values will be copied to the Start, End and Sync Point parameters:
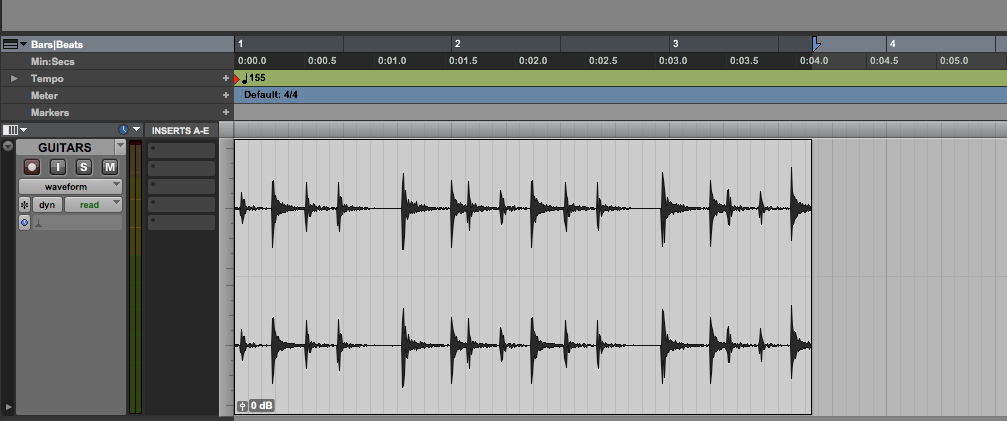
10. Click “OK” to apply changes.
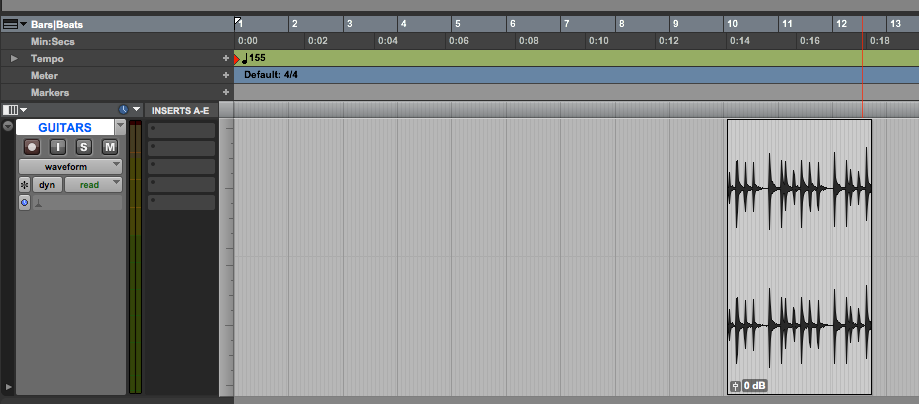
The Audio Clip will be spotted to the original time stamp location as:
And that is it!
At this point, we have successfully explained how to use Spot Mode in Pro Tools.
Using Avid Pro Tools software to produce music would be ideal with one of our professionally designed PCAudioLabs Systems due our high-performance specifications in order to work with any of the Digital Audio Workstations supported. If you would like to order one of our PCAudioLabs computers, please call us at 615-933-6775 or click this link for our website.

