Track Bounce for Sharing Purposes in Pro Tools
This blog is part of our new series of tutorials based on the features included in Avid Pro Tools
Want to learn how to use Avid Pro Tools in real time, with a professional digital audio trainer? It’s faster than blogs, videos, or tutorials. Call OBEDIA for one on one training for Avid Pro Tools and all digital audio hardware and software. Mention this blog to get 15 bonus minutes with your signup! Call 615-933-6775 and dial 1, or visit our website to get started.
Need a Pro Audio laptop or Desktop PC to run Avid Pro Tools software and all of its features at its best?
Check out our pro audio PCs at PCAudioLabs.
Track Bounce in Pro Tools
Pro Tools has several ways to render your audio track processing and create new files for each track in order to share them with other producers and engineers.
Track Bounce is a great method to render the processing of a certain track, into a new track, and save it at a designated location in your drive, that you can later share.
The best aspect of the method is the fact that it is very fast, and it already places the new file on a folder.
Let’s give it a shot!
1. Create or open a Pro Tools session:
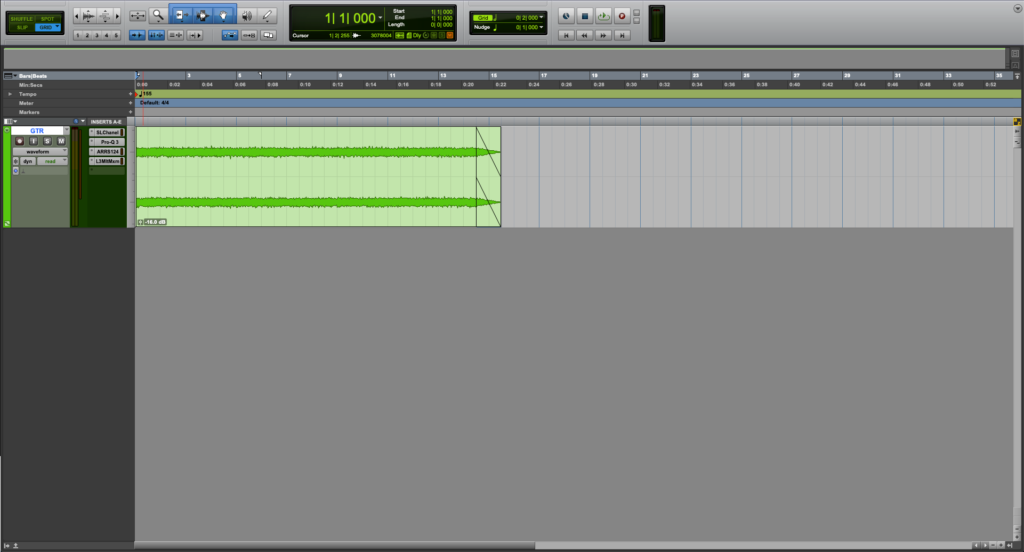
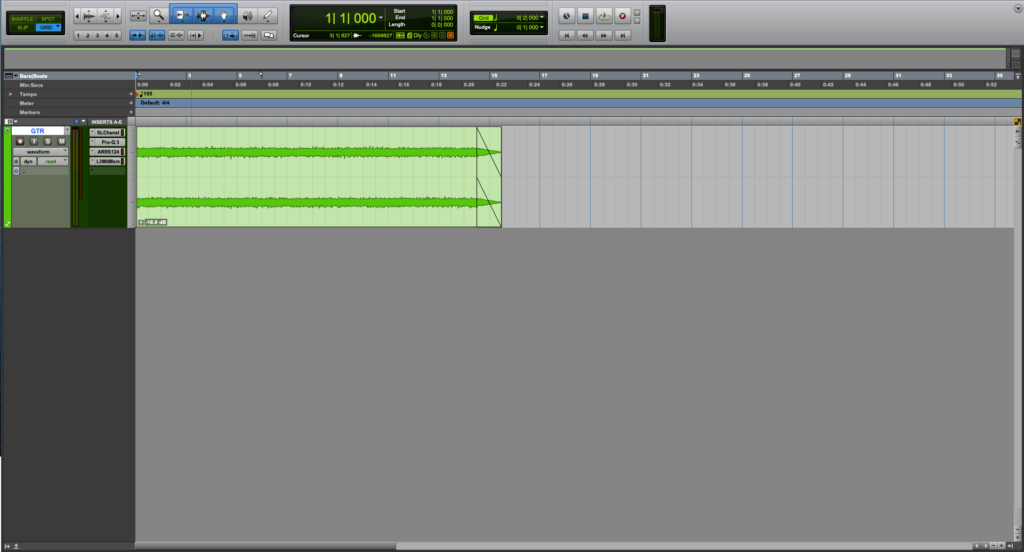
For the purpose of out tutorial, we have a session with a single audio file and several plugins.
From the mix window we can see, how all of these plugins add up to 3578 samples of delay:
So let’s say we need to share this track with the processing already applied because the person that will get it, does not have Pro Tools nor our plugins.
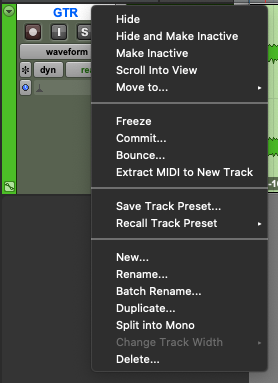
3. Right click on the track name and the following options will appear:
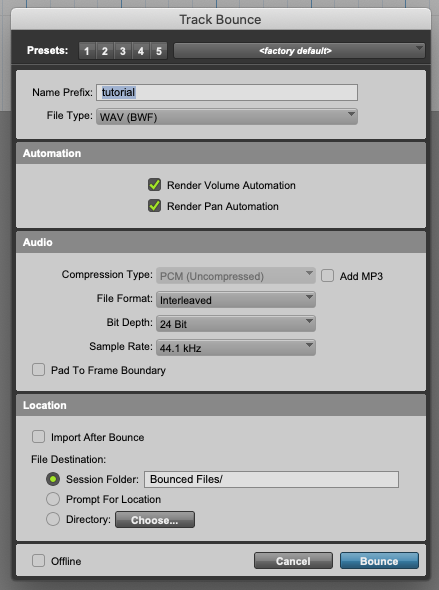
4. Click on “Bounce” and the Track Bounce window will open as:
From this window we get several options such as:
- Name Prefix: This field lets you type the name prefix of the bounced track.
- File Type: This dropdown list lets us select the file type that will be created with the bounce.
- Render Volume Automation: When this option is checked, volume automation will be rendered as part of the new audio file.
- Render Pan Automation: When this option is checked, pan automation will be rendered as part of the new audio file.
- Compression type: This lets us select the compression applied to the file.
- Add MP3: When this is ON, an mp3 version of the bounce will also be created.
- File Format: This drop-down list lets us select between interleaved, mono (summed) and multiple mono.
- Bit depth: This drop-down list lets us select the bit resolution of the file.
- Sample Rate: This drop-down list lets us select the sampling rate of the file.
- Import after bounce: When this is selected, the new file will be imported to the session after bounced.
- File Destination: These options let us select the location of the new bounced file.
- Offline: When this is ON, the file bouncing procedure will be done offline.
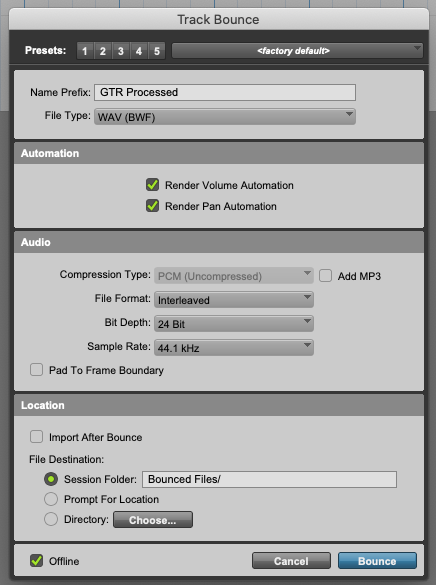
5. For the purpose of this tutorial, set the parameters as:
- Name Prefix: GTR Processed.
- File Type: WAV
- Render Volume Automation: ON.
- Render Pan Automation: ON.
- Compression type: N/A.
- Add MP3: OFF.
- File Format: Interleaved.
- Bit depth: 24.
- Sample Rate: 44.1 KHz.
- Import after bounce: OFF.
- File Destination: Bounced Files folder.
- Offline: ON.
6. Press “Bounce” and the bouncing procedure will happen as:
Once it finishes, Pro Tools will go back to the Edit Window as:
If we now look at the “Bounced Files” folder, we will be able to find our file as:
And that is how you use Track Bounce in Pro Tools
Using Avid Pro Tools software to produce music would be ideal with one of our professionally designed PCAudioLabs Systems due our high-performance specifications in order to work with any of the Digital Audio Workstations supported. If you would like to order one of our PCAudioLabs computers, please call us at 615-933-6775 or click this link for our website.

