Track Print for Sharing Purposes in Pro Tools
This blog is part of our new series of tutorials based on the features included in Avid Pro Tools
Want to learn how to use Avid Pro Tools in real time, with a professional digital audio trainer? It’s faster than blogs, videos, or tutorials. Call OBEDIA for one on one training for Avid Pro Tools and all digital audio hardware and software. Mention this blog to get 15 bonus minutes with your signup! Call 615-933-6775 and dial 1, or visit our website to get started.
Need a Pro Audio laptop or Desktop PC to run Avid Pro Tools software and all of its features at its best?
Check out our pro audio PCs at PCAudioLabs.
Track Print in Pro Tools
If you are running an older version of Pro Tools, chances are you do not have a Track Bounce, Track Commit or Track Freeze feature.
And that is totally fine! There are ways to work around those constrains.
That is where the Track Print procedure comes handy.
With this procedure you will be able to “print” the processing of your track, into a new track, that you can later share with other engineers and producers.
This process involves applying some internal routing using busses and recording in real time to a new track.
Once it is done, you can export the new clip as file.
Let’s give it a shot!
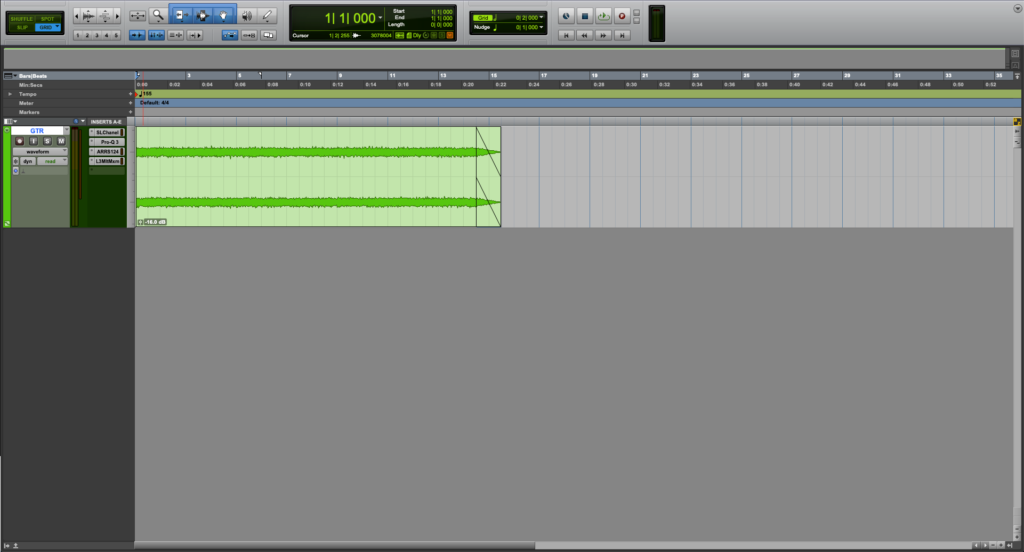
1. Create or open a Pro Tools session:
For the purpose of out tutorial, we have a session with a single audio file and several plugins.
From the mix window we can see, how all of these plugins add up to 3578 samples of delay:
Note that our “GTR” track is a stereo audio track.
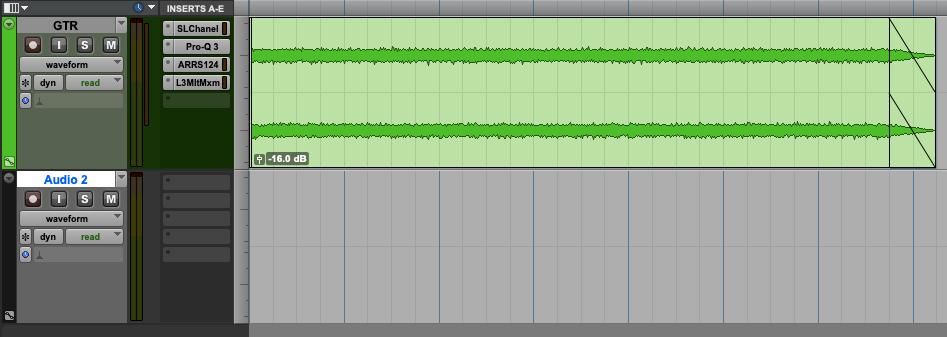
Therefore, we must print it into another stereo audio track.
3. Create a new stereo audio track:
4. Label the new track as “GTR Print”:
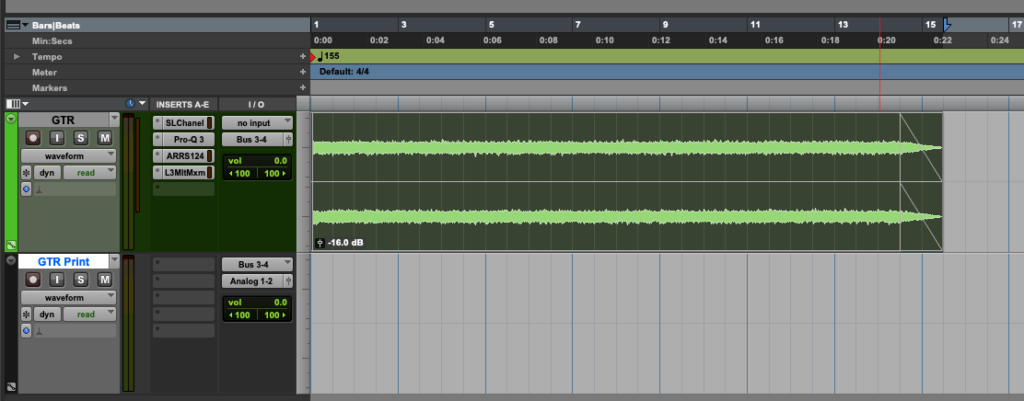
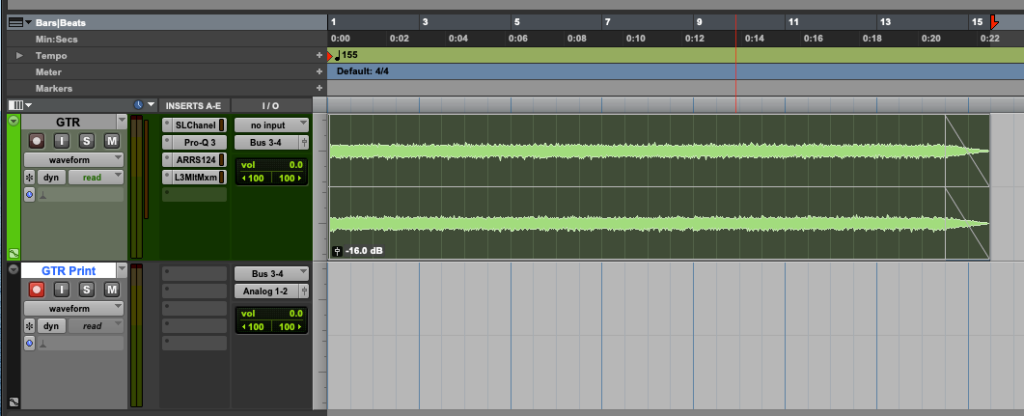
5. Set the output of the original track to an open stereo bus, let’s say Bus 3-4:
6. Set the input of the new track (GTR Print) to the same Bus used before, in this case Bus 3-4:
7. Click on the audio clip of the original track to create the edit selection:
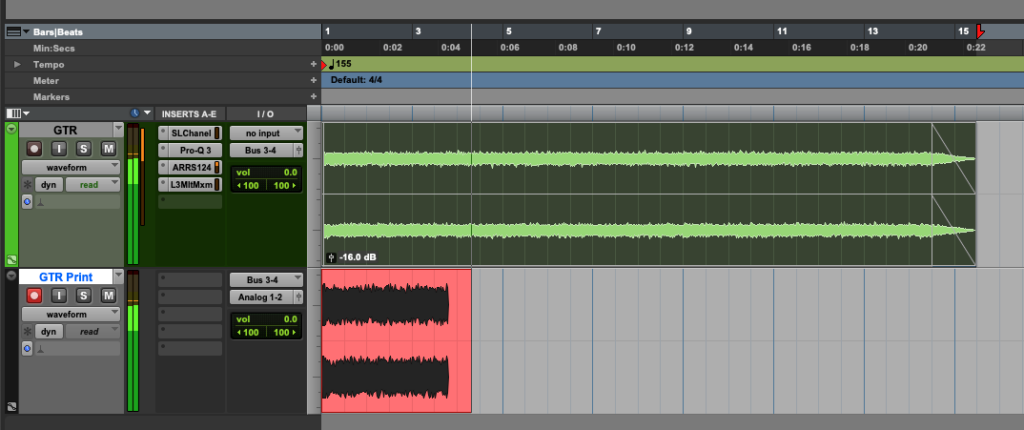
8. Record enable the “GTR Print” track:
9. Start the recording procedure:
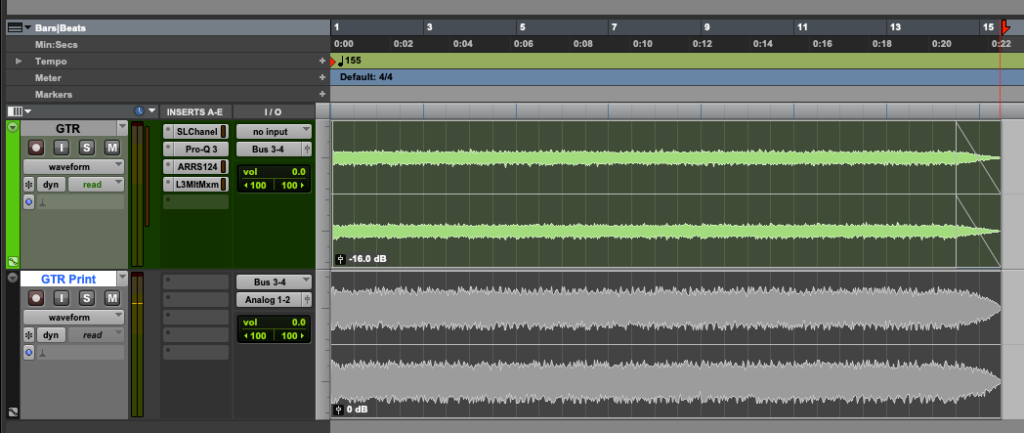
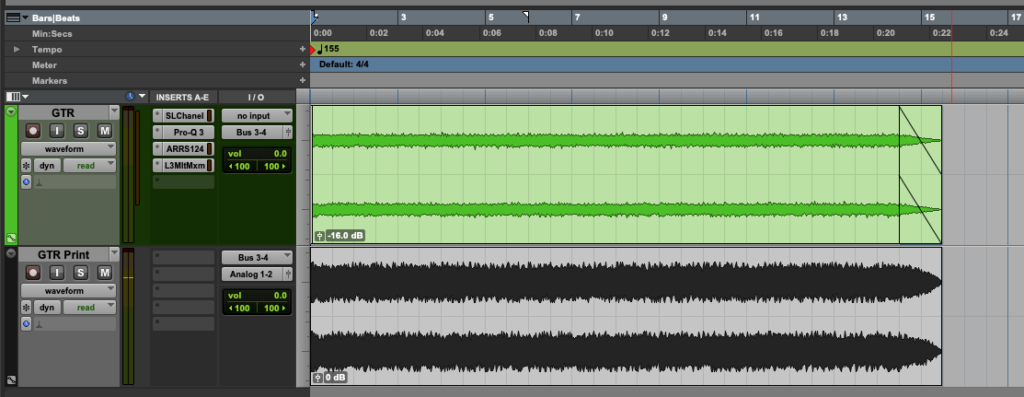
The recording will automatically stop at the location where the edit selection ends:
10. Turn OFF record enable and deselect the tracks:
If you press play, the new track sounds exactly the same as the original, but all the processing is actually part of the audio itself.
You can now export this new clip as a file to share with other peers.
And that is how you use Track Print in Pro Tools.
We hope you found this tutorial on Track Print for Sharing Purposes in Pro Tools helpful!
Using Avid Pro Tools software to produce music would be ideal with one of our professionally designed PCAudioLabs Systems due our high-performance specifications in order to work with any of the Digital Audio Workstations supported. If you would like to order one of our PCAudioLabs computers, please call us at 615-933-6775 or click this link for our website.

