Transport Bar in Pro Tools
This blog is part of our new series of tutorials based on Avid’s flagship Digital Audio Workstation, Pro Tools.
Want to learn how to use Avid Pro Tools in real time, with a professional digital audio trainer? It’s faster than blogs, videos, or tutorials. Call OBEDIA for one on one training for Avid Pro Tools and all digital audio hardware and software. Mention this blog to get 15 bonus minutes with your signup! Call 615-933-6775 and dial 1, or visit our website to get started.
Need a Pro Audio laptop or Desktop PC to run Avid Pro Tools software and all of its features at its best?
Check out our pro audio PCs at PCAudioLabs.
Overview of the Transport Bar in Pro Tools
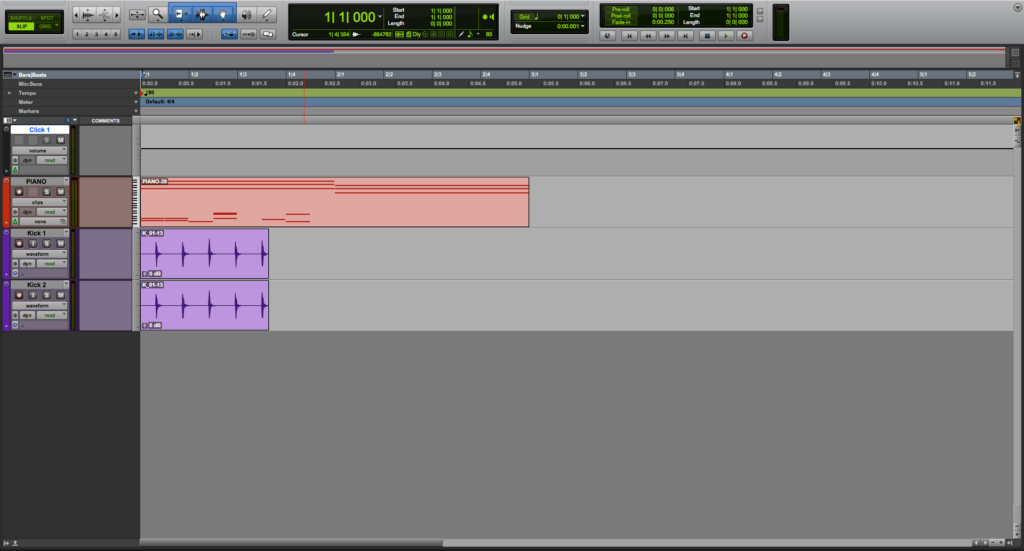
The Transport bar is one of the most useful areas of the software because it can control the transport functions as well as counter, pre/post roll and other MIDI-related options.
The general recommendation is to always work in Pro Tools with the transport bar being show, specially when recording.
On this tutorial we will present and overview of this bar and its most important features.
1. Open or create a new Pro Tools session:
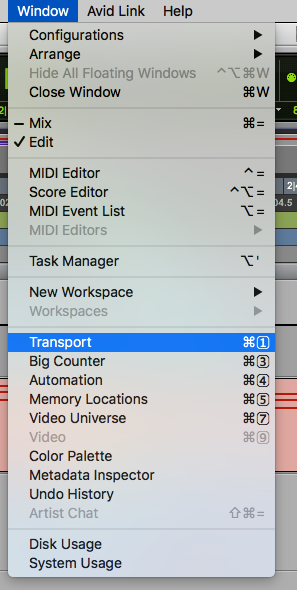
2. From the top menu bar click on Window -> Transport:
Alternatively, you can use the keyboard shortcut Control + num 1 (Windows) or Command + num 1 (macOS).
The Transport bar will open as:
Keep in mind, the Transport bar might not open and show all of its areas, therefore we might need to show all its parts.
3. Click on the top right arrow of the transport bar:
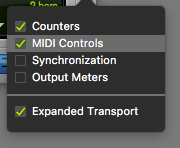
The following dialog will appear as:
It can be seen that only the Counter and MIDI controls are shown on the transport bar.
Synchronization and Output meters are hidden.
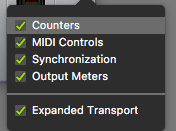
4. Click on “Synchronization” and “Output Meters” to show these areas:
The transport bar will now appear as:
Now our Transport Bar is fully shown on the screen!
The Transport Bar has several areas that can be identified as:
- Transport Controls: These buttons let us control the transport of the playback with options such as play, stop, rewind, forward, return to zero and record.
- Pre/Post Roll: This area lets us set the pre and post roll locations as well as activating (or disabling) these functions.
- Start/End/Length: This area of the transport bar lets us select the start of the selection, its end and the length associated.
- Synchronization: These area shows the sync functions such as “Online” and “Generate MTC” which you would use when syncing Pro Tools to another system.
- Counters: This area shows the main counter and the sub counter, telling you in real time the position of the playback.
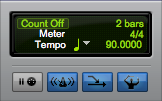
- MIDI Controls: This area has all the Countoff related parameters as well as MIDI-releated functions such as metronome enable button, conductor enable button, MIDI merge, etc.
- Output Meters: This area shows a meter for the signal output, works as an easy way to “see” how hot is the output signal from Pro Tools.
And that is it!
At this point, we have successfully explained an overview of the Transport Bar in Pro Tools.
Using Avid Pro Tools software to produce music would be ideal with one of our professionally designed PCAudioLabs Systems due our high-performance specifications in order to work with any of the Digital Audio Workstations supported. If you would like to order one of our PCAudioLabs computers, please call us at 615-933-6775 or click this link for our website.

