Amplifier Section in Ampire
This blog is part of our new series of tutorials based on the Ampire plugin included in the latest update of PreSonus Studio One 5.4
Want to learn how to use PreSonus Studio One in real time, with a professional digital audio trainer? It’s faster than blogs, videos, or tutorials. Call OBEDIA for one on one training for PreSonus Studio One and all digital audio hardware and software. Mention this blog to get 15 bonus minutes with your signup! Call 615-933-6775 and dial 1, or visit our website to get started.
Need a Pro Audio laptop or Desktop PC to run PreSonus Studio One software and all of its features at its best?
Check out our pro audio PCs at PCAudioLabs.
Amplifier Section in Ampire
Ampire is the ultimate guitar tone and gear emulation solution included in Studio One as one of their proprietary plugins.
This plugin is capable of emulating the amplifier, cabinet, microphones, pedals and even the tuner you would have as part of your guitar rig.
Today we are going to learn more about the amplifier section of this plugin, how to select different amplifiers and modify their parameters.
Let’s explore this!
- Open or create a new Studio One Song
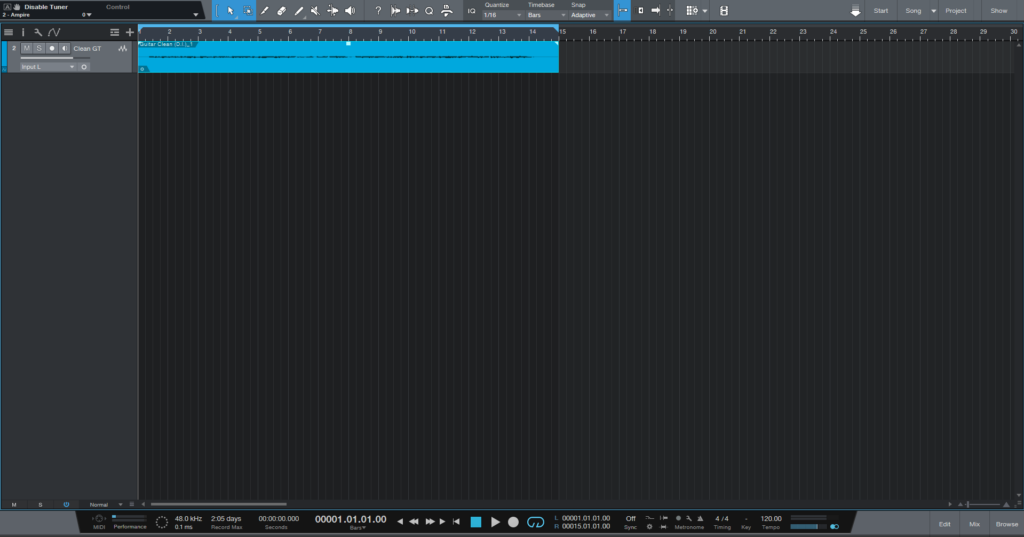
For the purpose of this tutorial we have a Song that contains a single audio track with an electric guitar DI signal recorded to it.
Ampire is designed to be added as a plugin (insert) on tracks that only contain DI signals.
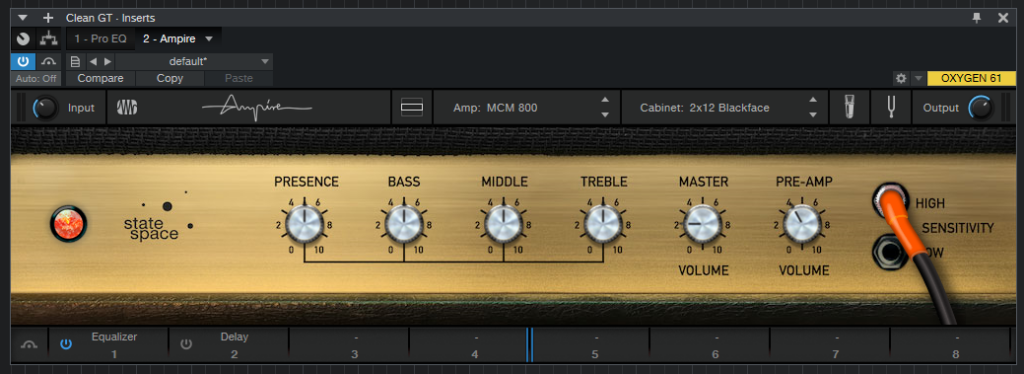
2. Add Ampire plugin to the DI guitar track (audio track):
It is easy to see how Ampire comes loaded with a default Amplifier, in this case the MCM800 Amp.
However this can be changed.
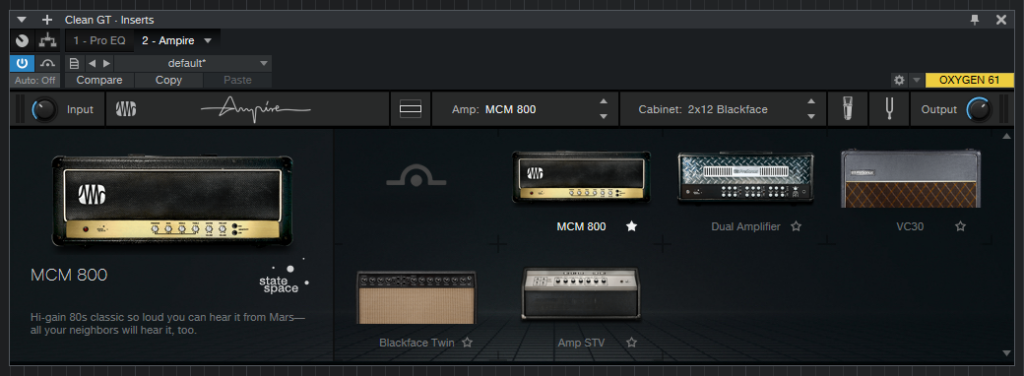
3. Locate the amp box as:
4. Click on this box and the available amp list will show as:
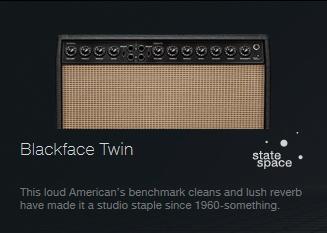
From this list, you can select the desired amp, but also, if you hover the mouse on top of it, you can see a description of the type of amp and its sound:
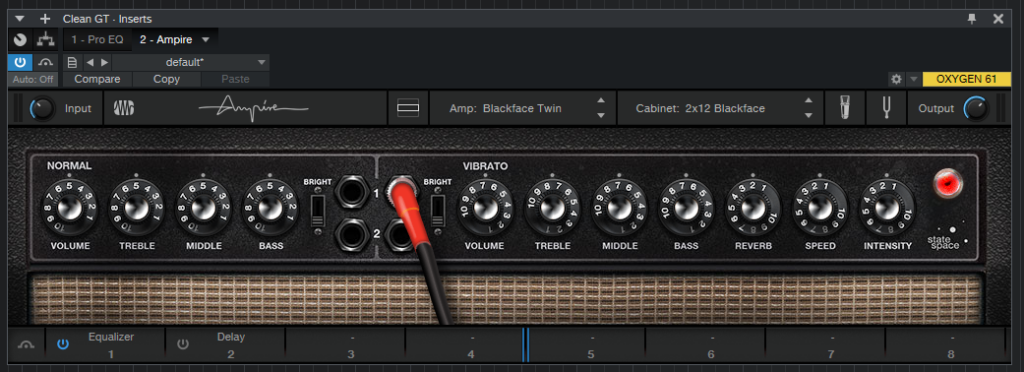
5. Go ahead and select the “Blackface Twin” amp from the list:
So the first thing we see here, is that most amps will have several inputs which will feed different channels.
In the case of the Blackface Twin, we have 4 different inputs:
Depending on which input you connect, the sound will change as well as the channel used.
You can change the input by simply clicking on the picture of the female jack, just as if you were working with the real unit.
Amplifiers also have different channels. In this case, the Blackface Twin has 2 channels:
- Normal Channel: Includes simple gain, and 3 band EQ.
- Vibrato Channel: Includes simple gain, 3 band EQ, reverb and vibrato.
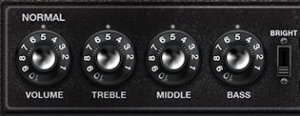
Most channels will have at least a 3-namd equalizer you can use to shape your tone as:
And you can even find switches to boost certain areas of the spectrum, such as the high end:
That one for example will boost the top end when set to “bright”.
You will also find in some amps, the possibility of adding reverb and vibrato, like in the Blackface Twin:
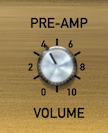
Other Amps such as the MCM800 will have a “Preamp” knob, letting you add gain to the signal before being amplified, resulting in more distorted tones:
So those are some of the parameters you will find in the amplifiers included in Ampire.
Go ahead and experiment with these and get that perfect guitar tone you are looking for!
Using Presonus Studio One 5.4 software to produce music would be ideal with one of our professionally designed PCAudioLabs Systems due our high-performance specifications in order to work with any of the Digital Audio Workstations supported. If you would like to order one of our PCAudioLabs computers, please call us at 615-933-6775 or click this link for our website.

