AudioSuite in Pro Tools
This blog is part of our new series of tutorials based on the features included in Avid Pro Tools
Want to learn how to use Avid Pro Tools in real time, with a professional digital audio trainer? It’s faster than blogs, videos, or tutorials. Call OBEDIA for one on one training for Avid Pro Tools and all digital audio hardware and software. Mention this blog to get 15 bonus minutes with your signup! Call 615-933-6775 and dial 1, or visit our website to get started.
Need a Pro Audio laptop or Desktop PC to run Avid Pro Tools software and all of its features at its best?
Check out our pro audio PCs at PCAudioLabs.
AudioSuite in Pro Tools
Pro Tools has several ways to modify the shape or tone of audio files.
Inserts are the standard way of “tweaking” the sound of an audio track by using equalizers, compressors, etc.
Now, inserts are non-destructive, meaning they don’t render the audio with the processing, they just play the processing in real time thru the plugin.
There is a “destructive” way of applying plugins and that is AudioSuite.
AudioSuite is a function included in Pro Tools that basically renders the effect of the plugin into the audio file as soon as it is applied, modifying it and creating a brand new file.
This is specially useful when you want to share your tracks with other people that might not have the same plugins you own but you still would like to keep the tone of your insert.
Here we go!
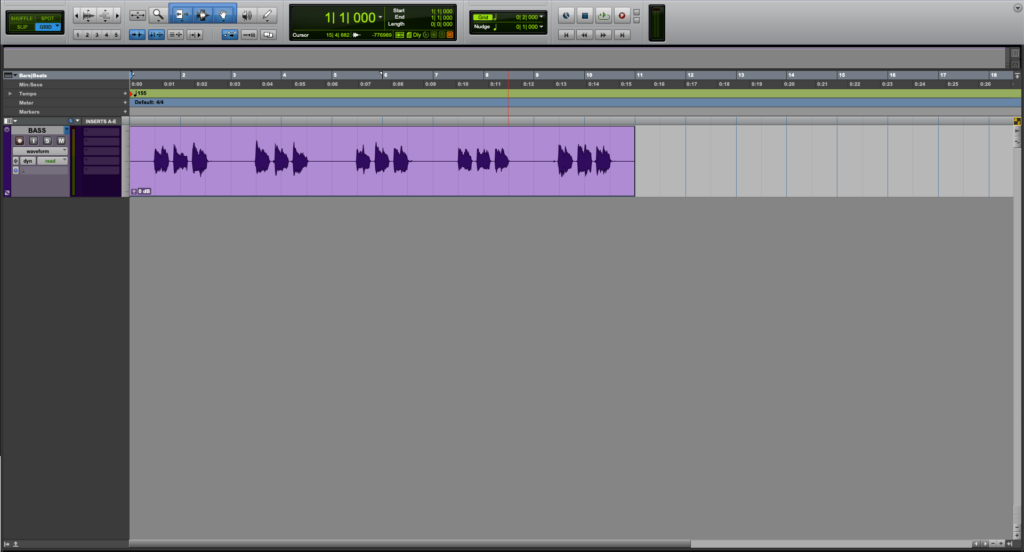
1. Open a Pro Tools session with at least 1 audio track:
Here it is easy to see we have a single “BASS” track.
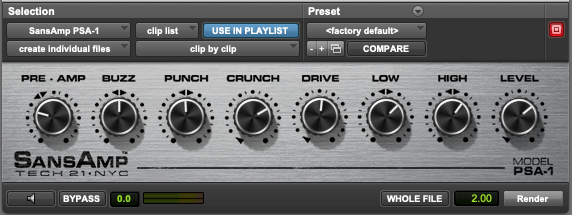
We want to render the effect of Avid’s SansAmp emulation into the file to share it with the mix engineer.
2. Click on the audio clip to select it:
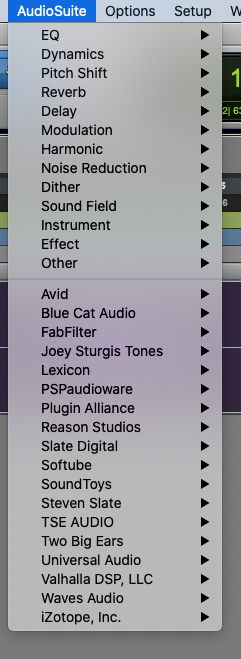
3. From the top menu bar click on: AudioSuite
It is important to note, AudioSuite will show the same list of plugins that you would typically see when adding inserts.
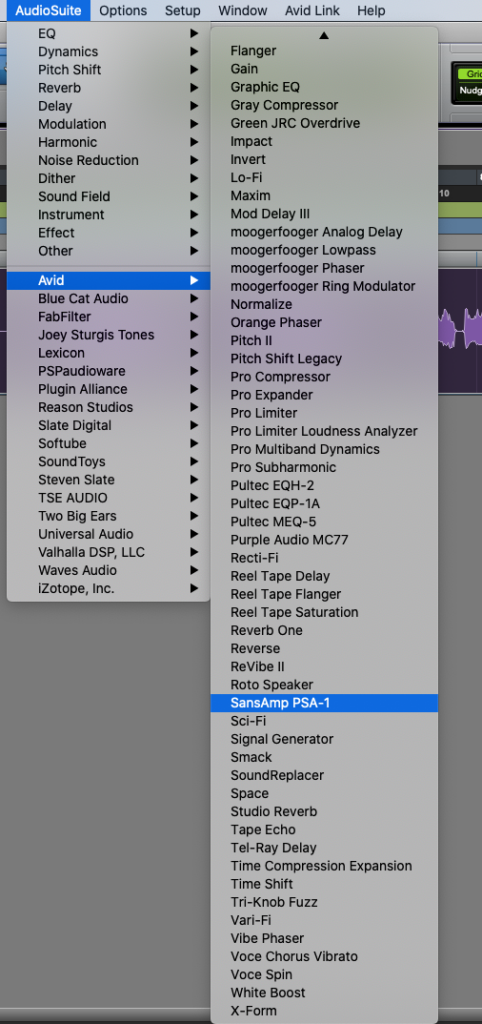
4. Look for the desired plugin. In this case it will be at Avid -> SansAmp PSA-1
5. Click on the plugin to open it as AudioSuite:
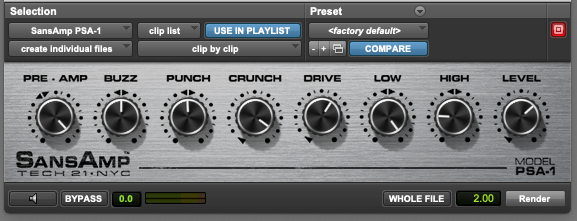
You can see how the plugin GUI opens and you can tweak parameters.
6. Click on the small speaker icon at the bottom left corner to audition the effect of the plugin:
7. Tweak the plugin parameters to make the audio clip sound as you want:
8. Once you have found the desired sound, click on “Render” at the bottom right:
AudioSuite will render the effect of the plugin and create a new file with a new clip as:
Note how the waveform has changed, reflecting the effect of the plugin.
You can now close the AudioSuite window and export the audio for sharing purposes.
And that is how you use AudioSuite in Pro Tools
Using Avid Pro Tools software to produce music would be ideal with one of our professionally designed PCAudioLabs Systems due our high-performance specifications in order to work with any of the Digital Audio Workstations supported. If you would like to order one of our PCAudioLabs computers, please call us at 615-933-6775 or click this link for our website.

