Color Coding in Cubase
This blog will discuss Color Coding in Cubase.
Want to learn how to use Steinberg Cubase in real time, with a professional digital audio trainer? It’s faster than blogs, videos, or tutorials. Call OBEDIA for one on one training for Steinberg Cubase and all digital audio hardware and software. visit our website to get started.
Need a Pro Audio laptop or Desktop PC to run Steinberg Cubase software and all of its features at its best?
Check out our pro audio PCs at PCAudioLabs.
Color Coding in Cubase
Color Coding is the process of assigning different colors to different track types, depending on the instrument.
This is specially useful when you are dealing with multiple tracks during the mixing stage of the production because colors serve as a visual cue for you to know which instrument you are dealing with…
Imagine you have a full band with drums, bass, guitars, vocals, are you going to have all of those tracks as the default grey color?
It would make sense to have a color for drums, another for bass, other for guitars and then for the vocals.
How do we do this?
Here we go!
-
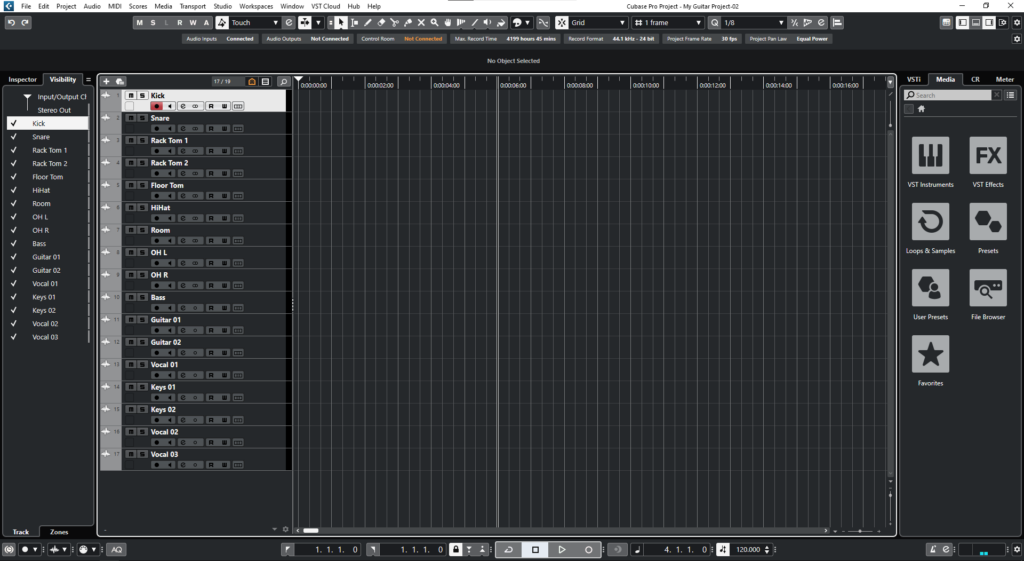
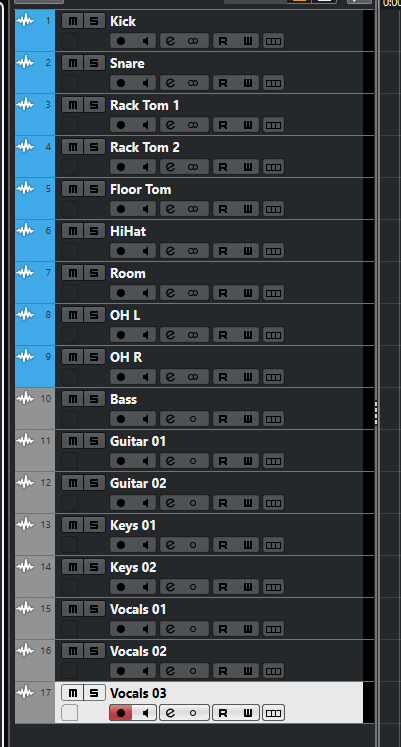
Open your Cubase project:
As you can see, we have a Cubase project with several tracks such as drums, bass, guitars, keys and vocals.
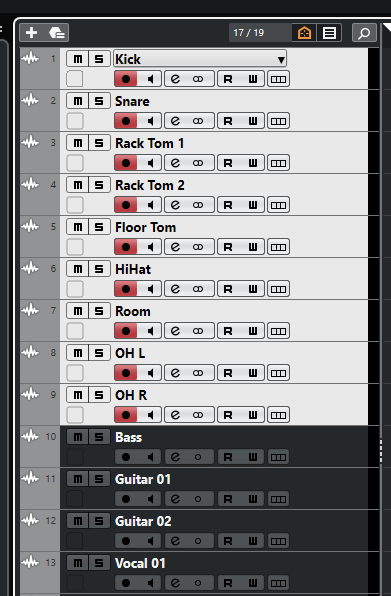
Let’s start by coloring groups of tracks, in this case the drums!
2. Select all drum tracks:
3. From the top menu bar click on: Project -> Colorize Tracks:
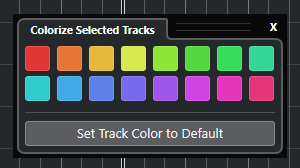
The Colorize Selected Tracks window will show as:
4. Select the desired color.
Let’s use blue!
5. Repeat the process for the other instrument or track groups:
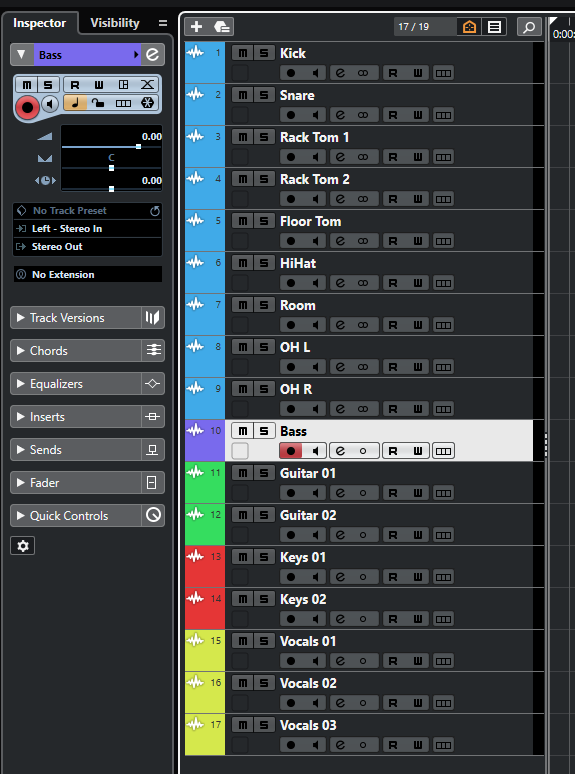
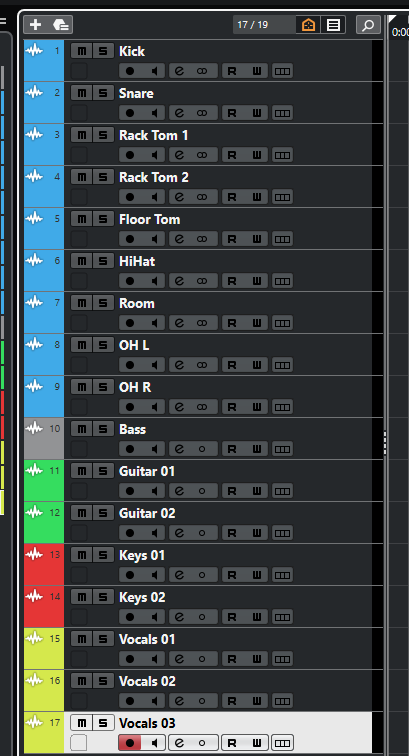
For the purpose of this tutorial, we will make guitars green, keys red and vocals yellow.
Now we are only missing the single “Bass” track.
There is another method to colorize individual tracks that can also be very helpful to learn.
6. Select the “Bass” track and locate the Inspector view on the left side of the screen:
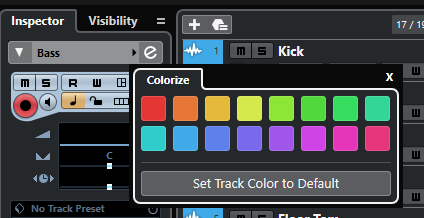
7. Click on the arrow to the right of the “Bass” name on top of the inspector:
The colorize window will show as:
8. Select the purple color:
And that is it! We have now color coded all of our tracks!
We hope you found this tutorial on Color Coding in Cubase helpful!
Using Steinberg Cubase software to produce music would be ideal with one of our professionally designed PCAudioLabs Systems due our high-performance specifications in order to work with any of the Digital Audio Workstations supported. If you would like to order one of our PCAudioLabs computers, please call us at 615-933-6775 or click this link for our website.

