Info Line in Cubase
This blog will discuss the Info Line in Cubase.
Want to learn how to use Steinberg Cubase in real time, with a professional digital audio trainer? It’s faster than blogs, videos, or tutorials. Call OBEDIA for one on one training for Steinberg Cubase and all digital audio hardware and software. visit our website to get started.
Need a Pro Audio laptop or Desktop PC to run Steinberg Cubase software and all of its features at its best?
Check out our pro audio PCs at PCAudioLabs.
Info Line in Cubase
The Info Line is another “horizontal bar” that will show you some crucial information regarding your currently selected event.
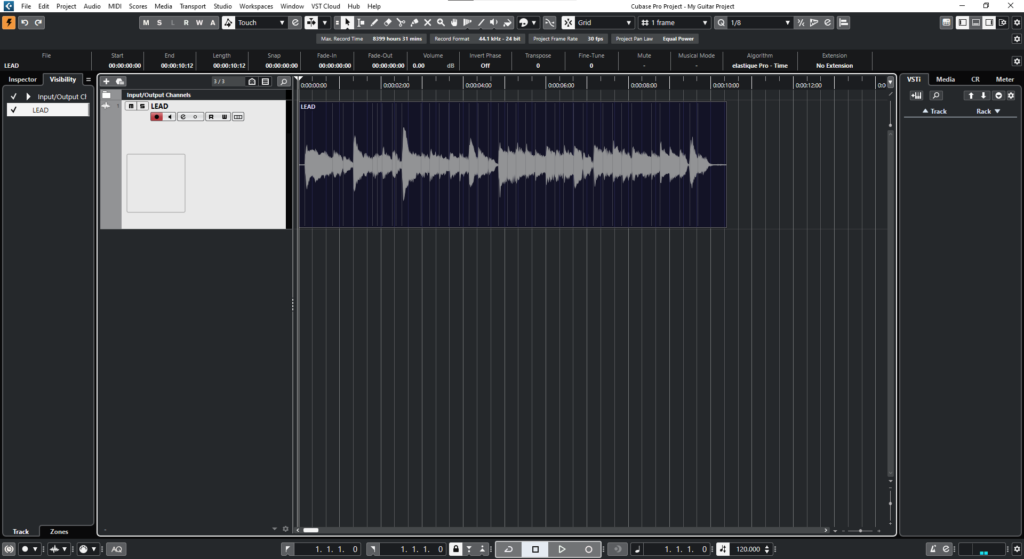
When we click on any event in Cubase, the Info Line will show information regarding that event such as its name, start and end locations, length, volume, mute, and elastique algorithm.
Let’s go ahead and dive deep into this Info Line.
Here we go!
-
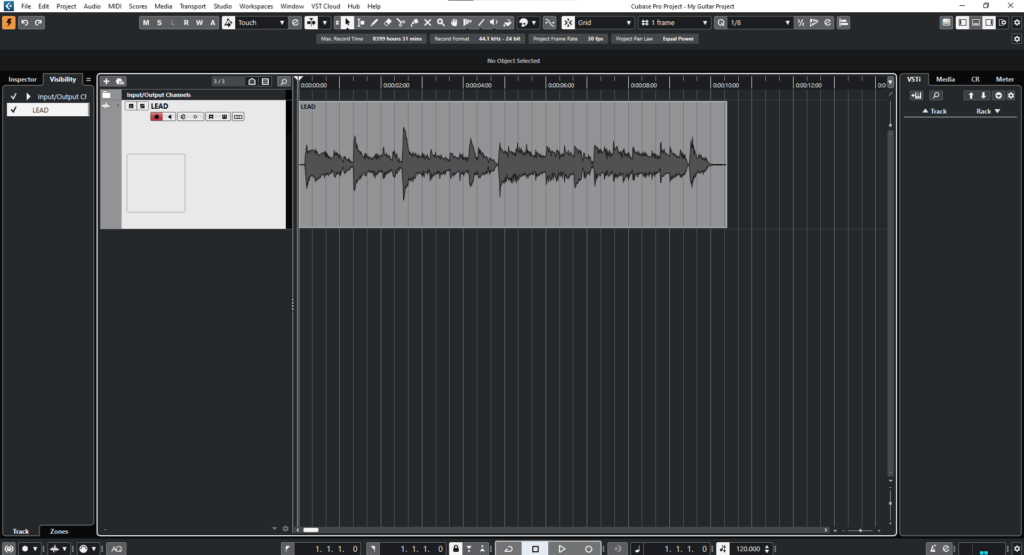
Open your Cubase project:
2. Click on the audio event:
For the purpose of this tutorial, we will click on the “LEAD” audio event.
3. Locate the horizontal line just above the timeline and below the Status Line:
This is the Info Line!
You should get yourself familiarized with this line because it shows all kinds of crucial information as well as functions assigned to the event itself.
These parameters are:
- File: This field shows the name of the file itself.
- Start: This field shows the time where the event starts in the timeline.
- End: This field shows the time where the event ends in the timeline.
- Length: This field shows the length of the event in time format.
- Snap: This field shows the time where the snap happens.
- Fade-In: This field shows the length of the fade in. You can type a custom length and it will be created automatically.
- Fade-Out: This field shows the length of the fade out. You can type a custom length and it will be created automatically.
- Volume: This field shows the volume of the clip. You can type a custom number to modify the volume of the clip itself.
- Invert Phase: This field lets you flip the polarity of the event.
- Transpose: This field lets you transpose the event by a certain amount of semitones.
- Fine-Tune: This field lets you change the tuning of the clip by a certain amount of cents.
- Mute: This field lets you mute or unmute the clip.
- Musical Mode: This field lets you toggle the musical mode ON or OFF.
- Algorithm: This field lets you select the desired elastique algorithm.
- Extension: This field lets you select the desired extension function.
4. Select the event and create a fade in and out from the Info Line, also transpose the event 12 semitones up:
It is easy to see how we have created a fade-in, a fade-out and tuned the event one octave up (+12 semitones).
You can press play and hear the obvious differences in sound.
And that is it!
You have now learned how to navigate on the Info Line in Cubase.
We hope you found this tutorial on how to use the Info Line in Cubase helpful!
Using Steinberg Cubase software to produce music would be ideal with one of our professionally designed PCAudioLabs Systems due our high-performance specifications in order to work with any of the Digital Audio Workstations supported. If you would like to order one of our PCAudioLabs computers, please call us at 615-933-6775 or click this link for our website.


