Table of Contents
Cycle Markers in Cubase
In this blog, we’ll demonstrate how to use the Cycle Markers in Cubase.
This blog is part of our new series of tutorials based on the new version of Steinberg Cubase 12.
Want to learn how to use Steinberg Cubase in real time, with a professional digital audio trainer? It’s faster than blogs, videos, or tutorials. Call OBEDIA for one on one training for Steinberg Cubase training and tech support, and get help with all digital audio hardware and software.
Mention this blog to get 15 bonus minutes with your signup! Call 615-933-6775 and dial 1, or visit our website to get started.
Need a Pro Audio laptop or Desktop PC to run Steinberg Cubase software and all of its features at its best?
Check out our pro audio PCs at PCAudioLabs.
Cycle Markers in Cubase
Cycle markers are used to set a range within the timeline.
This range is crucial in order to loop or cycle a specific part.
If you are for example trying to record a solo on the bridge, you might want to create cycle markers at the start and end of the bridge in order to cycle (loop) it several times so you can record different takes.
How do you do this?
Here we go!
-
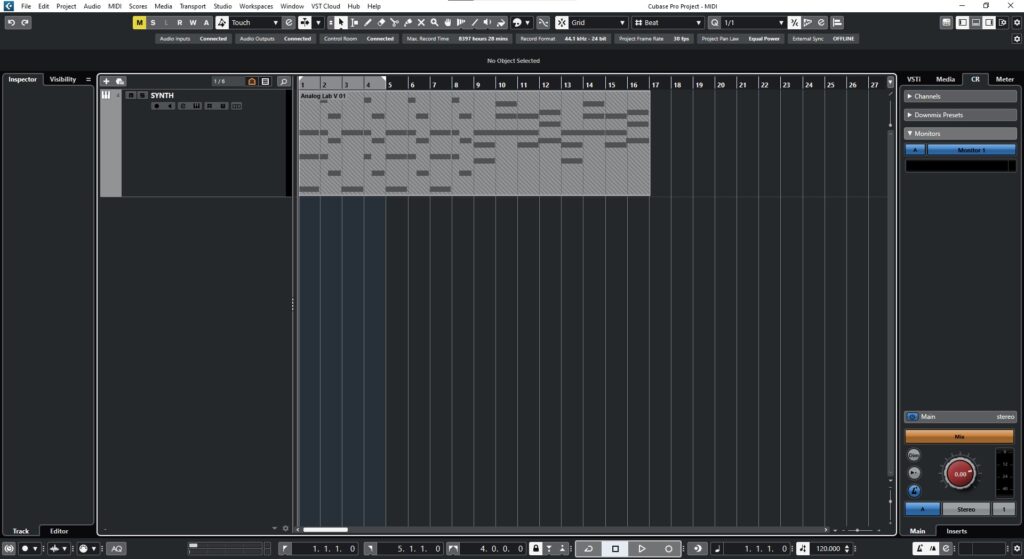
Open your Cubase project:
Cycle markers appear at the timeline ruler on top.
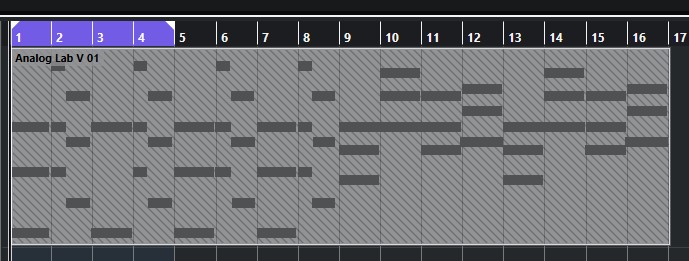
However, it is easy to see how they appear to be greyed out since the Cycle function is OFF:
2. On the bottom transport bar, locate the cycle button:
3. Click on the Cycle button to engage the Cycle function, it will turn ON as purple:
4. Locate the Cycle markers again:
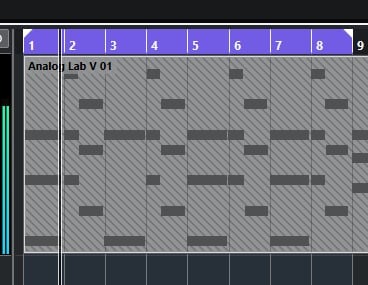
It is easy to see how there is a left cycle marker indicating the start of the cycle, and a right cycle marker indicating the end.
We want to set these to cycle a specific range of bars.
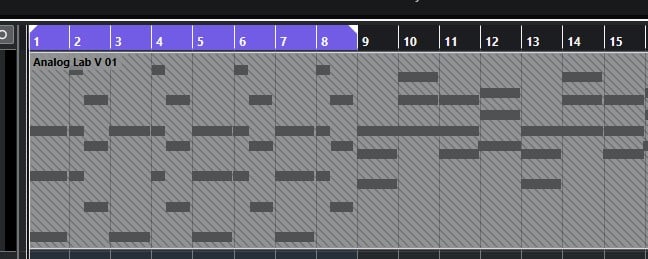
For the purpose of this tutorial we will cycle between Bar 1 and Bar 9.
5. Click and drag the right (end) cycle marker and locate it at bar 9:
6. Press play and hear the playback cycle between bar 1 and 9:
And that is how you create and use your Cycle Markers in Cubase!
We hope you found this tutorial on Cycle Markers in Cubase helpful!
Using Steinberg Cubase software to produce music would be ideal with one of our professionally designed PCAudioLabs Systems due our high-performance specifications in order to work with any of the Digital Audio Workstations supported. If you would like to order one of our PCAudioLabs computers, please call us at 615-933-6775 or click this link for our website.


