De-Esser in Studio One 6
This blog is part of our new series of tutorials based on the new version of PreSonus Studio One 6, where we will be each of the new functions and features included.
Want to learn how to use PreSonus Studio One in real time, with a professional digital audio trainer? It’s faster than blogs, videos, or tutorials. Call OBEDIA for one on one training for PreSonus Studio One and all digital audio hardware and software. Mention this blog to get 15 bonus minutes with your signup! Visit our website to get started.
Need a Pro Audio laptop or Desktop PC to run PreSonus Studio One 6 software and all of its features at its best?
Check out our pro audio PCs at PCAudioLabs.
De-Esser in Studio One 6
Vocals! The most important element in every single pop production, right?
Producers always want them to be LOUD and BRIGHT!
But, loudness and brightness typically end up over-exaggerating the “S” sounds, which is totally unacceptable! It sounds horrible!
Can this be fixed? Yes, with a De-Esser!
Does Studio One 6 have one? Yes! Actually a great De-Esser!
Let’s try it!
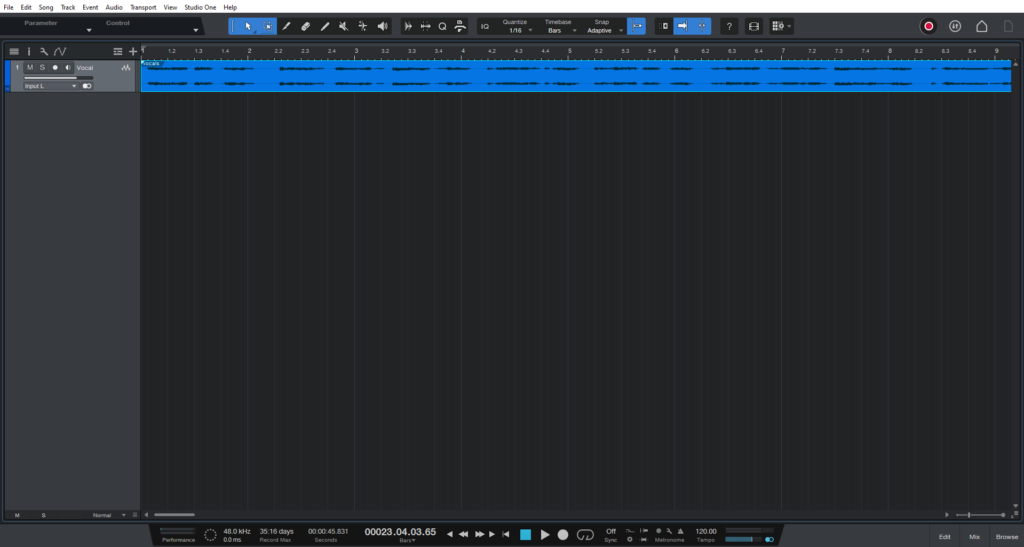
- Open your Studio One 6 song:
Make sure you have a vocal track in the Song.
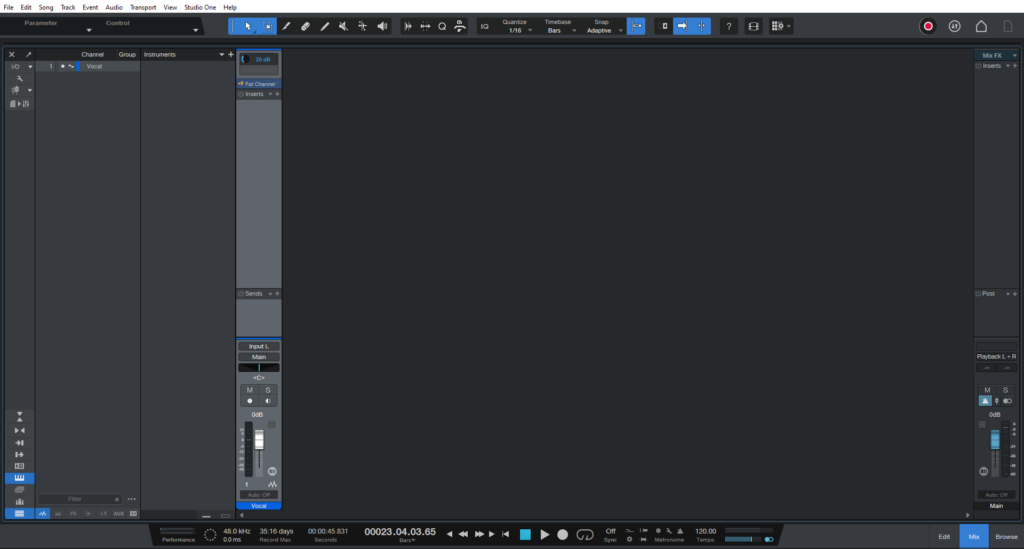
2. Switch to the Mix view:
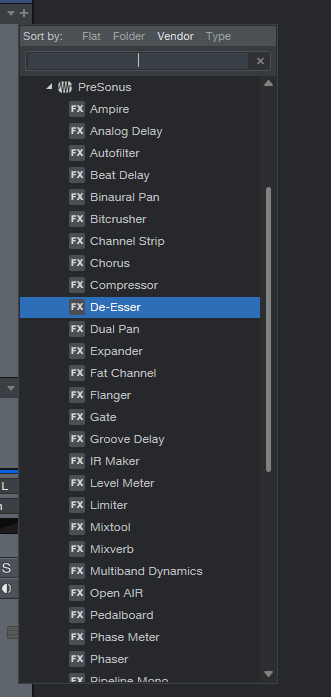
3. From the inserts list, add De-Esser:
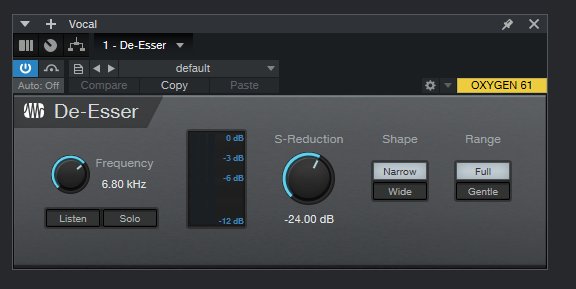
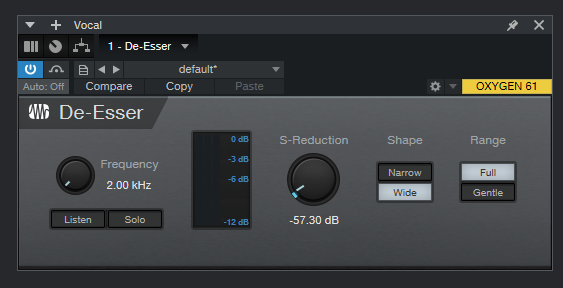
De-Esser will open as:
From the De-Esser, we can see parameters such as:
- Frequency: This knob adjusts the target center frequency for reduction.
- Listen: When this is ON, it lets you listen to the targeted frequencies for reduction.
- Solo: If this is active, you will hear the reduced signal.
- S-Reduction: This knob adjusts the amount of reduction of “S” sounds.
- Shape: Lets you choose between narrow band reduction or wide band reduction modes.
- Range: Let’s you choose between full reduction or gentle (6 dB).
For the purpose of this tutorial, we will make the “S” reduction to be obvious! So we must set these parameters to extreme configurations such as:
- Frequency: 2 KHz
- Listen: OFF.
- Solo: OFF.
- S-Reduction: -57 dB
- Shape: Wide.
- Range: Full.
4. Apply the previous configurations and listen:
The “S” sounds are now gone!
The De-Esser included in Studio One 6 has done its job incredibly well.
We hope you found this tutorial on how to use the De-Esser in Studio One 6 helpful!
If you need more help learning how to use the De-Esser in Studio One 6, call us at OBEDIA. We are the leader in one-on-one PreSonus Studio One training, and we can help you to get to know your pro audio hardware and software.
Using PreSonus Studio One 6 software to produce music would be ideal with one of our professionally designed PCAudioLabs Systems due our high-performance specifications in order to work with any of the Digital Audio Workstations supported. If you would like to order one of our PCAudioLabs computers, please call us at 615-933-6775 or click this link for our website.

