Freeze Tracks in Cubase
This blog will discuss how to Freeze tracks in Cubase.
Want to learn how to use Steinberg Cubase in real time, with a professional digital audio trainer? It’s faster than blogs, videos, or tutorials. Call OBEDIA for one on one training for Steinberg Cubase and all digital audio hardware and software. visit our website to get started.
Need a Pro Audio laptop or Desktop PC to run Steinberg Cubase software and all of its features at its best?
Check out our pro audio PCs at PCAudioLabs.
Freeze Tracks in Cubase
Sometimes we get ourselves in a position in which we have been using so many inserts and plugins while mixing, that our computer CPU resources start to fall short and we get eventual crashes and problems.
This is specially common when working with older computers and Cubase projects that contain too many tracks with a lot of processing involved.
However, there is a way to save CPU resources, while still using the desired digital processing on the tracks… This is called “Track Freeze”.
When we “freeze” a track, the program renders the processing from the track within the software, and simply plays back the “rendered” version so that it does not need to process the information in real time.
This operation saves CPU resources and lets our projects run smoother.
The cool aspect about track freeze, is that we can always “undo” the freeze if needed. The original file is not lost!
How do we do this?
Here we go!
-
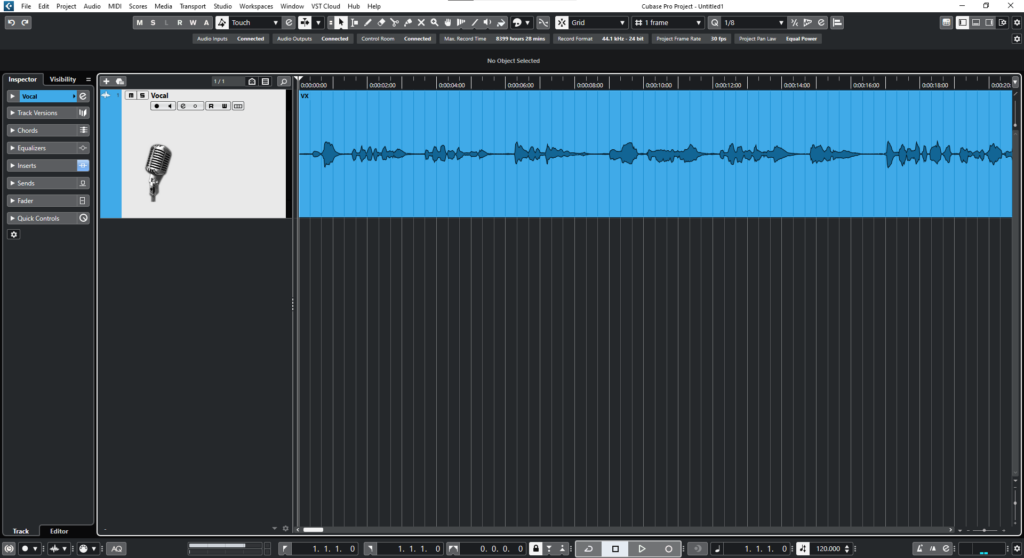
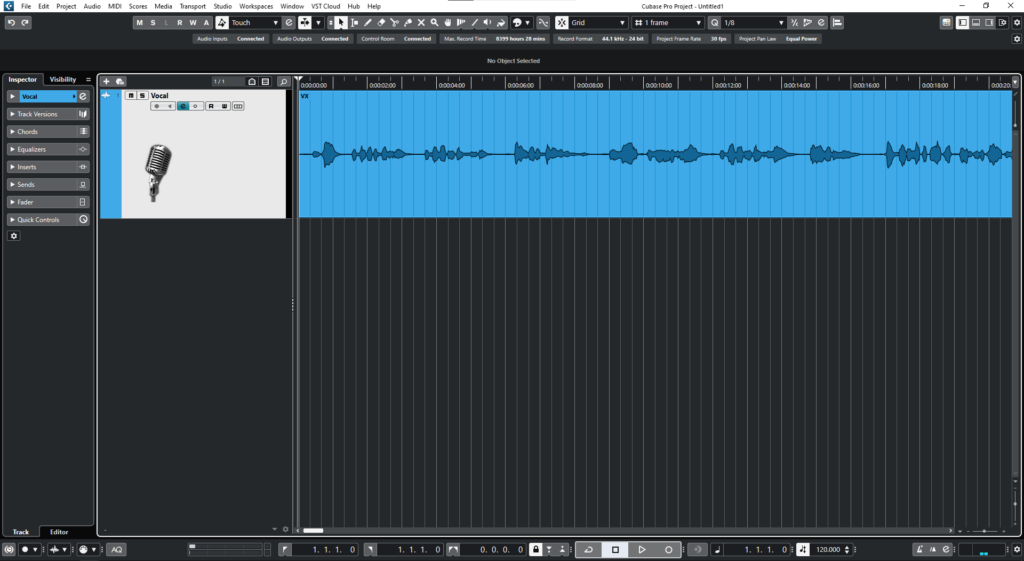
Open your Cubase project:
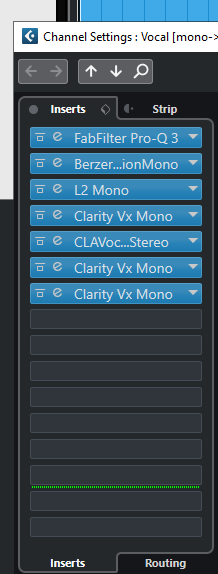
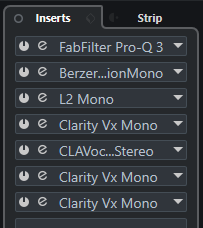
It is easy to see how we have plenty of processing applied to our track as inserts:
As a matter of fact, if we check the Audio Performance Meter, we can see CPU usage at around 75%
Keep in mind this is just one track! Imagine when we add the whole band to the mix. The computer, will crash!
Let’s go ahead and freeze this track.
2. Select the track:
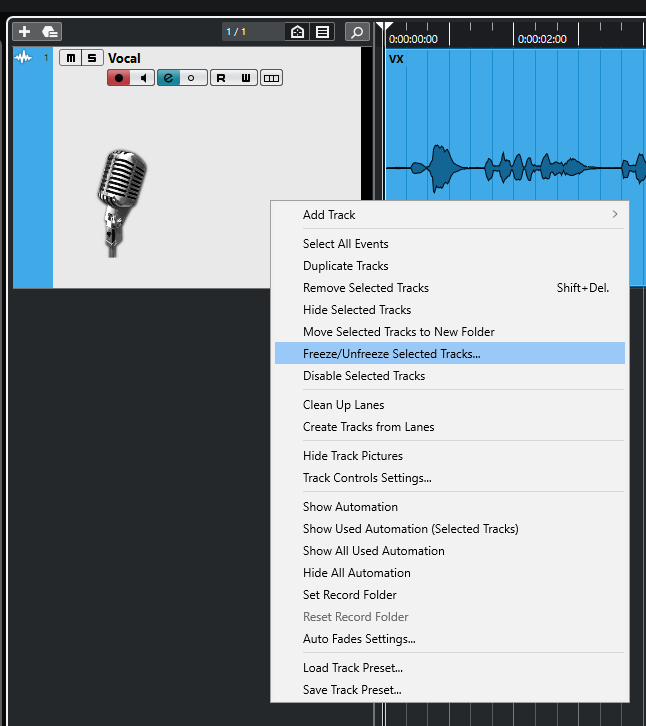
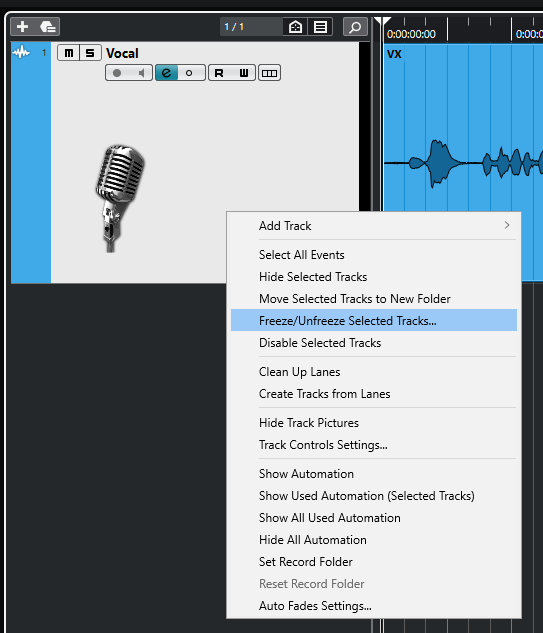
3. Right click on the track and select: Freeze/Unfreeze Selected Tracks
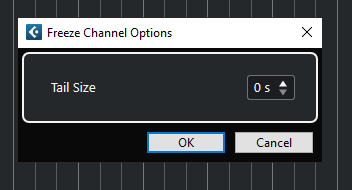
The Freeze Channel Options window will appear as:
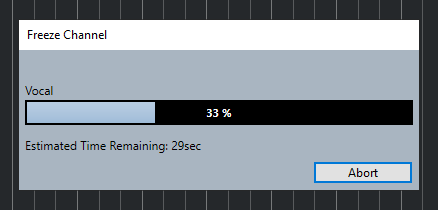
4. Click “OK” and the Freeze procedure will start as:
Once it ends, the program will take us back to the timeline window as:
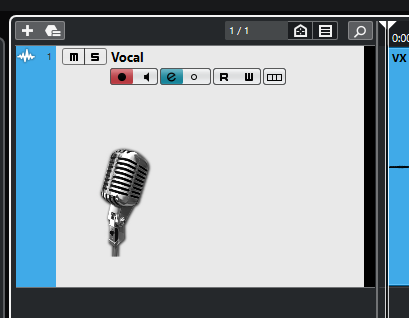
Note how the record enable and monitor enable buttons appeared to be greyed out, indicating it is frozen:
Also, the Audio Performance Meter shows much less activity now that we have froze the track:
Inserts also seem to be greyed out, indicating they are frozen:
If we press play, the audio will playback exactly as before, with all the processing applied.
However, out Audio Performance Meter will not show intense activity anymore.
If we switch to the MixConsole view, we can also see the small “freeze” icon on the track, indicating it is frozen as:
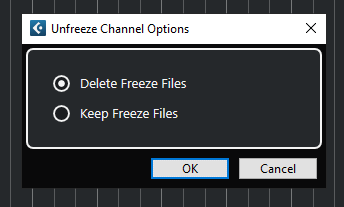
5. We can undo this Track Freeze operation by simply right click and select: Freeze/Unfreeze Selected Tracks:
The Unfreeze Channel Options window will appear as:
6. Press OK and the track will be “un-frozen” as:
And the track has gone back to its original status!
That is how you use the Track Freeze feature in Cubase.
We hope you found this tutorial on how to use Track Freeze in Cubase helpful!
Using Steinberg Cubase software to produce music would be ideal with one of our professionally designed PCAudioLabs Systems due our high-performance specifications in order to work with any of the Digital Audio Workstations supported. If you would like to order one of our PCAudioLabs computers, please call us at 615-933-6775 or click this link for our website.

