How to Add Inserts in Pro Tools
This blog is part of our new series of tutorials based on Avid’s flagship Digital Audio Workstation, Pro Tools.
Want to learn how to use Avid Pro Tools in real time, with a professional digital audio trainer? It’s faster than blogs, videos, or tutorials. Call OBEDIA for one on one training for Avid Pro Tools and all digital audio hardware and software. Mention this blog to get 15 bonus minutes with your signup! Call 615-933-6775 and dial 1, or visit our website to get started.
Need a Pro Audio laptop or Desktop PC to run Avid Pro Tools software and all of its features at its best?
Check out our pro audio PCs at PCAudioLabs.
Table of Contents
Getting started with How to Add Inserts in Pro Tools
Pro Tools is a software that lets you produce, record, edit and mix audio performances within a “session”.
When you start the mixing procedure, you will encounter a situation in which you have to add an insert as a software “plugin” in order to process the digital audio from the track. Plugin inserts can emulate equalizers, compressors, and other effects.
Pro Tools lets users add inserts with a couple clicks, as well as removing them.
On this tutorial, we will learn How to add inserts in Pro Tools:
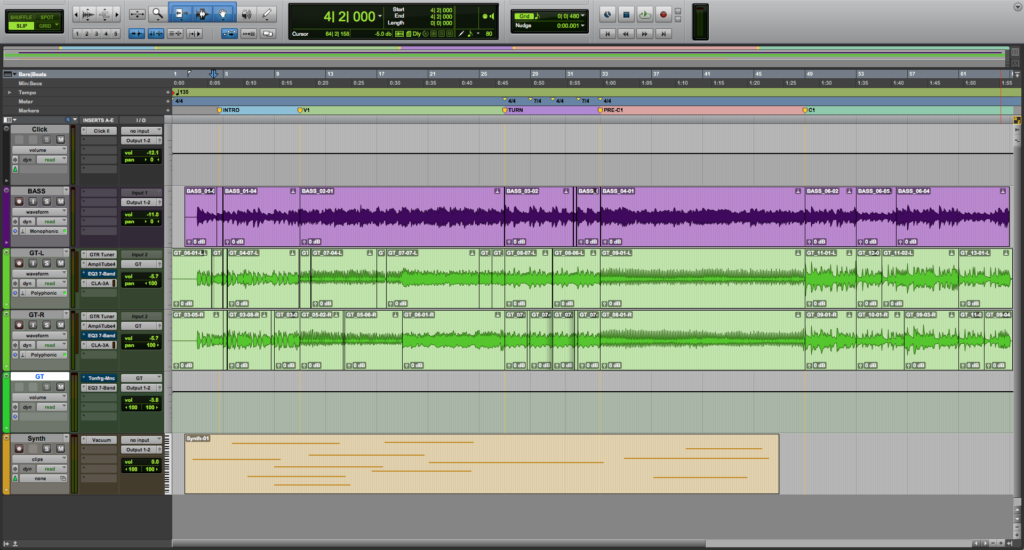
1. Create or open an existing Pro Tools session that contains at least one track:
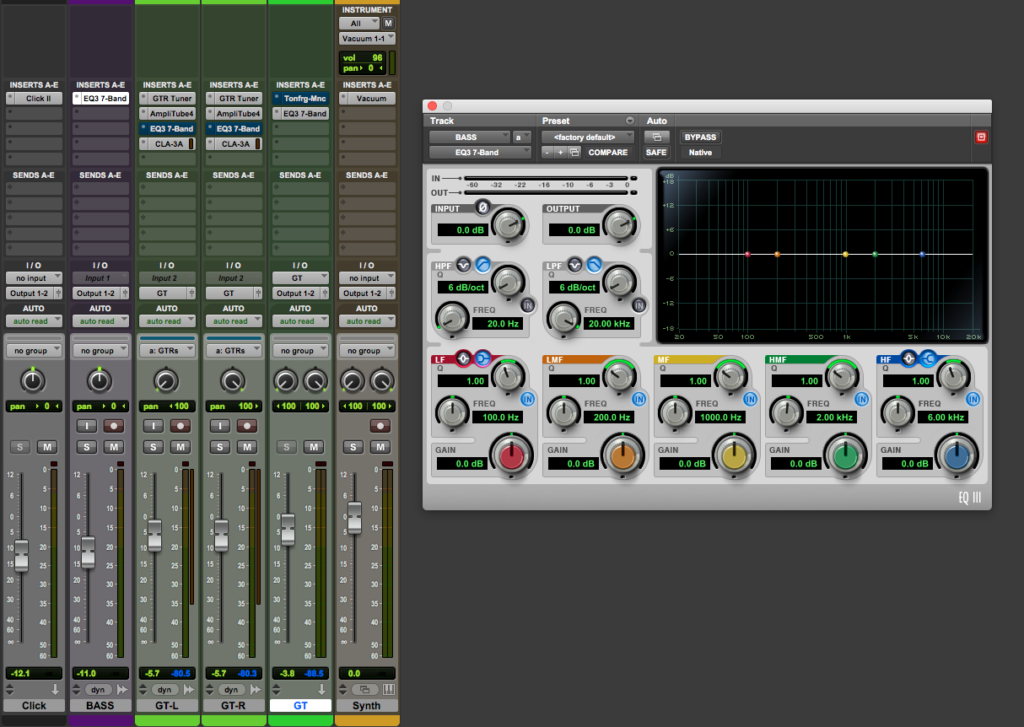
Let’s assume that you want to add inserts to the “BASS” track, perhaps the stock Avid Equalizer.
This process can be done from the Edit Window or from the Mix Window. For the purpose of this tutorial we will do it from the Mix window.
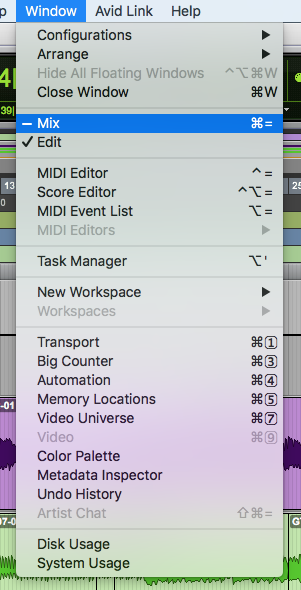
2. Switch to the Mix Window by click on the top menu bar: Window -> Mix:
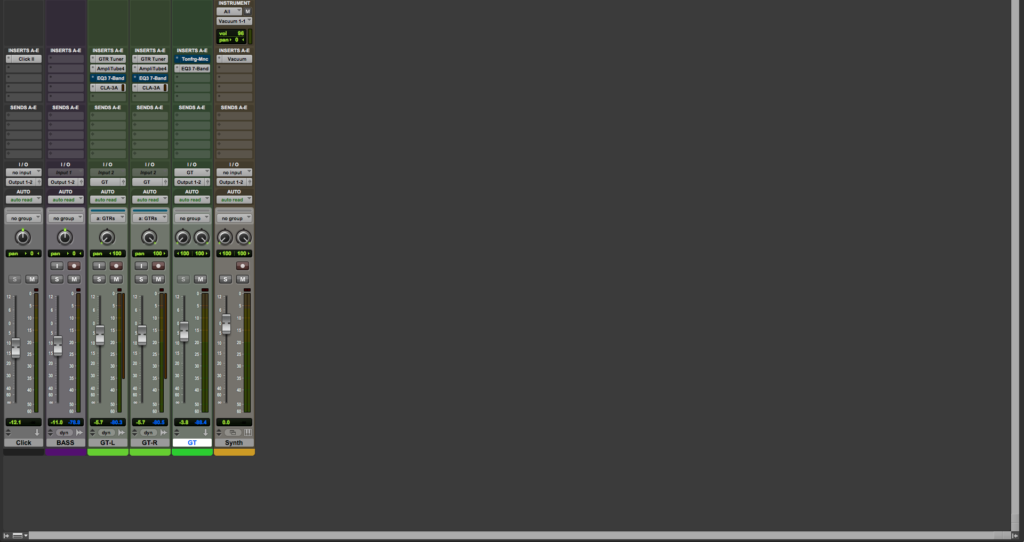
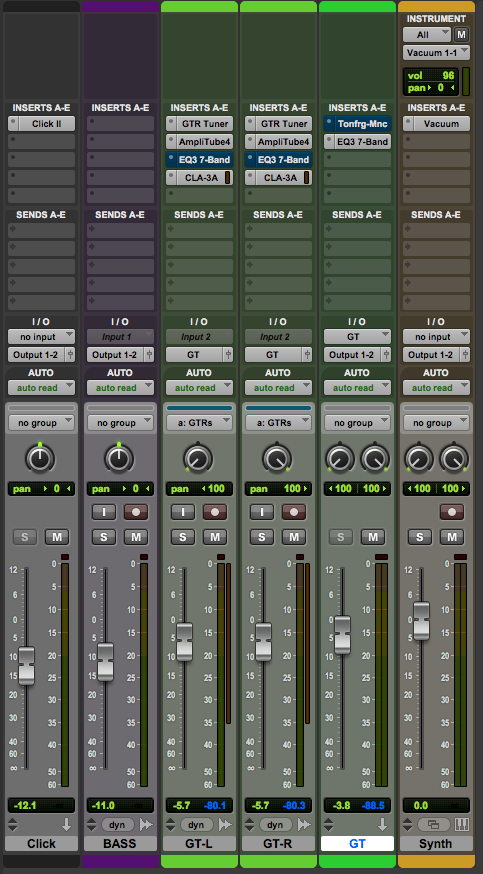
The Mix window will open as:
3. Locate the “BASS” channel strip:
4. Locate the inserts column of the channel strip:
It is easy to see how the column shows 5 possible slots to add the desired inserts.
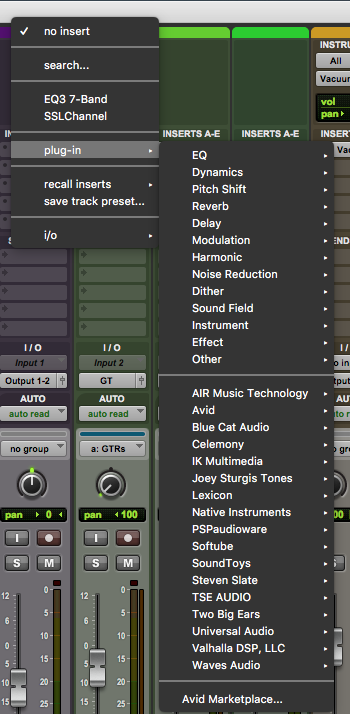
5. Click on the first insert slot:
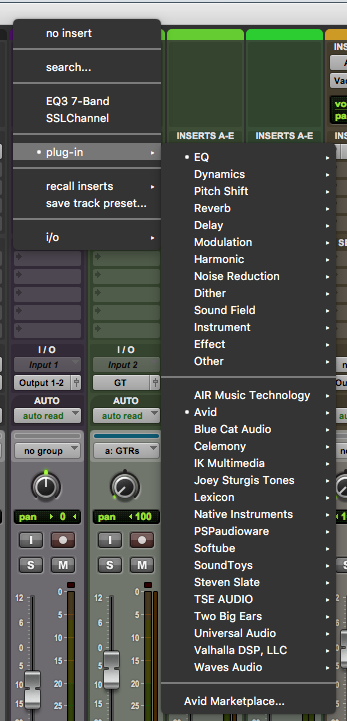
The plugin list will open as:
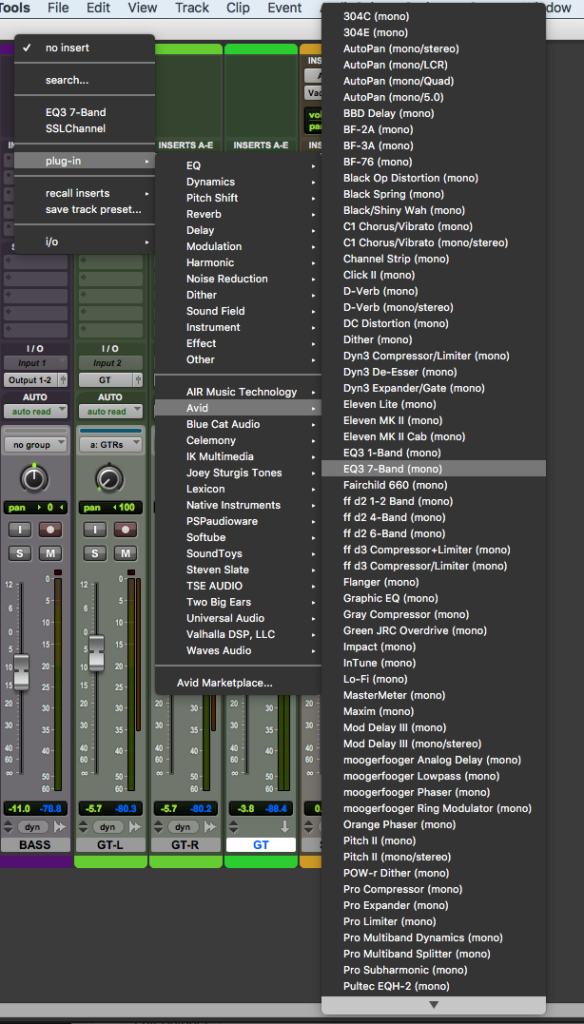
For the purpose of this tutorial we will add the Avid Pro Tools stock EQ with 7 bands.
6. From the list click on: Plugin -> Avid -> EQ3 7-Band:
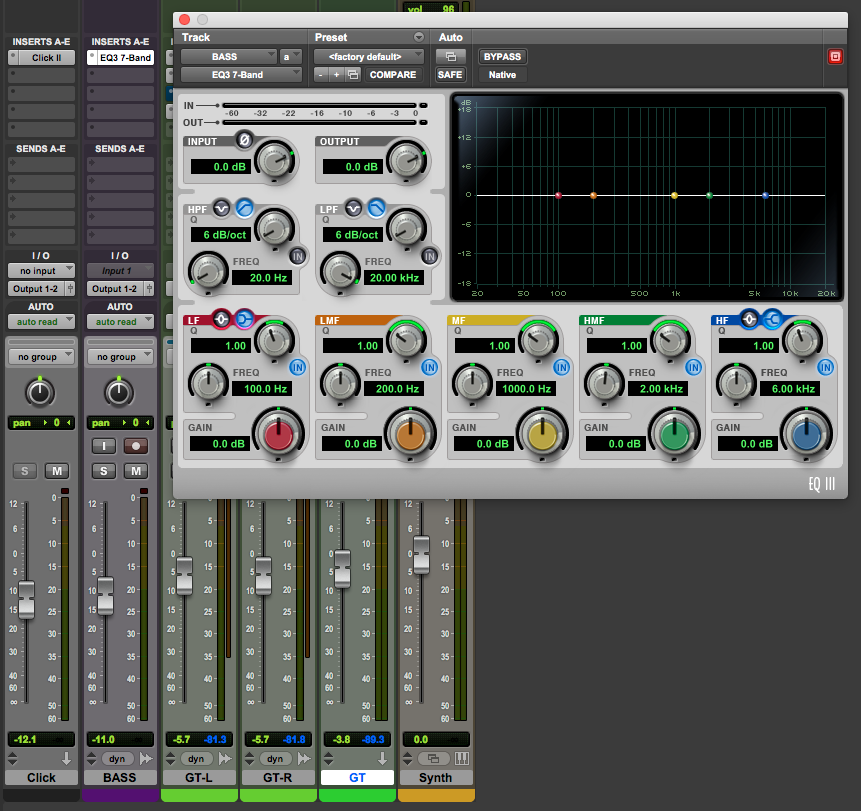
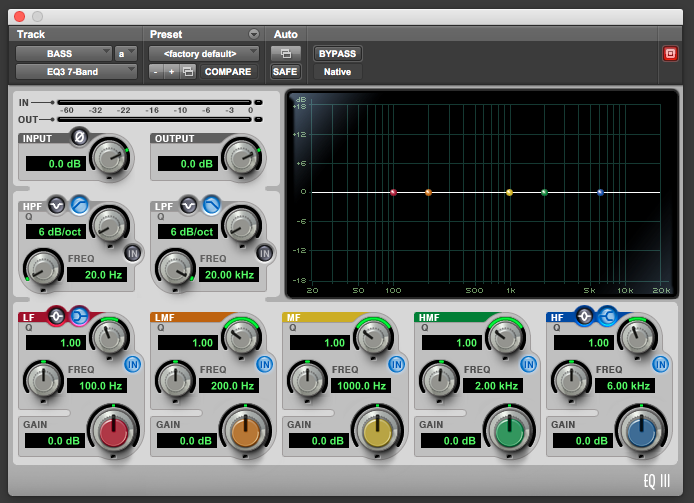
The Equalizer plugin will show as:
You can now use the equalizer for your current track.
When you finish using the equalizer, you can close its window by clicking on the “X” sign on the top left of the plugin:
If you close the plugin, you can see how it still appears on the insert column as:
In order to open the plugin again, you can simply click on the plugin name from the inserts column:
Once clicked, it will open again as:
7. In order to completely remove the plugin, click on the left of the plugin name:
The following window will appear:
8. Click on “no insert”:
The plugin has been removed from the track.
At this point we have successfully explained How to Add Inserts in Pro Tools.
Using Avid Pro Tools software to produce music would be ideal with one of our professionally designed PCAudioLabs Systems due our high-performance specifications in order to work with any of the Digital Audio Workstations supported. If you would like to order one of our PCAudioLabs computers, please call us at 615-933-6775 or click this link for our website.

