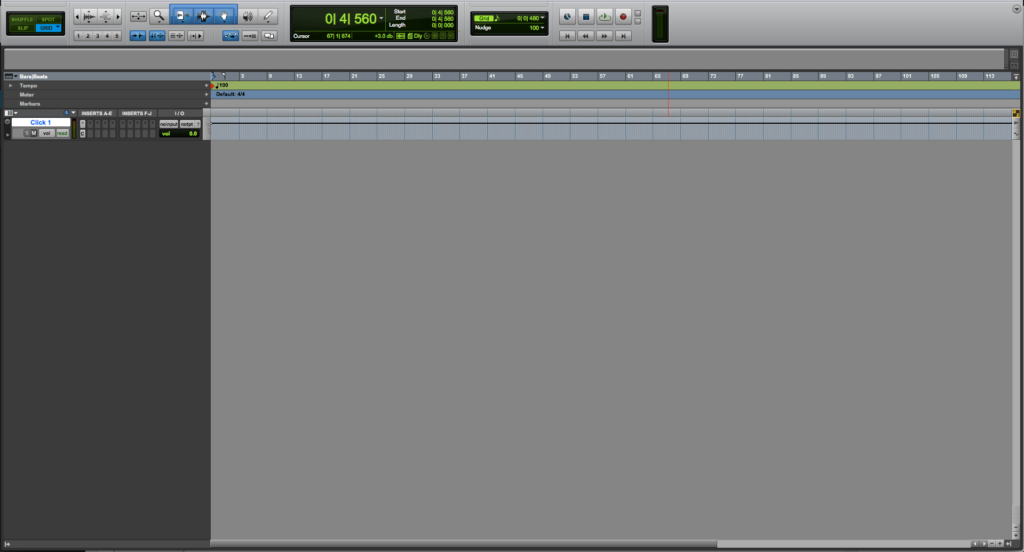
How to configure the I/O in Pro Tools
This blog is part of our new series of tutorials based on Avid’s flagship Digital Audio Workstation, Pro Tools. In this tutorial, we’ll cover how to configure the I/O in Pro Tools (inputs and outputs).
Want to learn how to use Avid Pro Tools in real time, with a professional digital audio trainer? It’s faster than blogs, videos, or tutorials. Call OBEDIA for one on one training for Avid Pro Tools and all digital audio hardware and software. Mention this blog to get 15 bonus minutes with your signup! Call 615-933-6775 and dial 1, or visit our website to get started.
Need a Pro Audio laptop or Desktop PC to run Avid Pro Tools software and all of its features at its best?
Check out our pro audio PCs at PCAudioLabs.
Getting started with How to configure the I/O in Pro Tools
On the modern days of audio production, most of the tools that engineers use in order to create their music are contained within the digital audio workstation.
DAW’s are designed in order to emulate the behavior of vintage analog-based studios, or most specifically, the tape machine and the multi-track console, giving the producers and engineers the ability to record, edit and mix their tracks in the computer (or as we simply call it “in-the-box”) without having to think about the nuances inherent of analog media, head calibration, noise from vintage consoles, etc. DAW’s also let engineers apply automation to almost all parameters within the session with just a couple clicks, making the mixing process and recall much simpler.
One of the most famous DAW’s in the professional studio world is AVID’s Pro Tools. This series will explain all the features and functions related to this program.
On this tutorial we will explain how to configure the inputs and outputs from Pro Tools associated to the audio hardware or interface connected. We will assume the user already has Pro Tools installed and the program is running.
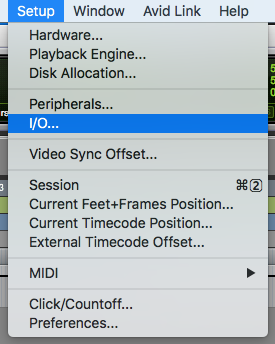
1. Locate the top menu bar:
2. Click on Setup -> I/O:
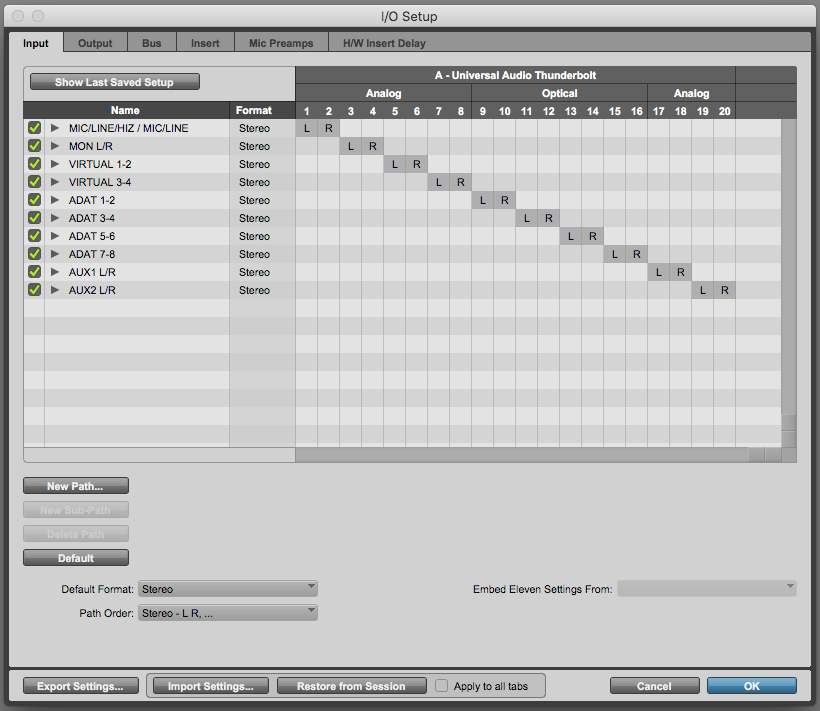
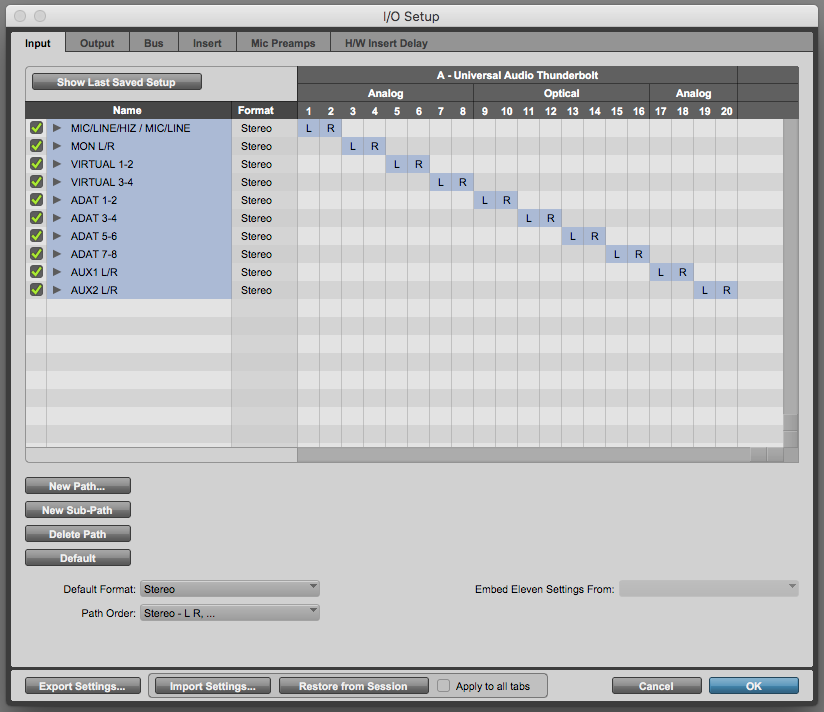
The I/O window will appear as:
For the purpose of this tutorial, we are going to work with the Input and Output tabs.
It is easy to see how the Input tab is currently selected:
The Input tab shows an audio hardware labeled as “Universal Audio Thunderbolt” associated to the inputs of Pro Tools, which is correct since we have the Universal Audio Apollo Twin connected to our computer:
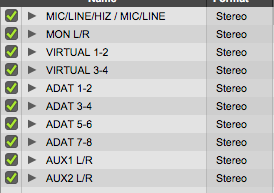
On the left side of the window we can see the available inputs:
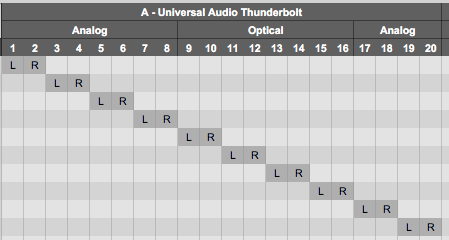
And on the right side we can see the matrix that assigns the inputs to the hardware connections:
For the purpose of this tutorial, we will set the inputs to the “Default” configuration offered by the interface we have connected.
3. Click and highlight (while holding the shift key) to select all the inputs:
4. Click “Delete Path”
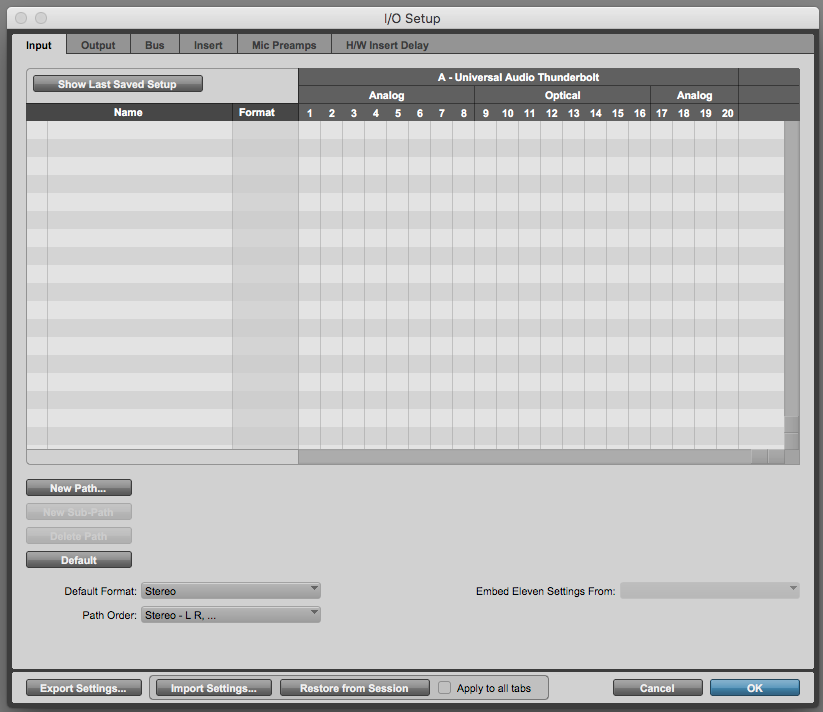
The inputs will be deleted as:
5. Click “Default”:
The configuration will be set to default. This procedure might or might not change the previous configuration. However, we always recommend to apply this procedure when working on a new system.
We can now setup the Output tab.
6. Click on the “Output” tab to select it:
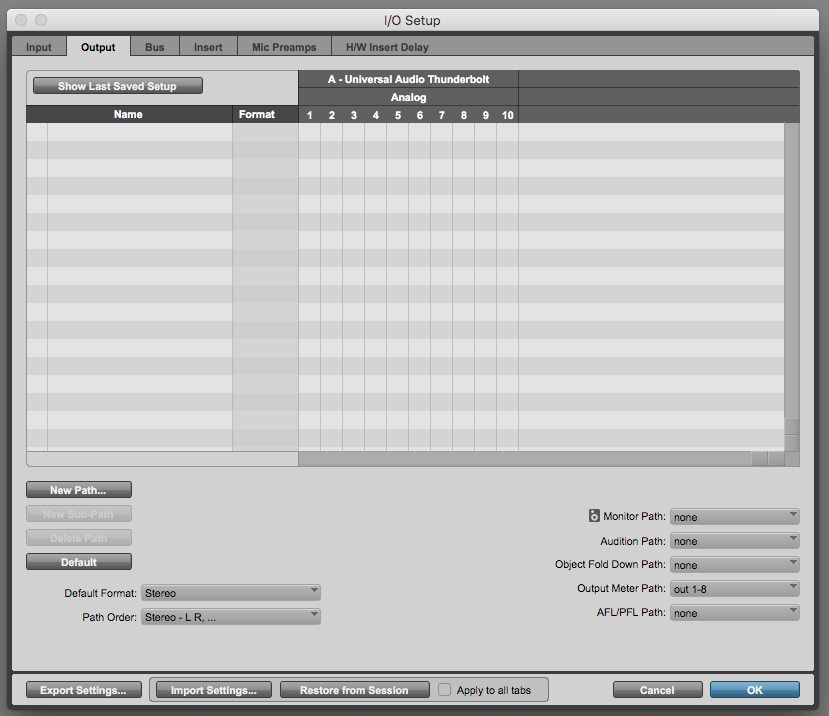
The Output tab window will open as:
7. Repeat steps 3 and 3 in order to select and delete the Outputs:
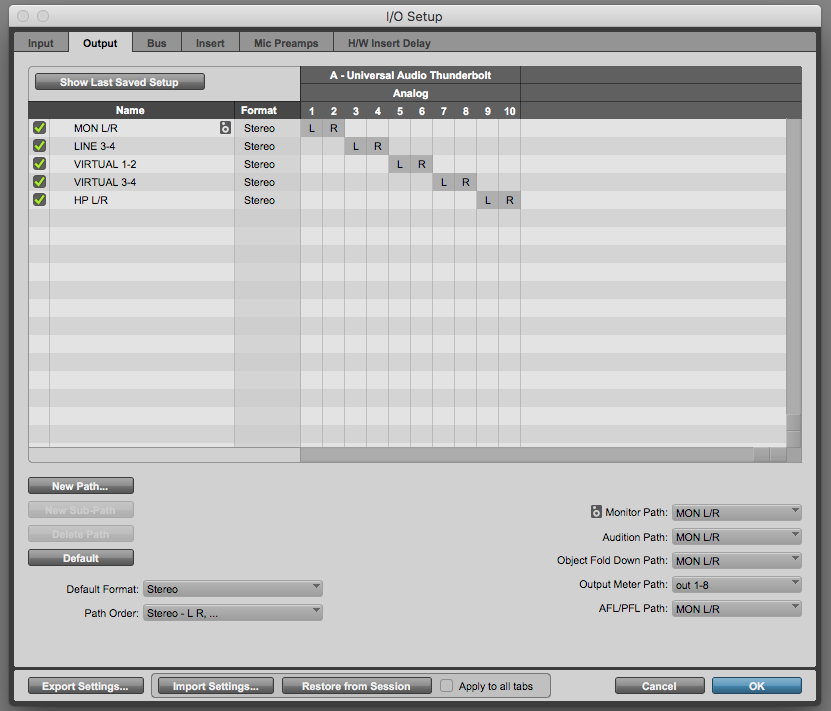
8. Click on “Default” at the bottom left of the screen in order to set the Outputs to their default configuration:
9. Click “OK” at the bottom right of the screen to apply the changes:
Pro Tool will go back to the previous window as:
At this point we have successfully configured the inputs and outputs of Pro Tool associated to the interface. The user can now send and receive audio to and from Pro Tools.
Using Avid Pro Tools software to produce music would be ideal with one of our professionally designed PCAudioLabs Systems due our high-performance specifications in order to work with any of the Digital Audio Workstations supported. If you would like to order one of our PCAudioLabs computers, please call us at 615-933-6775 or click this link for our website.

