The following tutorial shows the user a basic overview of How to use Auto Punch in Studio One.
Need a Pro audio PC to run PreSonus Studio One 4 software and all of its features at its best? Check out all the pro audio PC offerings from PCAudioLabs
Studio One 4 gives the user the possibility of selecting an area of the timeline in which as soon as the transport bar passes through, the recording will start, and it will end as soon as the transport leaves that predetermined area. This is possible by using a function called “Auto Punch”, that basically automatically starts and stops recording around the selected area.
This tutorial will present a basic overview of how to use How to use Auto Punch in Studio One:
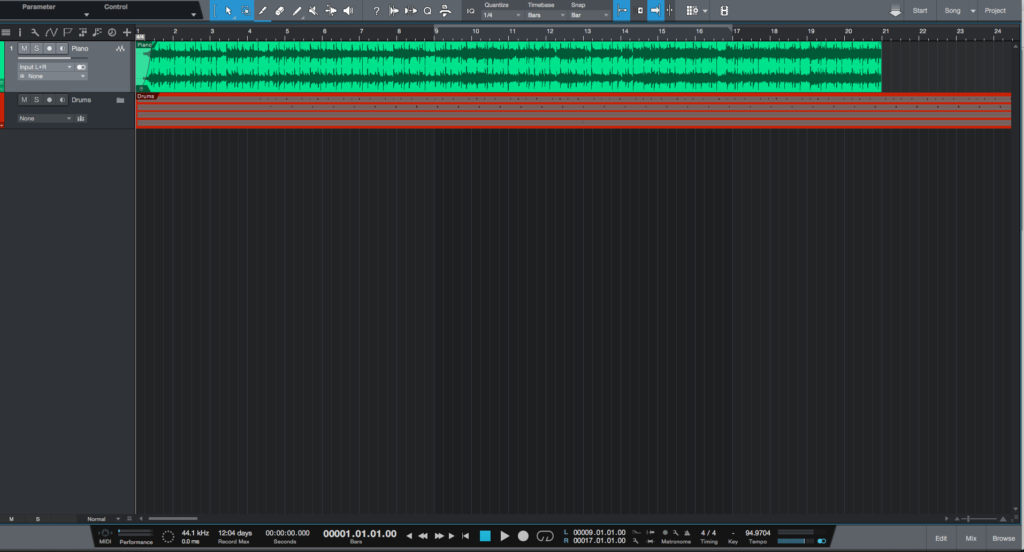
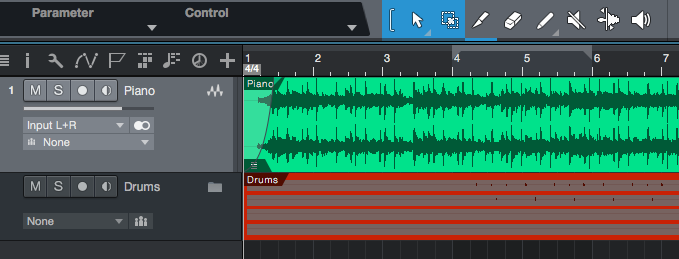
- Open a Studio One 4 song with at least one track where the recording will happen:
For the purpose of this tutorial, the recording will happen between bars 4 and 6.
2. Set your loop start and end points between bars 4 and 6:
3. Make sure the LOOP function is not active, by simply looking at the loop button from the transport bar greyed out:
4. Locate the AUTO PUNCH function at the transport bar, to the left of the word “Metronome”:
5. Click on it to turn it ON. It will light as RED indicating the function is ON:
6. Set the transport to the start of the song by pressing STOP:
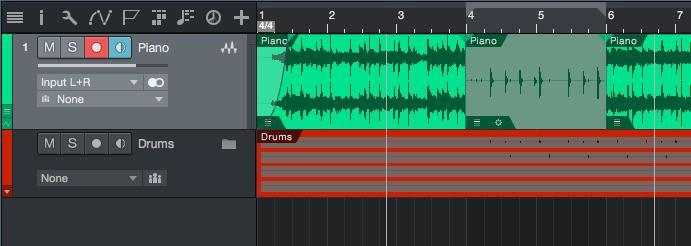
7. Press the RECORD button from the transport bar and the playback will start. Recording will happen only between the loop region due the AUTO PUNCH enabled:
It is easy to see how the recording only happened between bars 4 and 6 as expected. As soon as the transport passed bar 6, the recording stopped and the playback kept happening. The Auto Punch function has been configured and operated successfully.
At this point we have successfully explained a basic overview of How to use Auto Punch in Studio One. The tutorial has now finished.
Using PreSonus Studio One 4 software to produce music would be ideal with one of our professionally designed PCAudioLabs Systems due our high-performance specifications in order to work with any of the Digital Audio Workstations supported. If you would like to order one of our PCAudioLabs computers, please call us at 615-933-6775 or click this link for our website.


