Marker Tracks in Cubase
In this blog, we’ll demonstrate how to create and configure our Marker Tracks in Cubase.
This blog is part of our new series of tutorials based on the new version of Steinberg Cubase 12.
Want to learn how to use Steinberg Cubase in real time, with a professional digital audio trainer? It’s faster than blogs, videos, or tutorials. Call OBEDIA for one on one training for Steinberg Cubase training and tech support, and get help with all digital audio hardware and software.
Mention this blog to get 15 bonus minutes with your signup! Call 615-933-6775 and dial 1, or visit our website to get started.
Need a Pro Audio laptop or Desktop PC to run Steinberg Cubase software and all of its features at its best?
Check out our pro audio PCs at PCAudioLabs.
Marker Tracks in Cubase
Marker Tracks are another “project organization” tool that will help you when you are dealing with very long songs that have different parts.
The Marker Track will let you add “Markers” that identify each part of the song for easier navigation.
Think about a concert recording… You could use a marker track to determine the location of the start of each song of your 2 hour long concert!
Here we go!
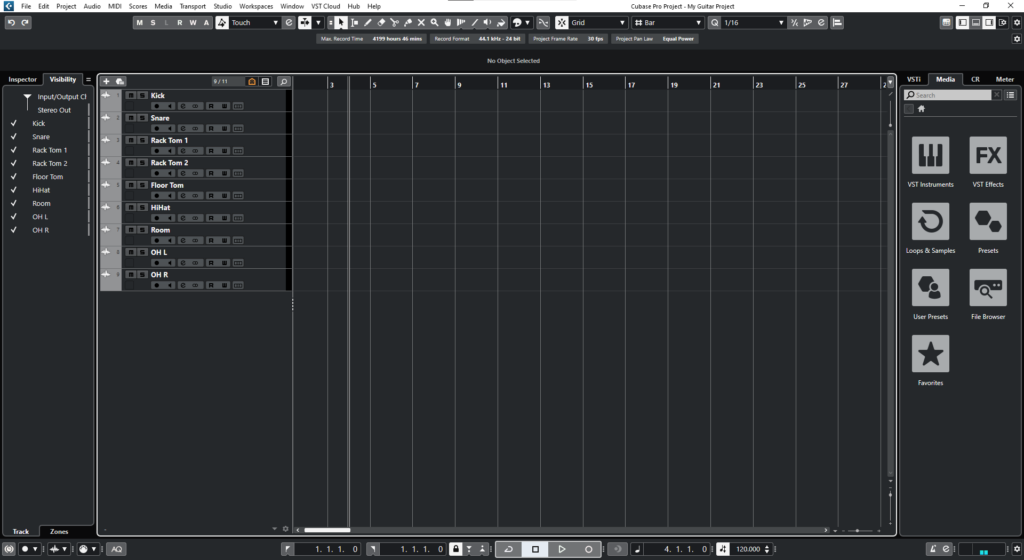
- Let’s say you have an existing project in Cubase:
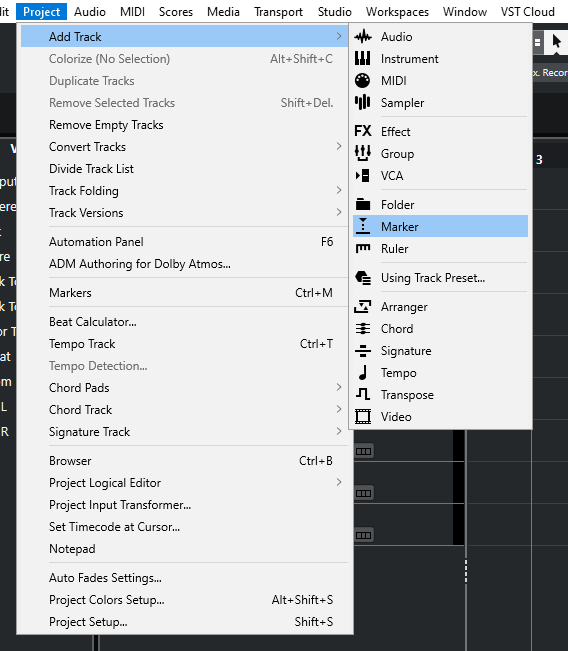
2. On the top menu bar click: Project -> Add Track -> Marker:
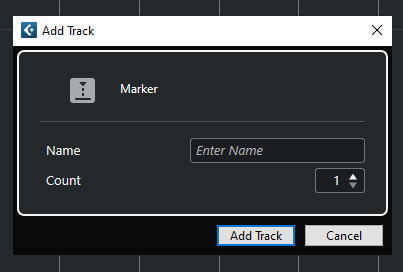
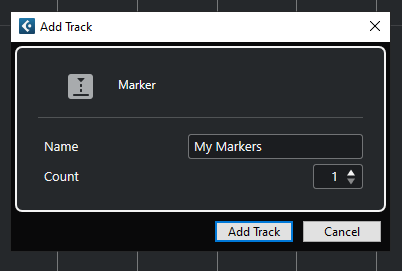
The “Add Track” window will appear as:
From this window we can see there are several parameters such as:
- Name: This field lets your type the name of the Marker track.
- Count: This field lets you determine the number of Marker tracks to be created.
3. Apply the following configurations:
4. Click on “Add Track”:
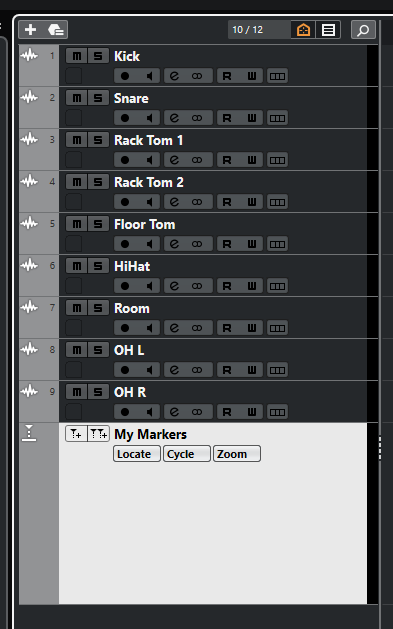
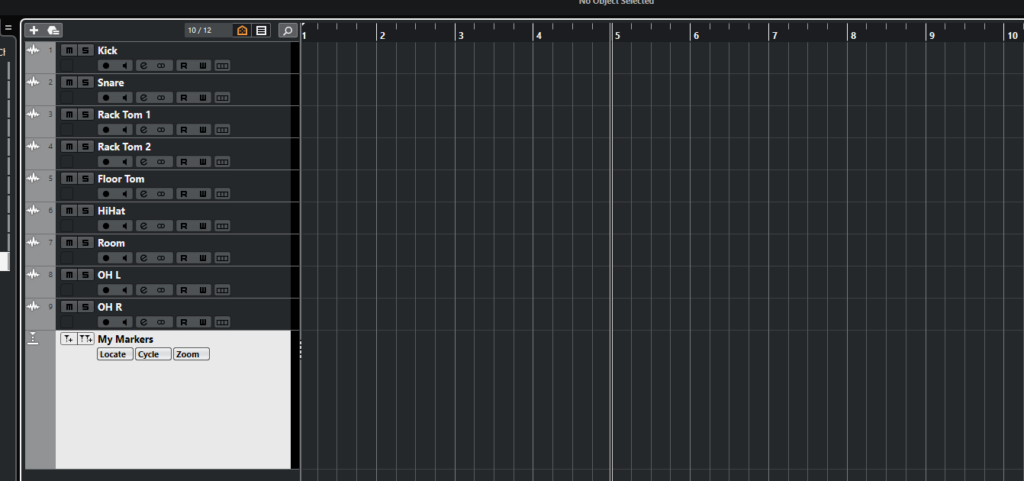
The Marker Track will appear as:
5. Locate your playback at any measure, let’s say measure 5:
6. On the “My Markers” track, click on the “Add Position Marker” button:
The markers will be added as:
7. You can repeat the process to add more markers!
By simply double-clicking on the markers, you can automatically navigate to that playback location!
And that is it! Now you have created your marker track and added some markers to it.
We hope you found this tutorial on Marker Tracks in Cubase helpful!
Using Steinberg Cubase software to produce music would be ideal with one of our professionally designed PCAudioLabs Systems due our high-performance specifications in order to work with any of the Digital Audio Workstations supported. If you would like to order one of our PCAudioLabs computers, please call us at 615-933-6775 or click this link for our website.

