Table of Contents
Metronome Output Routing for Live Performance in Ableton
This blog is part of our new series of tutorials based on the functions and features included in Ableton for Live Performance using background tracks.
Want to learn how to use Ableton Live in real time, with a professional digital audio trainer? It’s faster than blogs, videos, or tutorials. Call OBEDIA for one on one training for Ableton Live and all digital audio hardware and software. Mention this blog to get 15 bonus minutes with your signup! Call 615-933-6775 and dial 1, or visit our website to get started.
Need a Pro Audio laptop or Desktop PC to run Ableton Live software and all of its features at its best?
Check out our pro audio PCs at PCAudioLabs.
Metronome Output Routing for Live Performance in Ableton
If you are performing live with a band, or as a solo artist, chances are you will have some background tracks supporting your show.
If you have background tracks, you should also have a metronome or click that you can follow in order to play synchronized to the background tracks.
Ableton is specially useful in these cases in which you need a time reference to play on top.
When you are in this situation, you must make sure, the metronome is going out of your interface, using its own independent output.
Why?
Because when you send the metronome out on its individual output, you let the monitor engineer, send independent amounts of metronome to each musician.
Also, it lets the main “front-of-house” engineer mute the metronome so the spectators won’t hear it!
So in other words, you just need to make sure, the output you use for the metronome, is not being used by any of the background tracks.
How can we do this?
Let’s give it a shot!
-
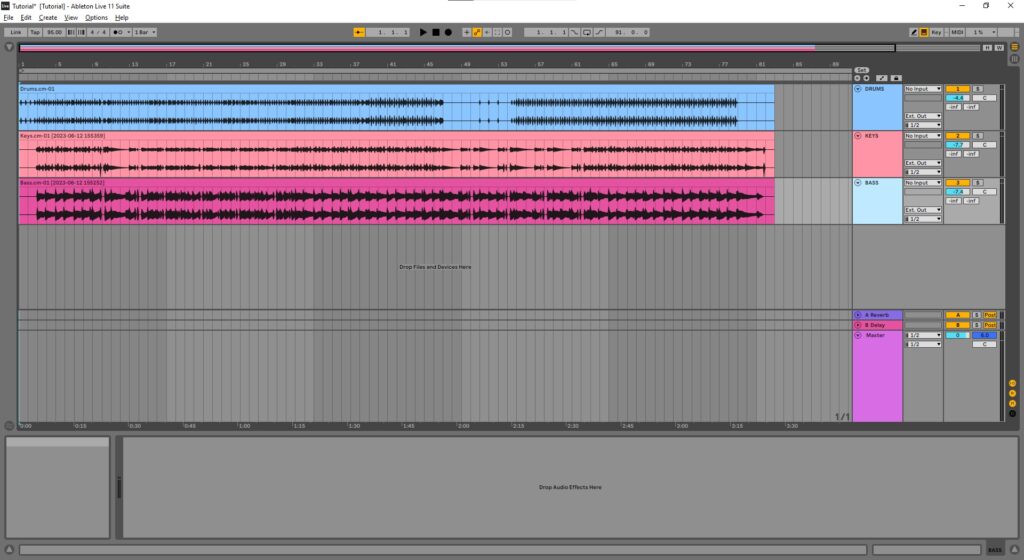
Open your Ableton Live set:
2. Check your interface’s outputs count:
In our case, we only have 4 outputs.
This means we need at least 1 for the metronome, and we would have 3 available for tracks.
For the purpose of this tutorial, we have all of our tracks going to the stereo pair 1-2.
We have output 4 and output 4 available then.
Let’s use output 4 for our metronome then.
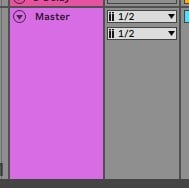
3. Locate the cue output (metronome output) at the bottom right next to the Master:
You can see there are two drop-down lists.
The one on top is out “cue output”, which is in fact the metronome output.
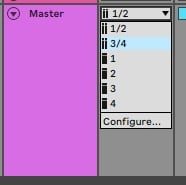
4. Click on the cue output dropdown list:
The list will show the available outputs as:
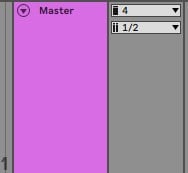
5. Click on Output 4 (mono):
The output selection will be shown as:
As you can see now, all of our tracks are routed to stereo pairs 1-2, while our metronome is only going to mono output 4.
You are good to go now!
And that is it! Now you know how to set your Metronome Output Routing for Live Performance in Ableton.
Using Ableton Live software to produce music would be ideal with one of our professionally designed PCAudioLabs Systems due our high-performance specifications in order to work with any of the Digital Audio Workstations supported. If you would like to order one of our PCAudioLabs computers, please call us at 615-933-6775 or click this link for our website.


