Mixer Channel Overview in Studio One 6
This blog is part of our new series of tutorials based on the new version of PreSonus Studio One 6, where we will be each of the new functions and features included.
Want to learn how to use PreSonus Studio One in real time, with a professional digital audio trainer? It’s faster than blogs, videos, or tutorials. Call OBEDIA for one on one training for PreSonus Studio One and all digital audio hardware and software. Mention this blog to get 15 bonus minutes with your signup! Visit our website to get started.
Need a Pro Audio laptop or Desktop PC to run PreSonus Studio One 6 software and all of its features at its best?
Check out our pro audio PCs at PCAudioLabs.
Mixer Channel Overview in Studio One 6
Have you ever been in a situation in which you are working in the Mix view of Studio One but need to see information that appears in the timeline view?
What do you do?
Well… You basically need to switch from one view to the other, look for the information and then switch back. If you had some insert opened, you would have to re-open it to see it.
However, the new version of Studio One 6 makes this process of switching back-and-forth extremely easy with the new Mixer Channel Overview option.
Let’s test it!
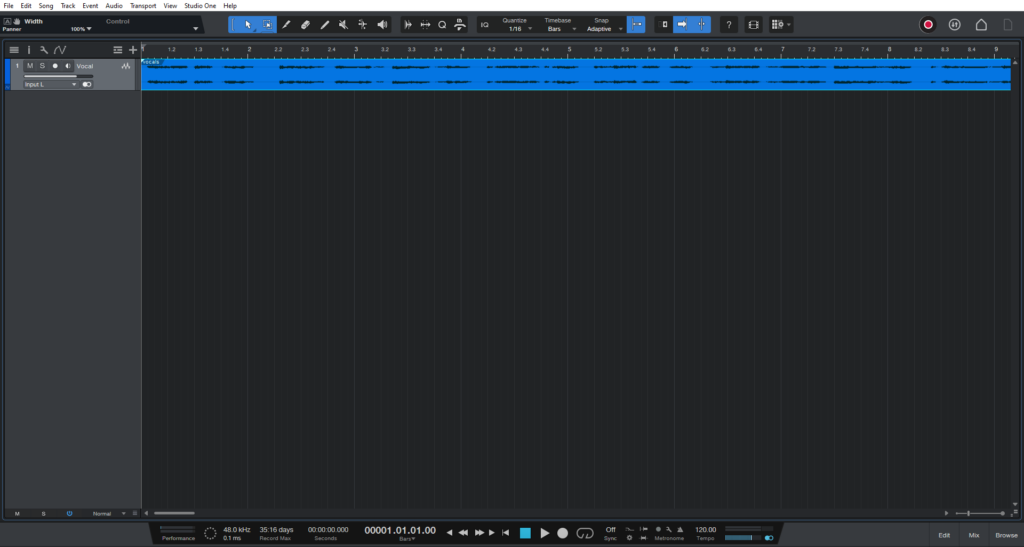
- Open your Studio One 6 song:
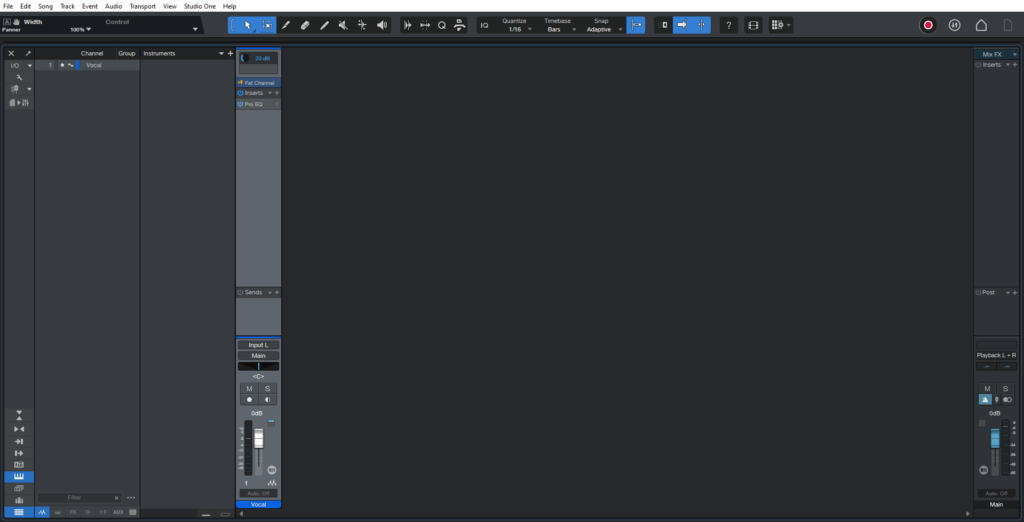
2. Switch to Mix view:
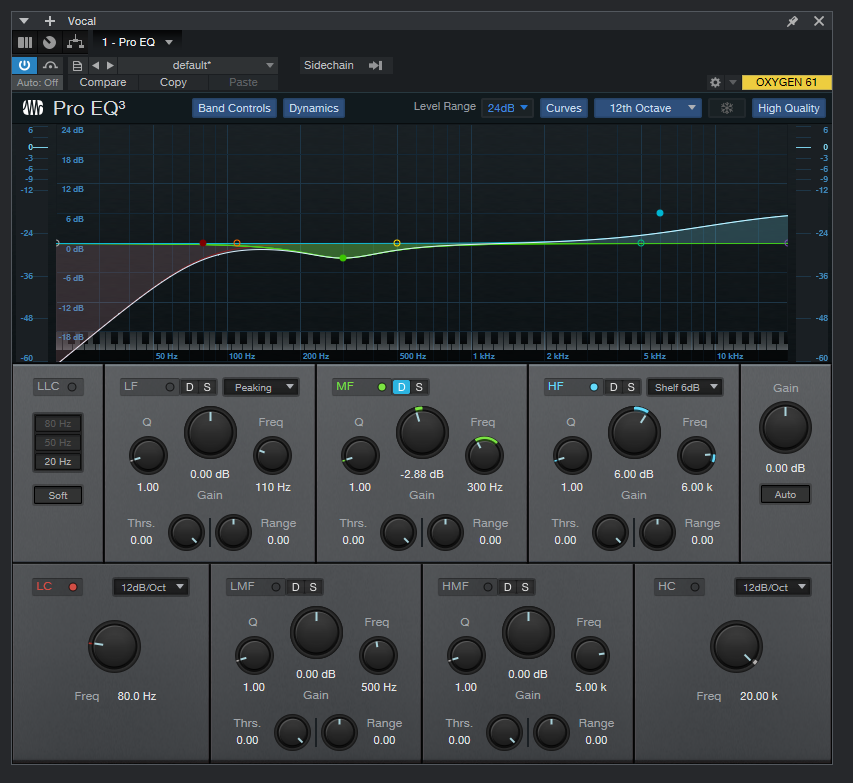
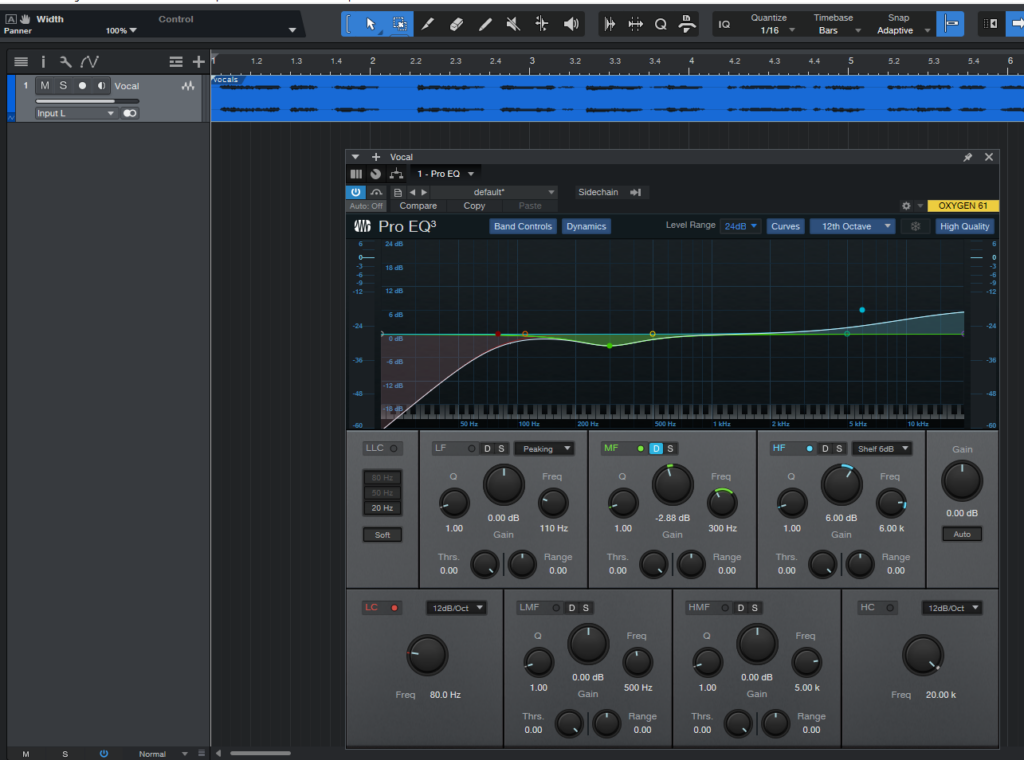
3. Open the current insert assigned to the track:
4. Locate the Mixer Channel Overview button, top left of the insert window:
The button looks like 3 vertical bars:
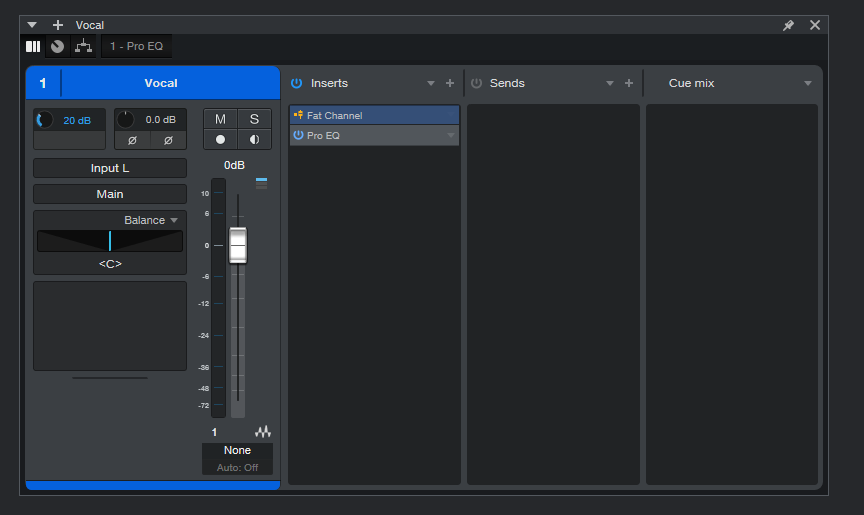
5. Click the button:
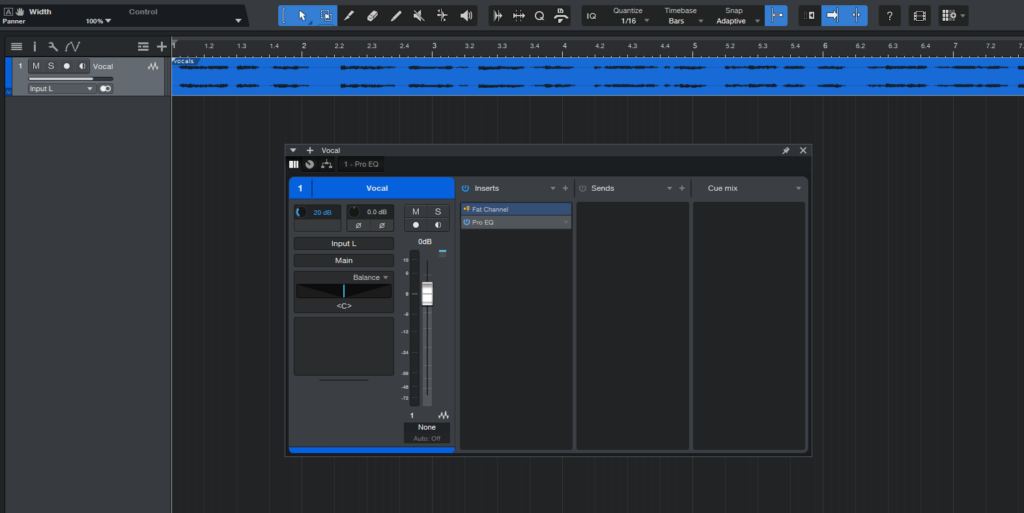
It is easy to see how the window quickly changed to an overview of the mixer functions.
6. Switch to timeline view:
So now that you are switched to timeline view, you have the parameters of the timeline, but on the insert window you can modify the parameters of the mixer, such as the fader, inputs, outputs, mute, solos, inserts.
All in one screen! No need to switch back and forth anymore!
7. Click on the insert name to show the insert again:
So now you have the ability to see and manipulate timeline parameters, mixer parameters and insert parameters, all in the same screen with a couple clicks!
Only in Studio One 6!
We hope you found this tutorial on the Mixer Channel Overview in Studio One 6 helpful. If you’ d like one-on-one help with PreSonus Studio One, call OBEDIA. We offer one-on-one training and tech support for pro audio hardware and software.
Using PreSonus Studio One 6 software to produce music would be ideal with one of our professionally designed PCAudioLabs Systems due our high-performance specifications in order to work with any of the Digital Audio Workstations supported. If you would like to order one of our PCAudioLabs computers, please call us at 615-933-6775 or click this link for our website.

