Trim Tool in Pro Tools
This blog is part of our new series of tutorials based on Avid’s flagship Digital Audio Workstation, Pro Tools.
Want to learn how to use Avid Pro Tools in real time, with a professional digital audio trainer? It’s faster than blogs, videos, or tutorials. Call OBEDIA for one on one training for Avid Pro Tools and all digital audio hardware and software. Mention this blog to get 15 bonus minutes with your signup! Call 615-933-6775 and dial 1, or visit our website to get started.
Need a Pro Audio laptop or Desktop PC to run Avid Pro Tools software and all of its features at its best?
Check out our pro audio PCs at PCAudioLabs.
Getting started with how to use the Trim Tool in Pro Tools
Pro Tools is a software that lets you produce, record, edit and mix audio as well as MIDI performances.
After we are done with the recording stage of a production, we will get into the editing stage.
On this stage, we will be using all the Edit Tools from their associated menu.
Today we are going to be learning how to use the Trim Tool.
The Trim Tool is used to quickly shorten or expand a clip up to the entire length of the source audio file.
When you trim a clip, Pro Tools creates a new clip and adds it to the Clips List in order to differentiate it from the original.
This Tools is completely non-destructive so it does not modify the original audio file.
You can always resize the clip to its original length by clicking and dragging its boundaries.
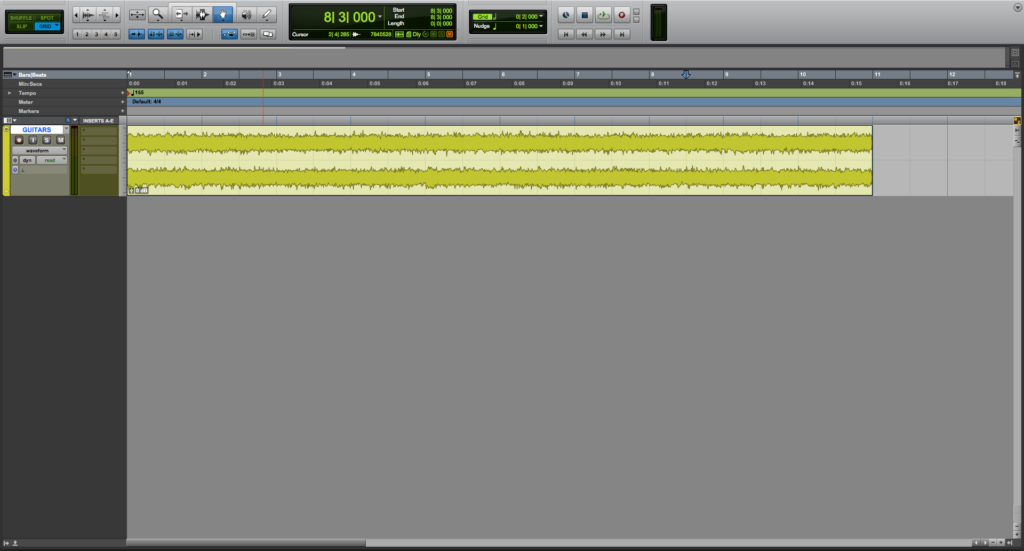
- Open or create a new Pro Tools session:
2. Locate the Edit Tools menu:
3. Click on the Trim Tool icon to select the Trim Tool:
Once clicked, it will turn blue indicating it is selected as:
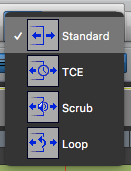
This Tool has four different modes:
- Standard: Standard trim tool that lets you trim the start and end of clips non-destructively.
- TCE: Time Compression/Expansion lets you match an audio clip to a certain length with an “elastic audio” feature.
- Scrub: Lets you audition audio material to find a trim point.
- Loop: This mode lets you create or trim looped clips.
These modes can be changed by right-clicking on top of the Trim Tool icon, so the four modes appear as:
For the purpose of this tutorial we will stay in Standard Trim mode.
4. Click on the clip to select it:
It will get highlighted as:
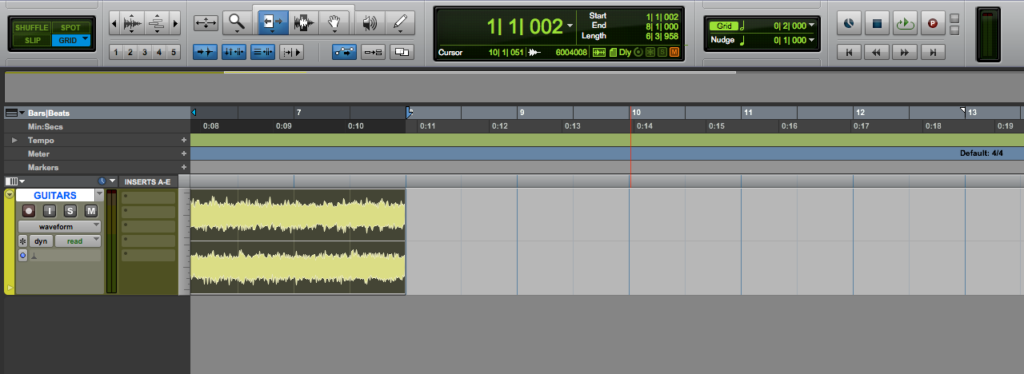
5. Drag the boundary to the left of the timeline to trim it:
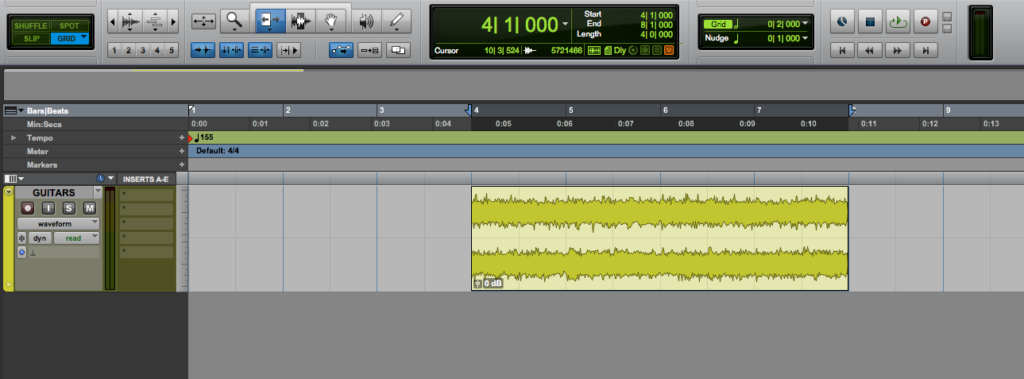
6. Repeat the process with the left boundary:
The clip has been trimmed!
The audio file stays the same, but Pro Tools will only playback the part of the original file that is show on the timeline.
You can easily undo this trimming by clicking and dragging the boundaries back to their original locations.
And that is it!
At this point, we have successfully explained how to use Trim Tool in Pro Tools.
Using Avid Pro Tools software to produce music would be ideal with one of our professionally designed PCAudioLabs Systems due our high-performance specifications in order to work with any of the Digital Audio Workstations supported. If you would like to order one of our PCAudioLabs computers, please call us at 615-933-6775 or click this link for our website.


