Table of Contents
Zoom Memory in Pro Tools
This blog is part of our new series of tutorials based on Avid’s flagship Digital Audio Workstation, Pro Tools.
Want to learn how to use Avid Pro Tools in real time, with a professional digital audio trainer? It’s faster than blogs, videos, or tutorials. Call OBEDIA for one on one training for Avid Pro Tools and all digital audio hardware and software. Mention this blog to get 15 bonus minutes with your signup! Call 615-933-6775 and dial 1, or visit our website to get started.
Need a Pro Audio laptop or Desktop PC to run Avid Pro Tools software and all of its features at its best?
Check out our pro audio PCs at PCAudioLabs.
Getting started with how to use Zoom Memory in Pro Tools
Pro Tools is a software that lets you produce, record, edit and mix audio as well as MIDI performances.
After we are done with the recording stage of a production, we will get into the editing stage.
When editing, we might encounter situations in which we need to swap between different zoom levels.
We might need to be zoomed in considerably and then zoom out constantly, always at the same level.
Instead of manually zooming in and out, we can use Zoom Memory to achieve this.
Zoom Memory are simply “zoom presets” that we can define and then use with single key commands.
Today we will learn how to use Zoom Memory in Pro Tools:
-
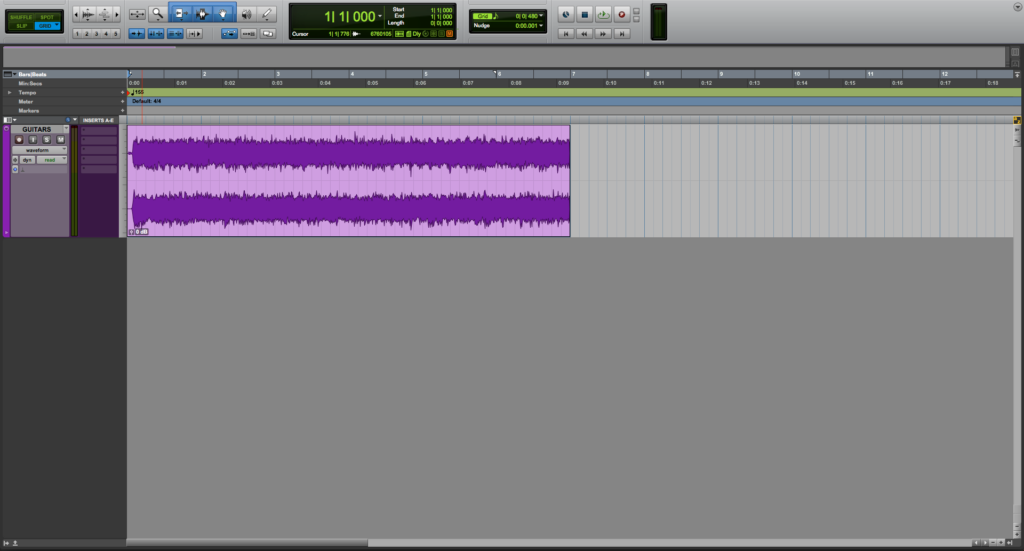
Open or create a new Pro Tools session:
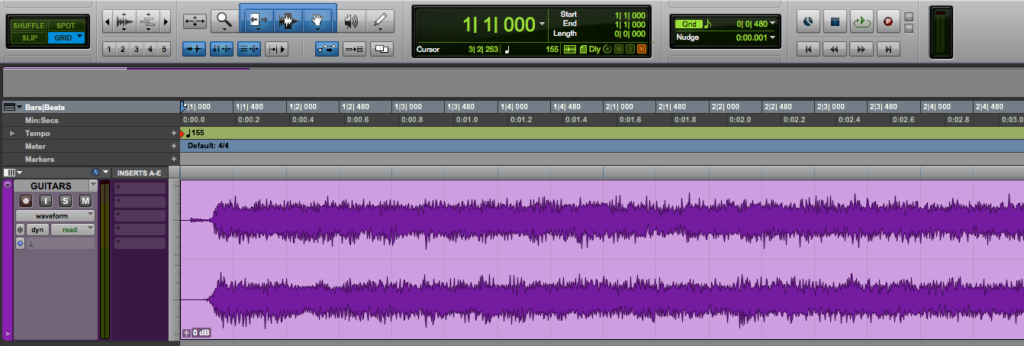
2. Locate the Zoom functions:
The Zoom Memory are the five numbers below:
As mentioned before Zoom Memory gives us the ability to “save” five different zoom levels as presets.
This way we can toggle those zoom levels at any time by pressing a single key.
Let’s save the first zoom level.
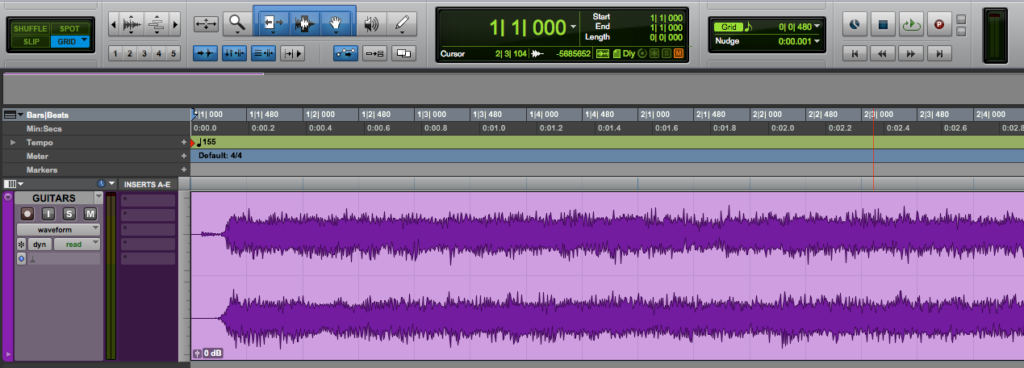
3. Zoom in horizontally on the waveform a couple times:
Let’s assume we want this to be our first zoom memory level.
4. Hold command+click (Mac) or Control+Click (PC) on the number “1”:
It will light in blue a couple times meaning we have saved this level.
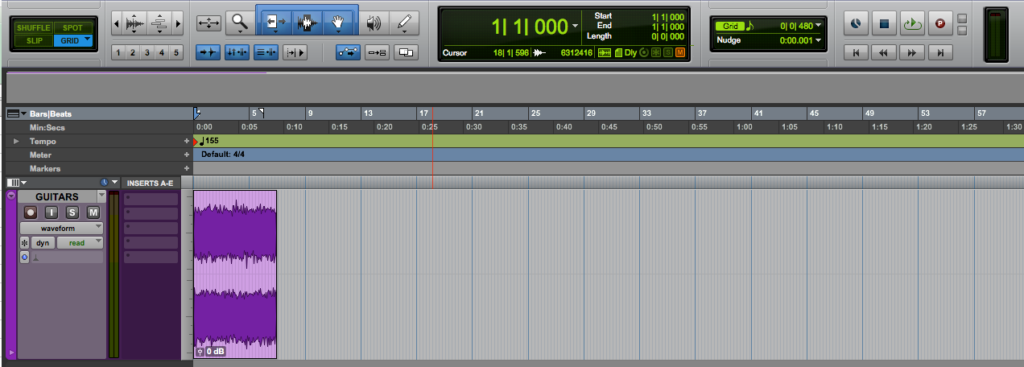
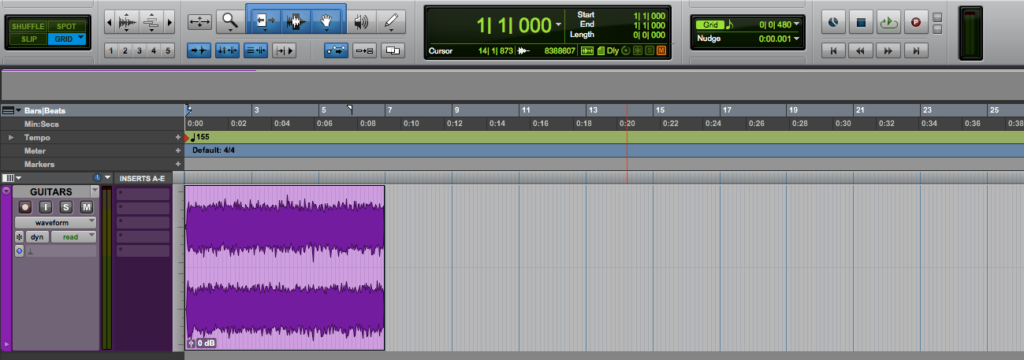
5. Now zoom out considerably:
Let’s assume we want this to be our second zoom memory level.
6. Hold command+click (Mac) or Control+Click (PC) on the number “2”:
It will light in blue a couple times meaning we have saved this level.
We now have saved two different zoom memory levels.
7. Click on the number “1” to toggle the first zoom level:
The Zoom function will go back to the first level we had stored.
Alternatively we can simply press the number “1” on the keyboard.
8. Click on the number “2” to toggle the second zoom level:
The Zoom function will go back to the second level we had stored.
Alternatively we can simply press the number “2” on the keyboard.
So now we can save all zoom memory levels and toggle them using numbers “1” to “5” on our keyboard, fast and easy!
And that is it!
At this point, we have successfully explained how to use Zoom Memory in Pro Tools.
Using Avid Pro Tools software to produce music would be ideal with one of our professionally designed PCAudioLabs Systems due our high-performance specifications in order to work with any of the Digital Audio Workstations supported. If you would like to order one of our PCAudioLabs computers, please call us at 615-933-6775 or click this link for our website.

