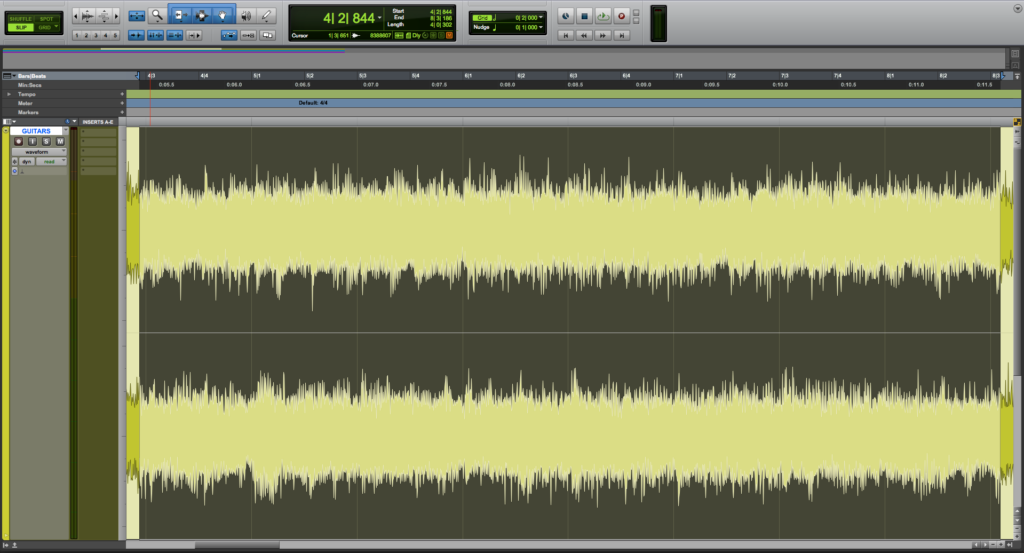
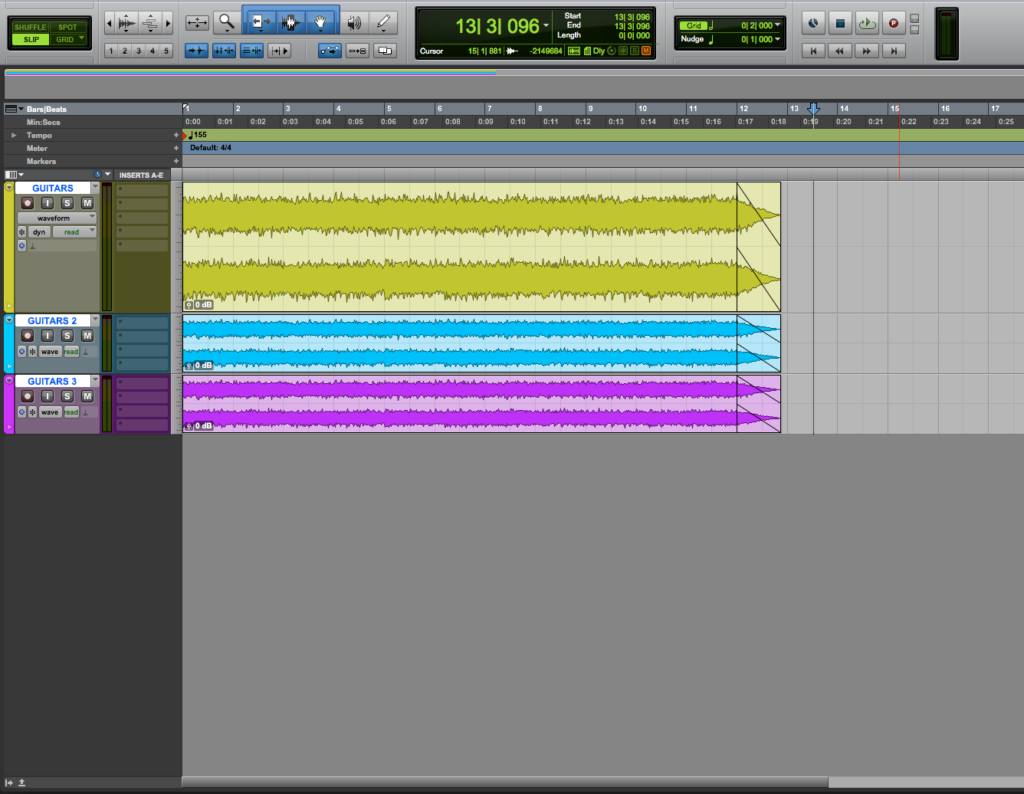
Zoom Toggle in Pro Tools
This blog is part of our new series of tutorials based on Avid’s flagship Digital Audio Workstation, Pro Tools.
Want to learn how to use Avid Pro Tools in real time, with a professional digital audio trainer? It’s faster than blogs, videos, or tutorials. Call OBEDIA for one on one training for Avid Pro Tools and all digital audio hardware and software. Mention this blog to get 15 bonus minutes with your signup! Call 615-933-6775 and dial 1, or visit our website to get started.
Need a Pro Audio laptop or Desktop PC to run Avid Pro Tools software and all of its features at its best?
Check out our pro audio PCs at PCAudioLabs.
Getting started with how to use Zoom Toggle in Pro Tools
Pro Tools is a software that lets you produce, record, edit and mix audio as well as MIDI performances.
After we are done with the recording stage of a production, we will get into the editing stage.
During editing, we will need to switch between different zoom states in order to “see” the timeline in different ways.
Sometimes we might need to fully zoom out horizontally to see the whole arrangement, while at other times we might need to fully zoom in horizontally to find discontinuities and strange artifacts.
The Zoom Toggle lets us define and toggle between different zoom states in the Edit Window by simply clicking on it once.
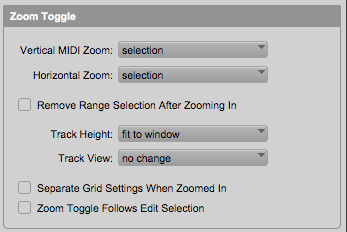
The Zoom Toggle stores and recalls the following parameters:
- Vertical Zoom
- Horizontal Zoom
- Track Height
- Track View
- Grid Setting
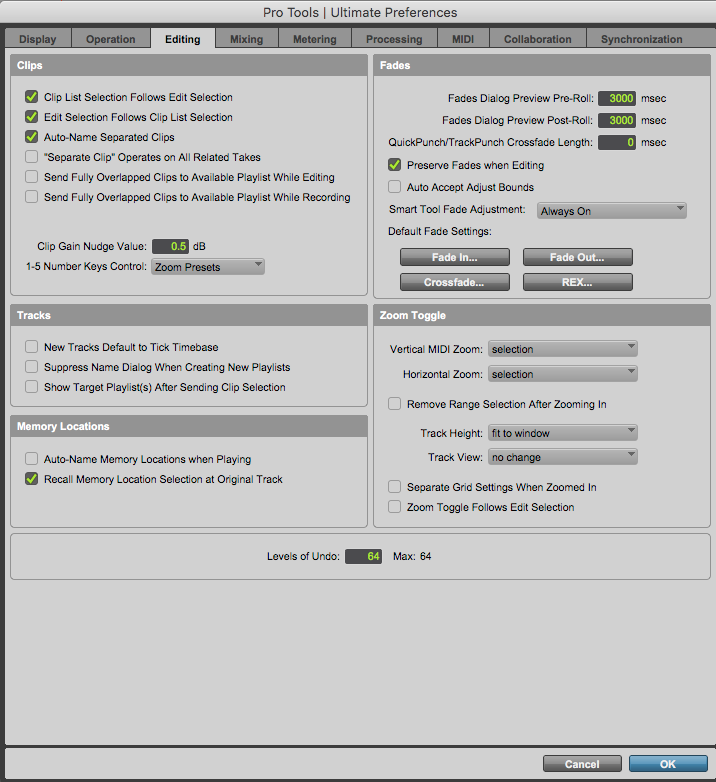
These parameters can be configured at the Zoom Toggle Preferences.
- Open the Pro Tools preferences window and select the Editing tab:
2. Locate the Zoom Toggle Area:
For audio editing, the recommendation is that you set the Vertical Zoom to Selection, as well as Horizontal Zoom to selection.
3. Press OK to apply changes:
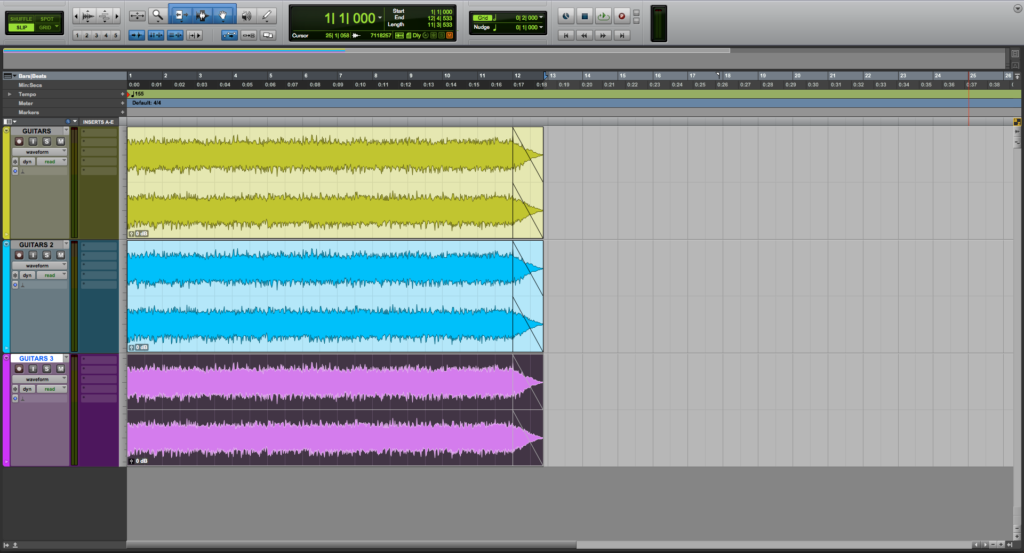
The Preferences Window will close and the program will take us back to the Edit Window:
Let’s try this Zoom Toggle function now.
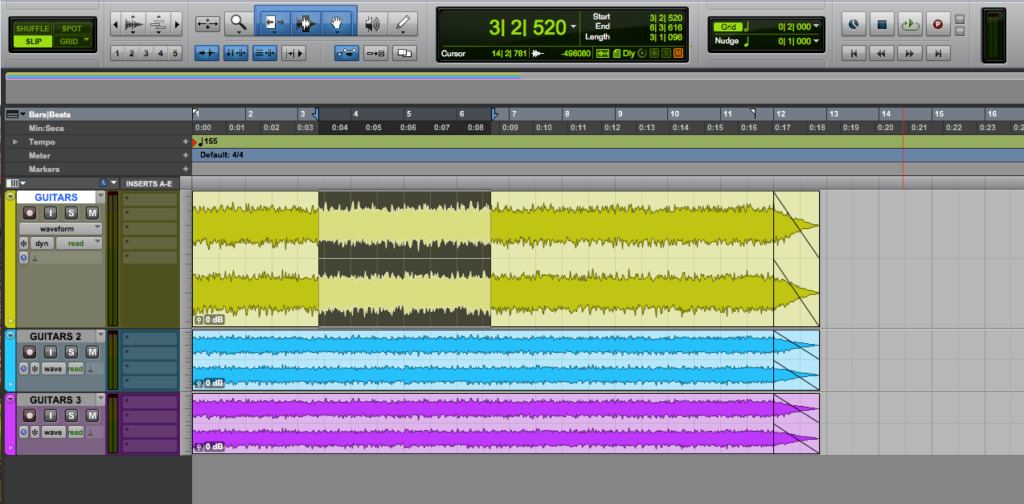
4. Select a horizontal area on a clip:
5. Click on the “Zoom Toggle” button:
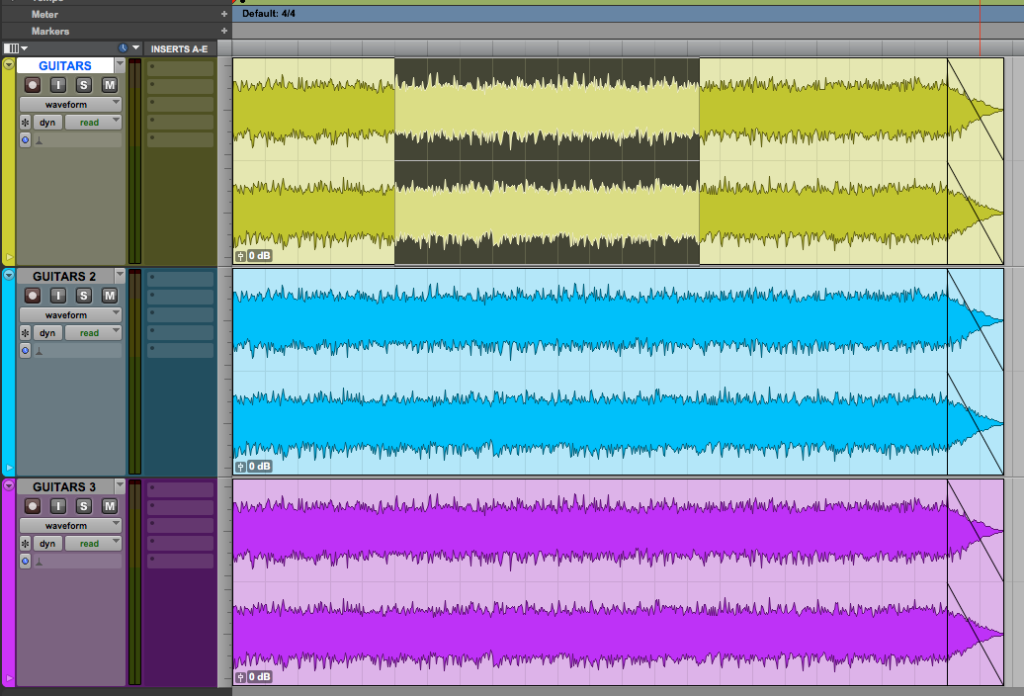
The Zoom Toggle function will zoom in horizontally to the selection!
Note the Zoom Toggle is ON:
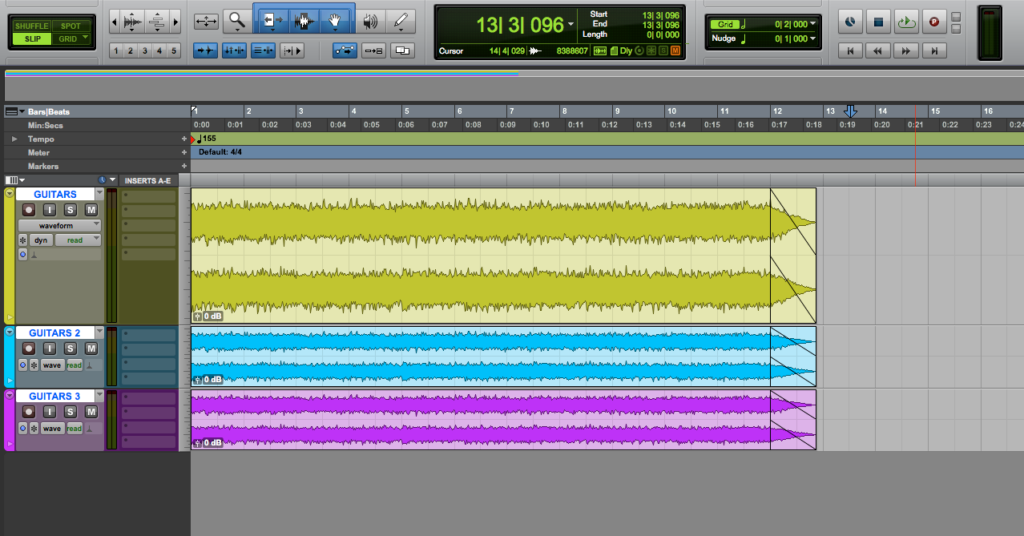
6. Click on the Zoom Toggle again to disable it:
The Zoom will go back to where it previously was.
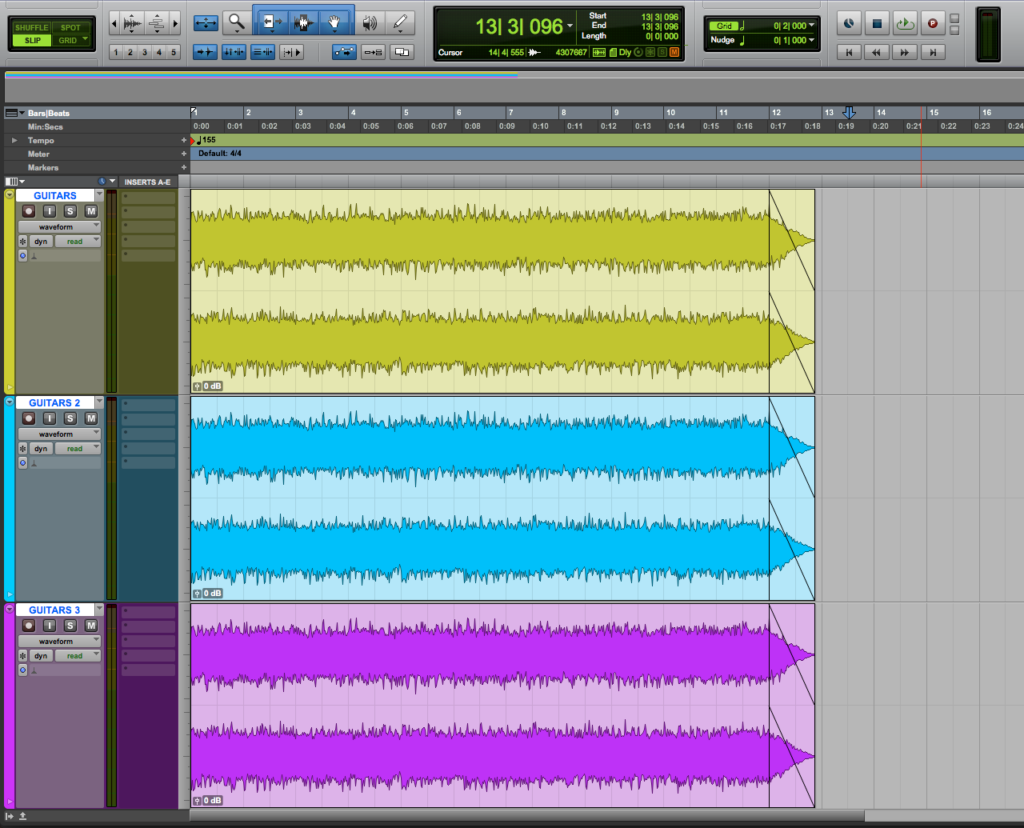
7. Now select all three tracks:
8. Click on the “Zoom Toggle” button:
The Zoom Toggle function will zoom in vertically the three selected tracks!
9. Click on the Zoom Toggle again to disable it:
The Zoom will go back to where it previously was.
And that is it!
At this point, we have successfully explained how to use Zoom Toggle in Pro Tools.
Using Avid Pro Tools software to produce music would be ideal with one of our professionally designed PCAudioLabs Systems due our high-performance specifications in order to work with any of the Digital Audio Workstations supported. If you would like to order one of our PCAudioLabs computers, please call us at 615-933-6775 or click this link for our website.

