The following tutorial shows the user a basic overview of fades and crossfades in Studio One 4.
Need a Pro Audio laptop to run Presonus Studio One 4 software and all of its features at its best? Check out the MC Mobile line of Pro Audio Laptops from PCAudioLabs.
Digital Audio Workstations give users the possibility of creating fade ins, fade outs and also crossfades between audio events. This is useful when dealing with audio content that has been edited, compiled or simply placed next to each other creating an audible discontinuity. Studio One 4 is capable of creating different types of fade ins, fade outs and crossfades between events.
This tutorial will present a basic overview of how to use fades and crossfades in Studio One 4:
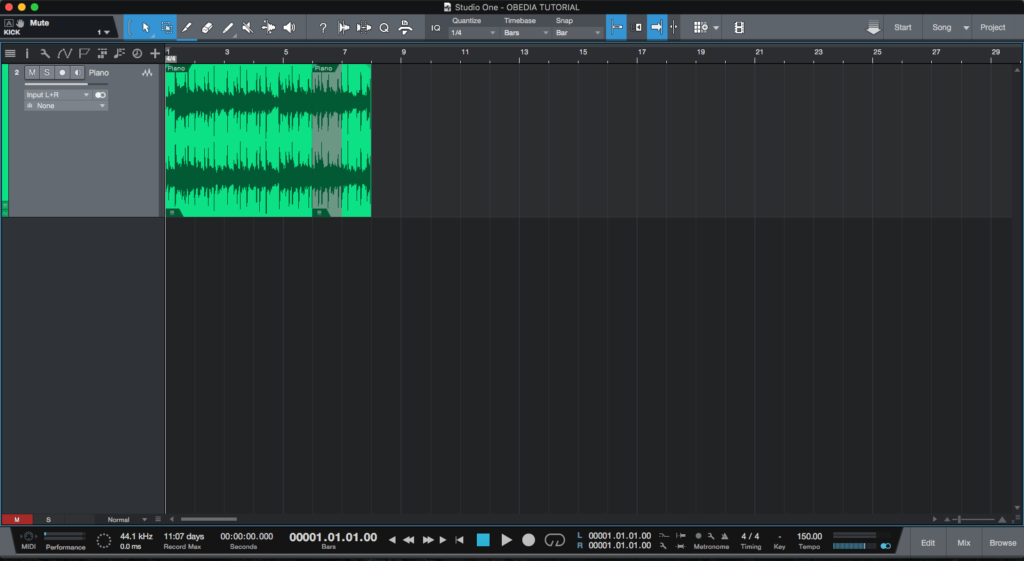
- Open a Studio One 4 song with at least one audio track that contains audio material:
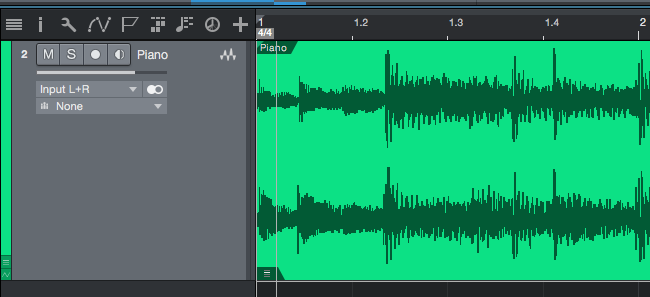
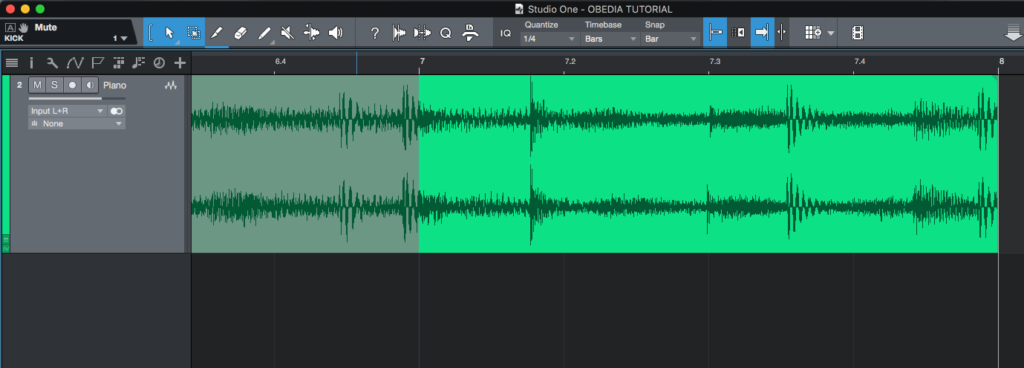
2. To create the fade in, locate around the start of the audio event:
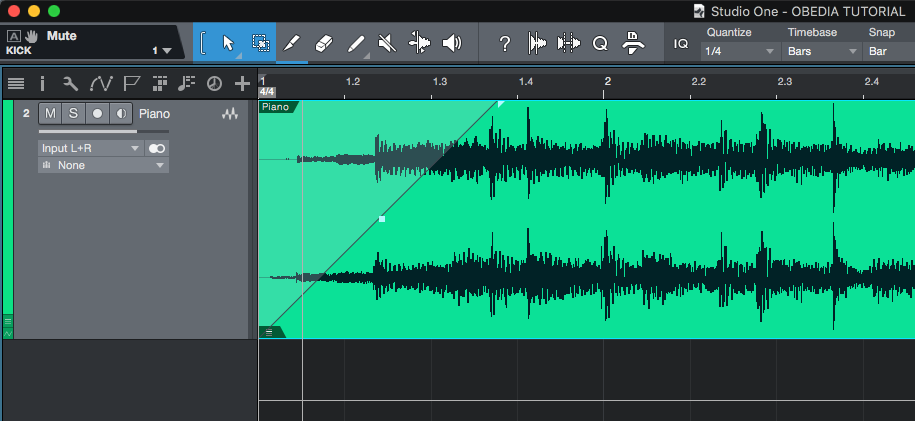
3. Click on the top left corner of the audio event, and drag to the right, creating the fade in:
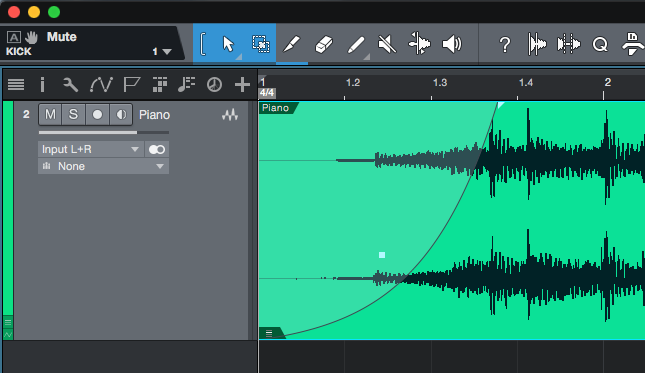
4. Click on the center white dot of the fade in line, and drag up or down to select the fade in type:
- If the white dot is dragged up, the fade in will be logarithmic
- If the white dot is dragged down, the fade in will be exponential
- If the white dot is left default, the fade will be linear
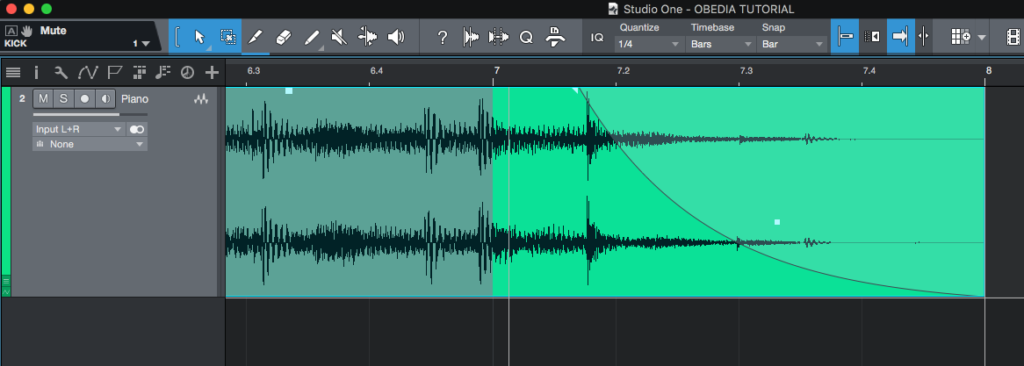
For the purpose of this tutorial, we will make it exponential:
5. To create the fade out, locate around the end of the audio event:
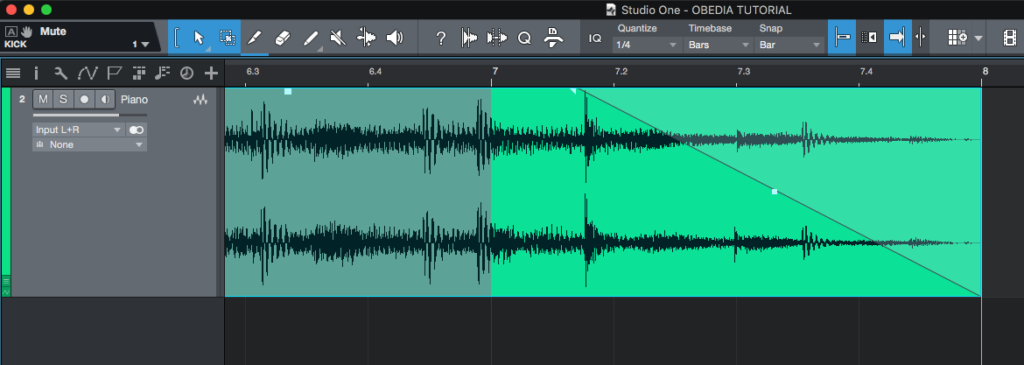
6. Click on the top right corner of the audio event, and drag to the left, creating the fade out:
7. Click on the center white dot of the fade out line, and drag up or down to select the fade in type:
- If the white dot is dragged up, the fade in will be logarithmic
- If the white dot is dragged down, the fade in will be exponential
- If the white dot is left default, the fade will be linear
For the purpose of this tutorial, we will make it exponential:
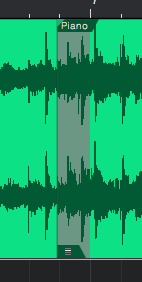
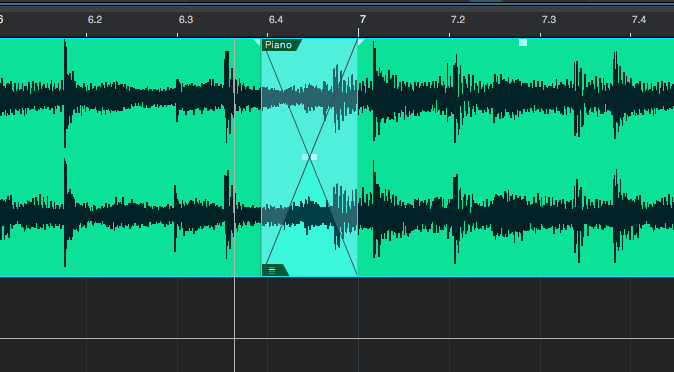
8. To create the crossfade, locate around the area where the audio events overlap:
Audio events overlap where the waveform changes its color to grey as:
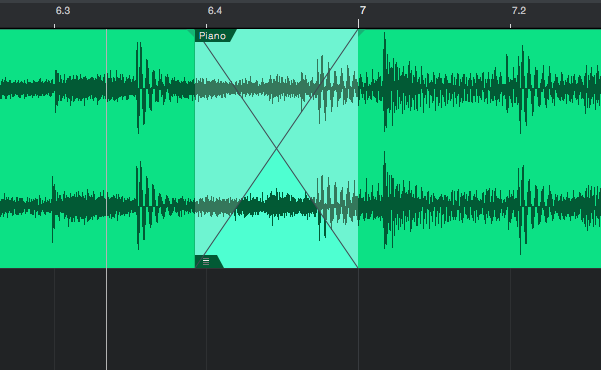
9. Click on the overlapping area and then press the X key. The crossfade will be created as:
10. Click on the center white dot of the crossfade line, and drag up or down to select the fade in type:
- If the white dot is dragged up, the crossfade in will be logarithmic.
- If the white dot is dragged down, the crossfade in will be exponential.
- If the white dot is left default, the crossfade will be linear.
For the purpose of this tutorial, we will leave it linear:
At this point we have successfully explained a basic overview of the use of fades and crossfades in studio One 4. The tutorial has now finished.
Using Presonus Studio One 4 software to produce music would be ideal with one of our professionally designed PCAudioLabs Systems due our high-performance specifications in order to work with any of the Digital Audio Workstations supported. If you would like to order one of our PCAudioLabs computers, please call us at 615-933-6775 or click this link for our website.

