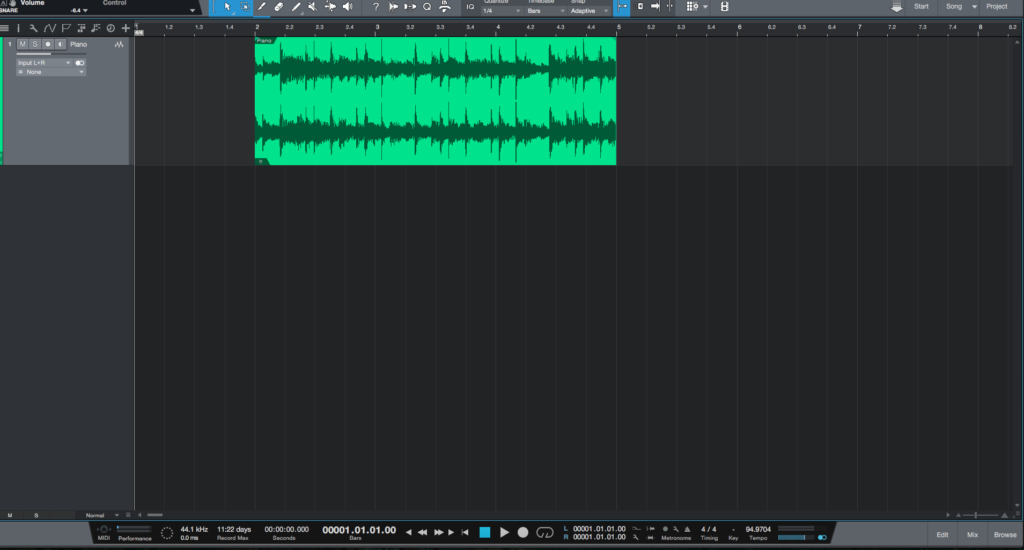
The following tutorial shows the user a basic overview How to use the grid in Studio One.
Need a Pro audio PC to run PreSonus Studio One 4 software and all of its features at its best? Check out all the pro audio PC offerings from PCAudioLabs
All Digital Audio Workstations give their users the possibility of setting up a certain grid to follow on the timeline view. This grid is important for editing, time stretching, quantizing and to give a general reference of where in the song the parts are located. Studio One 4 presents four different grid timebases, which are: seconds, samples, bars and frames. The user can toggle between those depending on the purpose of the session.
This tutorial will present a basic overview of How to use the grid in Studio One:
- Open a Studio One 4 song:

2. From the top horizontal bar, locate the grid options:
It is easy to see how there are four main parts related to our grid. These are:
- Quantize: This drop-down list lets the user select the desired grid value based on note values (1/4, 1/8, 1/16, etc).
- Timebase: This drop-down list lets the user select the desired reference for the timeline to follow. The options offered are: Seconds, Samples, Bars, Frames.
- Snap: This drop-down list lets the user select the desired grid reference for the audio events to snap the start, as well as other snap options. The available options are: Adaptive, Bar, Quantize and Samples.
- Bar: Events will be snapped to a bar reference.
- Quantize: Events will be snapped to whatever reference is selected on the Quantize option.
- Samples: Events will be snapped to a sample reference.
- Adaptive: Events will be snapped to the Quantize reference, unless the timeline is so zoomed out that it will snap to larger note values.
- Toggle Snap: When this option is enabled (highlighted blue), audio events will snap to the desired quantize value when dragged. If it appears greyed out, the function is disabled.
For the purpose of this tutorial, we will setup our grid in Adaptive mode, snapping to a 1/16 note value and a timeline showing a bar reference.
3. At the Grid options set the following configuration:
- Quantize: 1/16
- Timebase: Bars.
- Snap: Adaptive.
- Toggle Snap: ON.
The grid options will now look like this:
The timeline will now look like this:
At this point we have successfully explained How to use the grid in Studio One. The tutorial has now ended.
Using PreSonus Studio One 4 software to produce music would be ideal with one of our professionally designed PCAudioLabs Systems due our high-performance specifications in order to work with any of the Digital Audio Workstations supported. If you would like to order one of our PCAudioLabs computers, please call us at 615-933-6775 or click this link for our website.

