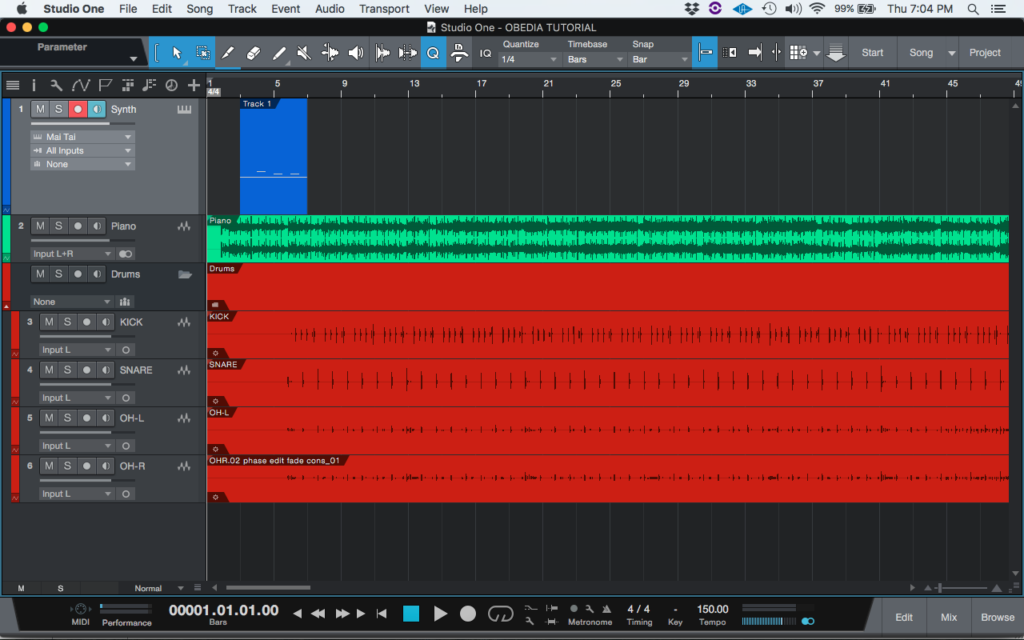
The following tutorial is an Inspector Overview in Studio One 4.
Need a Pro Audio laptop to run Presonus Studio One 4 software and all of its features at its best? Check out the MC Mobile line of Pro Audio Laptops from PCAudioLabs.
Studio One 4 presents the user with the Inspector, a dedicated tab located on the left of the screen that shows information of each track related to its type, name, FX routing, etc. Depending on the track type, the Inspector will show different information.
This tutorial will present a basic overview of the Inspector in Studio One 4:
- Open a Studio One 4 song with tracks:

In order to use the Inspector, we must select a track. Note from the previous picture that the selected track is “Synth”.
2. Look for the top left option buttons:
3. Click on the second option “Inspector”:
4. The inspector tab will show as:
Note the inspector window in this case shows important information such as:
- Track number
- Track name
- Track type
- Layers
- Note FX
- Inputs
- Outputs
- Record Enable/Solo/Mute/Pan
In the case of the “Synth”, the information shown by the inspector is related to an instrument track, that is why the actual virtual instrument “Mai Tai” is shown. Also, options such as Timebase, Transpose and Note FX, are obviously only applicable to instrument tracks.
In order to see the Inspector tab for another track, the user must only click on another track and it will automatically switch.
5. Click on an audio track to show the Inspector of that track. For the purpose of this tutorial we will click on the “Piano” track:
Note the inspector window in this case shows important information such as:
- Track number
- Track name
- Track type
- Layers
- Tune mode
- Inputs
- Outputs
- Inserts
- Sends
- Record Enable/Solo/Mute/Pan
In the case of the “Piano” track, the information shown by the inspector is related to an audio track. Options related to MIDI are not shown because this track simply does not have any MIDI information contained.
The user is encouraged to look at the Inspector for other track types to understand the differences.
At this point we have successfully explained a basic overview of the Inspector in studio One 4. The tutorial has now finished.
Using Presonus Studio One 4 software to produce music would be ideal with one of our professionally designed PCAudioLabs Systems due our high-performance specifications in order to work with any of the Digital Audio Workstations supported. If you would like to order one of our PCAudioLabs computers, please call us at 615-933-6775 or click this link for our website.


